The Definitive Behringer U-Phoria UMC204HD Review
The best budget interface for discerning music makers

Reviewed by: Daren Banarsë
Review date: February 2024
Current price: Around $120

Behringer U-Phoria UMC204HD Review
| Pros: | Cons: |
| Exceptional value for money Good range of inputs and outputs Quiet preamps Strong build quality | Basic LED meters |
Behringer U-Phoria UMC204HD Review
The Behringer U-Phoria UMC204HD is a 2 channel USB powered audio interface with surprisingly good performance for its price. It is also full of features and connectivity options usually only found in more expensive interfaces.
What is it?
Behringer was founded by Uli Behringer in 1989 in Germany. They manufacture a range of audio equipment including mixers, synthesizers, drum machines, amplifiers and audio interfaces. Behringer have a philosophy of keeping costs down by manufacturing in China, where they have their own factory.
Over the last 10 years or so, there has been a marked improvement in the quality of Behringer products, while still maintaining very low price points. Since 2016, Behringer have recreated some classic synthesisers, whose patents have expired, making them available at a fraction of the original cost.
The Behringer U-Phoria UMC 204HD was introduced in 2015, months after its 4 channel sibling, the UMC404HD. It replaced the ageing FCA 202, a bare bones 2 channel Firewire audio interface, first introduced in 2007. The capabilities of the UMC204HD are clearly impressive on paper, but how does it work in practice, and is it still good value now?
In the box
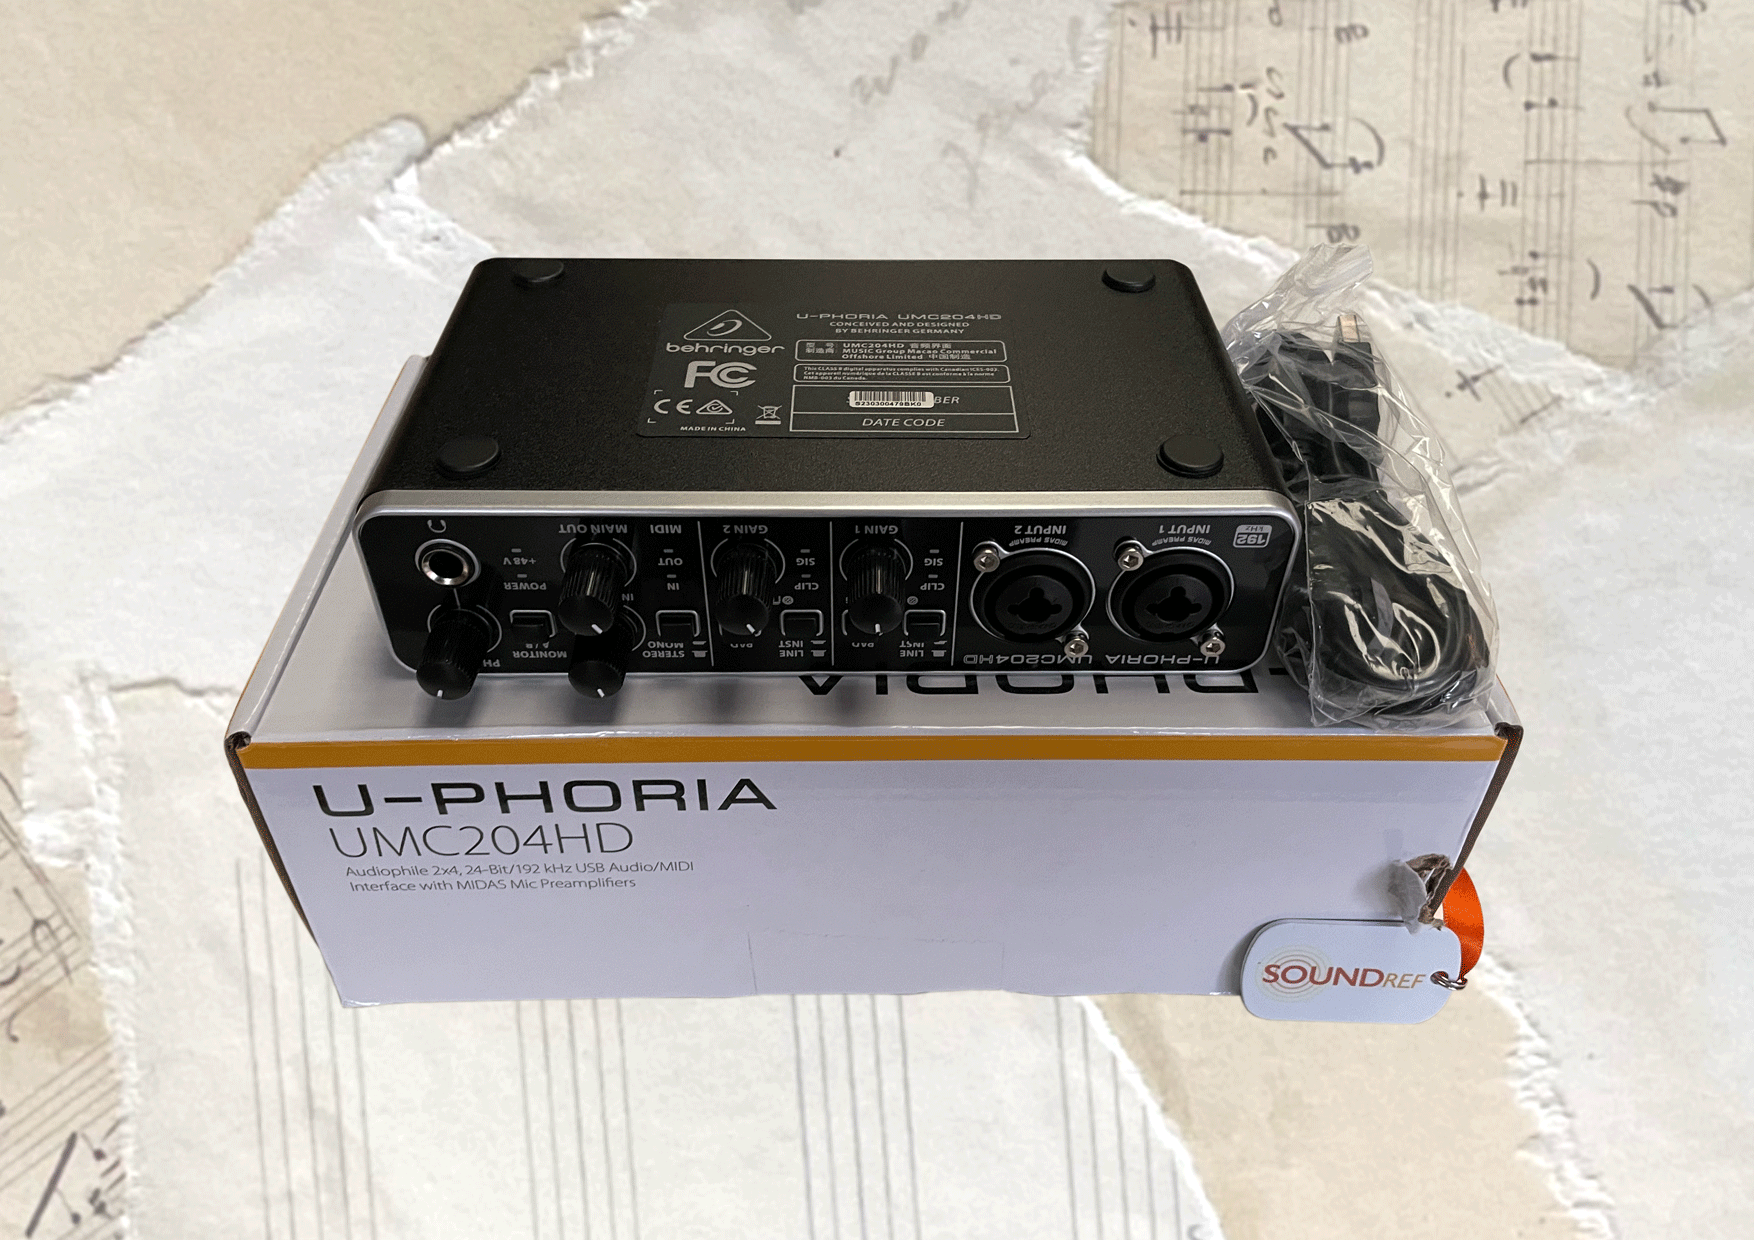
- USB-B to USB-A cable
- U-Phoria UMC204 HD interface
Design and Build Quality
The Behringer U-Phoria UMC204HD has a sturdy, all metal construction, with plastic knobs – no wobble on the unit I tested. This is a clear improvement over their cheaper (one preamp) UM2, which is made entirely from plastic.
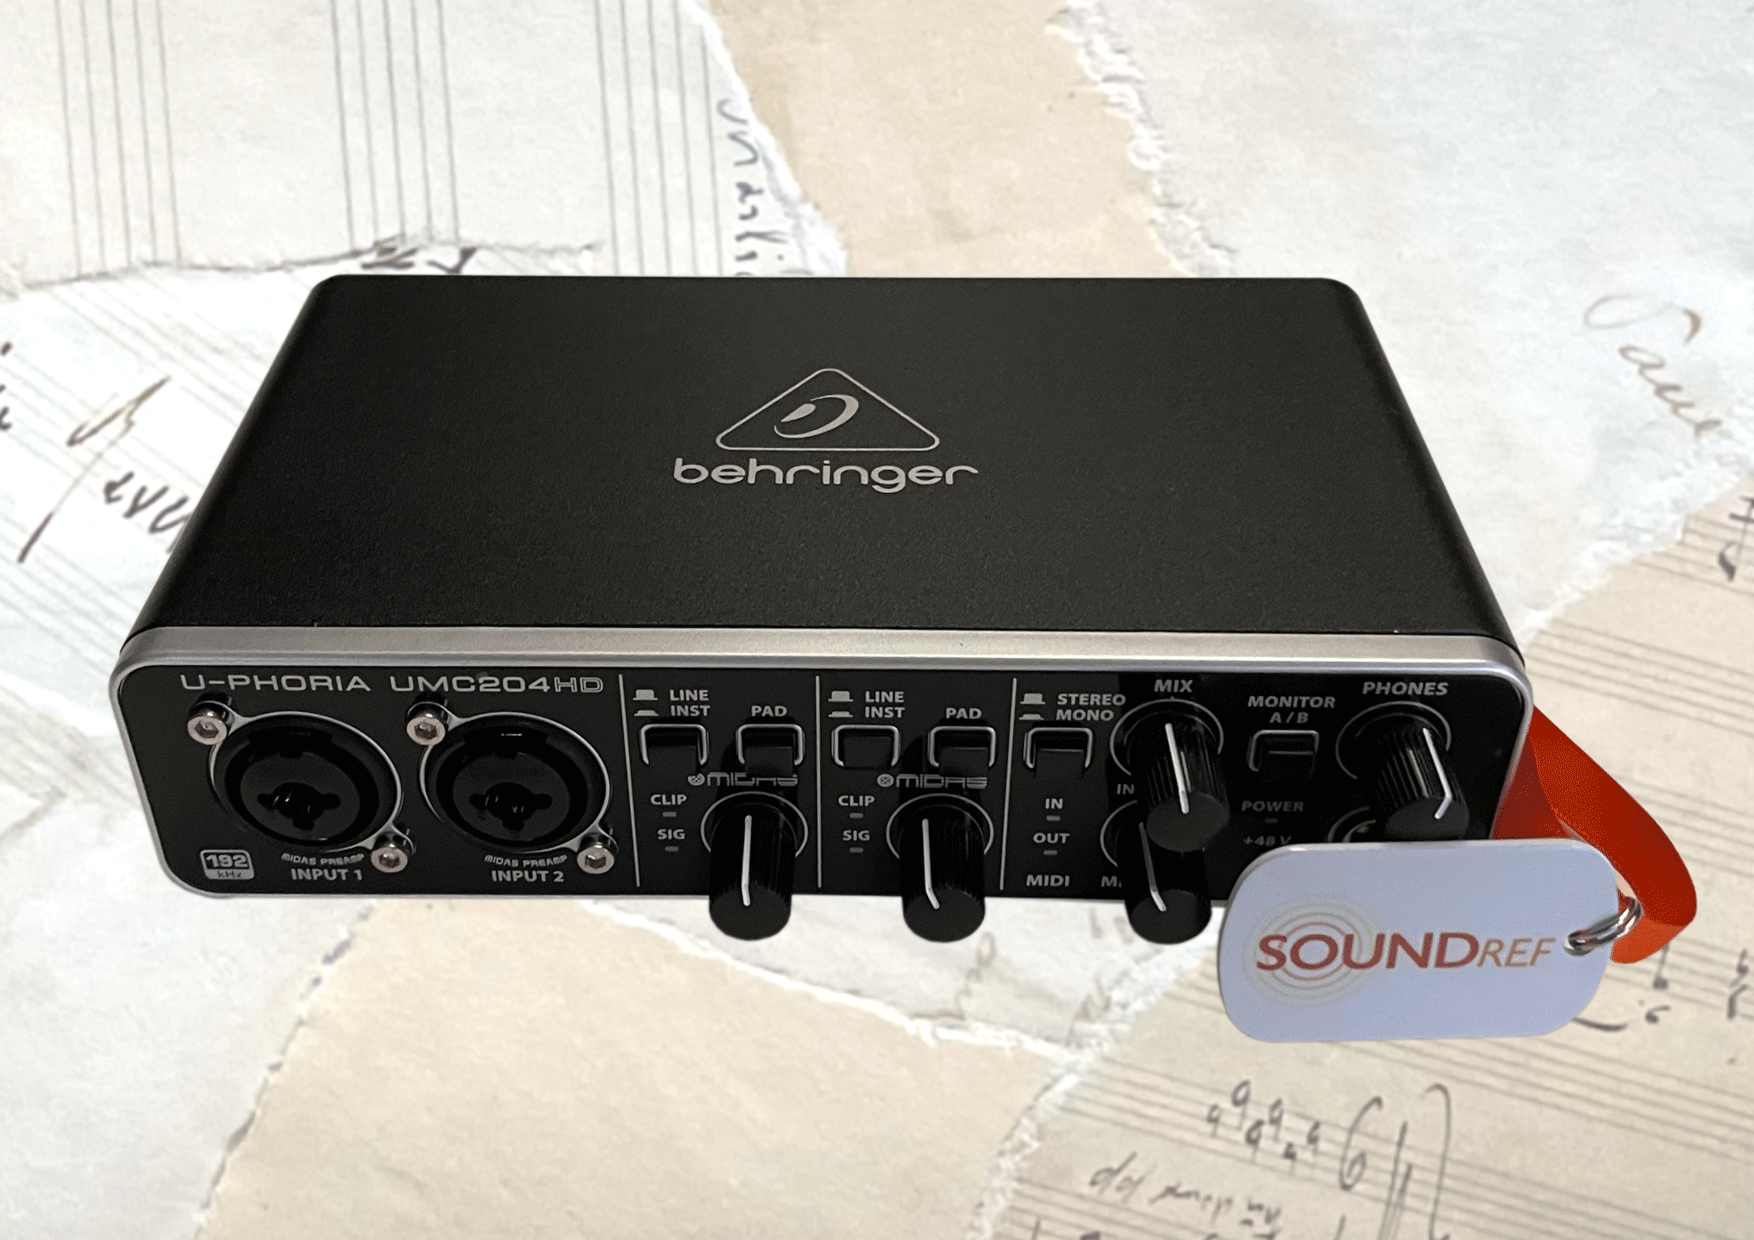
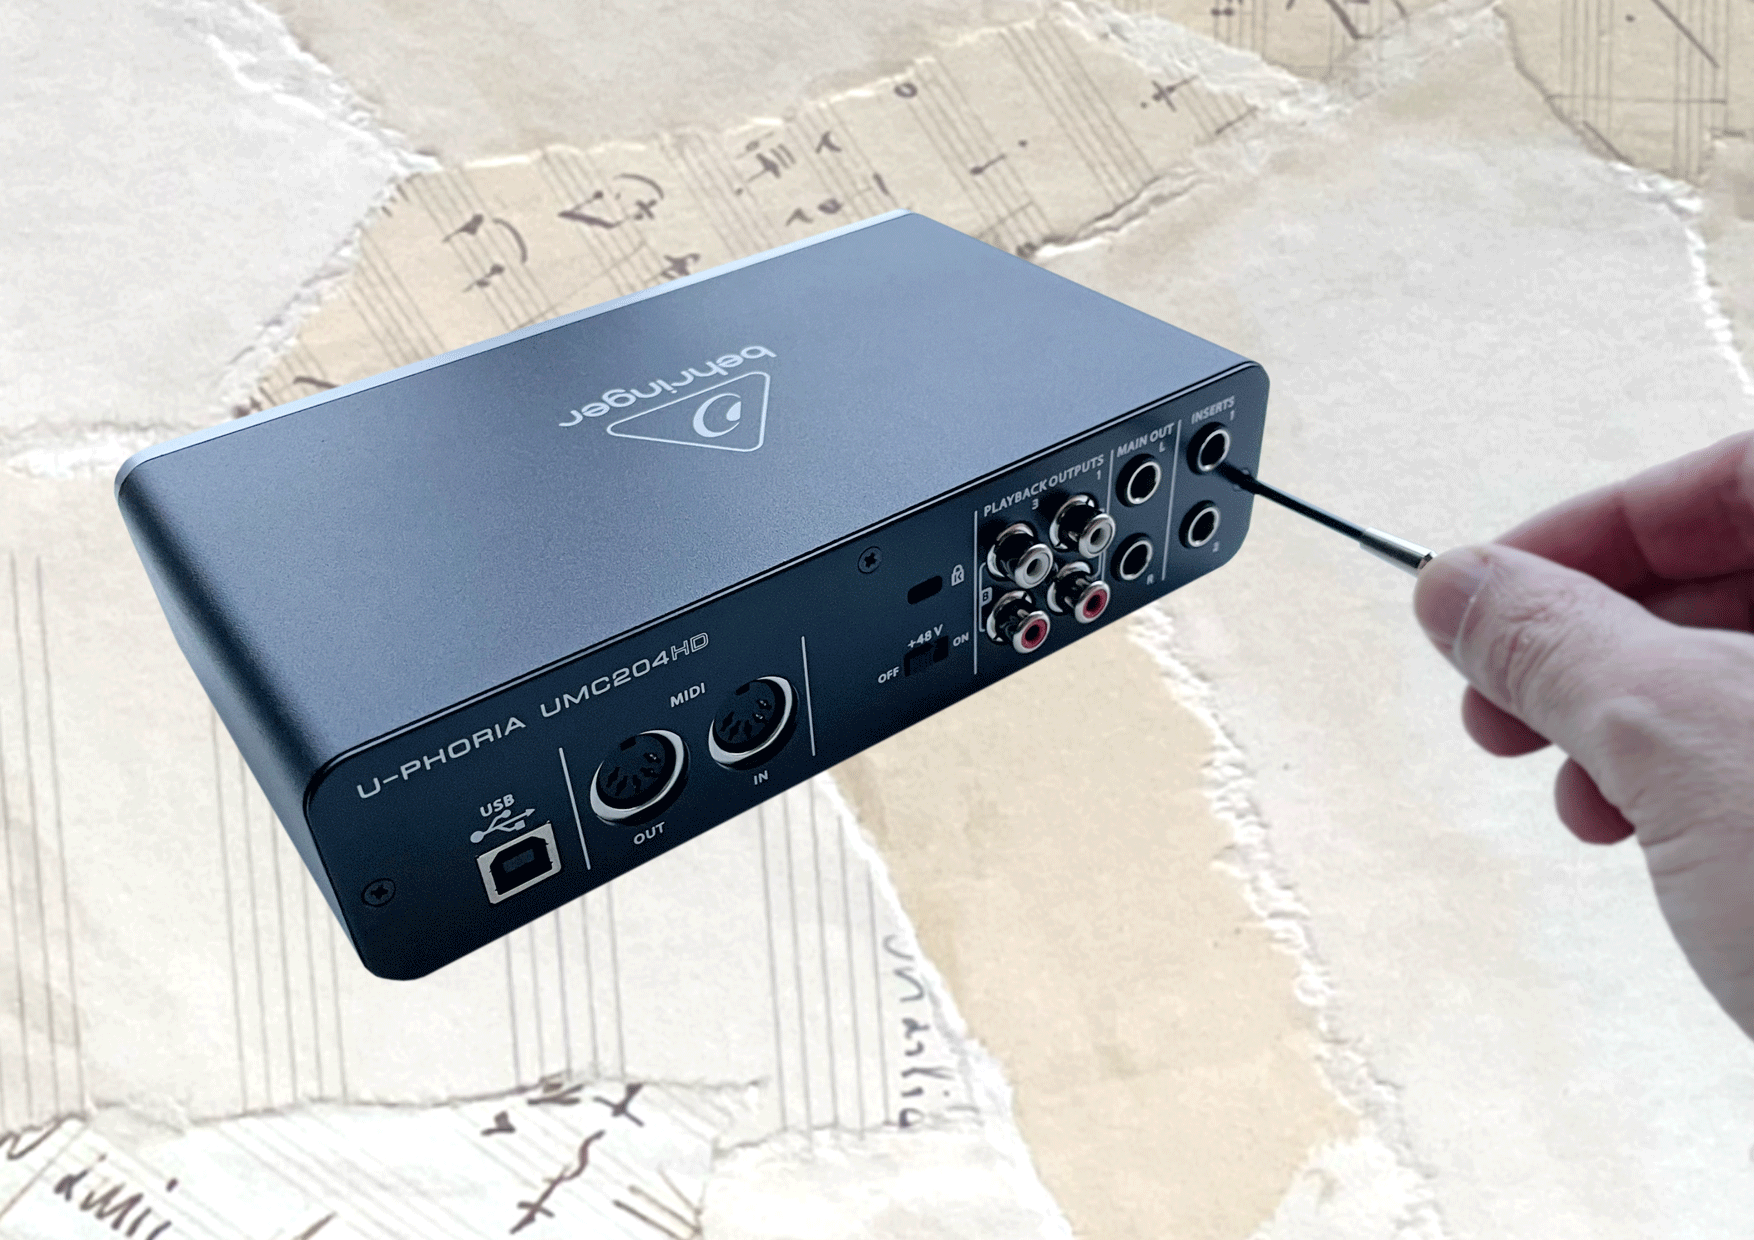
The UM204HD is a good looking, small and compact machine, with rounded corners, and a very simple interface with easily accessible controls. Inputs, input controls, level meters and the headphone socket are on the front, with the MIDI, USB, 48v phantom power switch, and outputs on the back.
The plastic knobs are removable (necessary to look inside), but there’s no chance of them falling off during use.
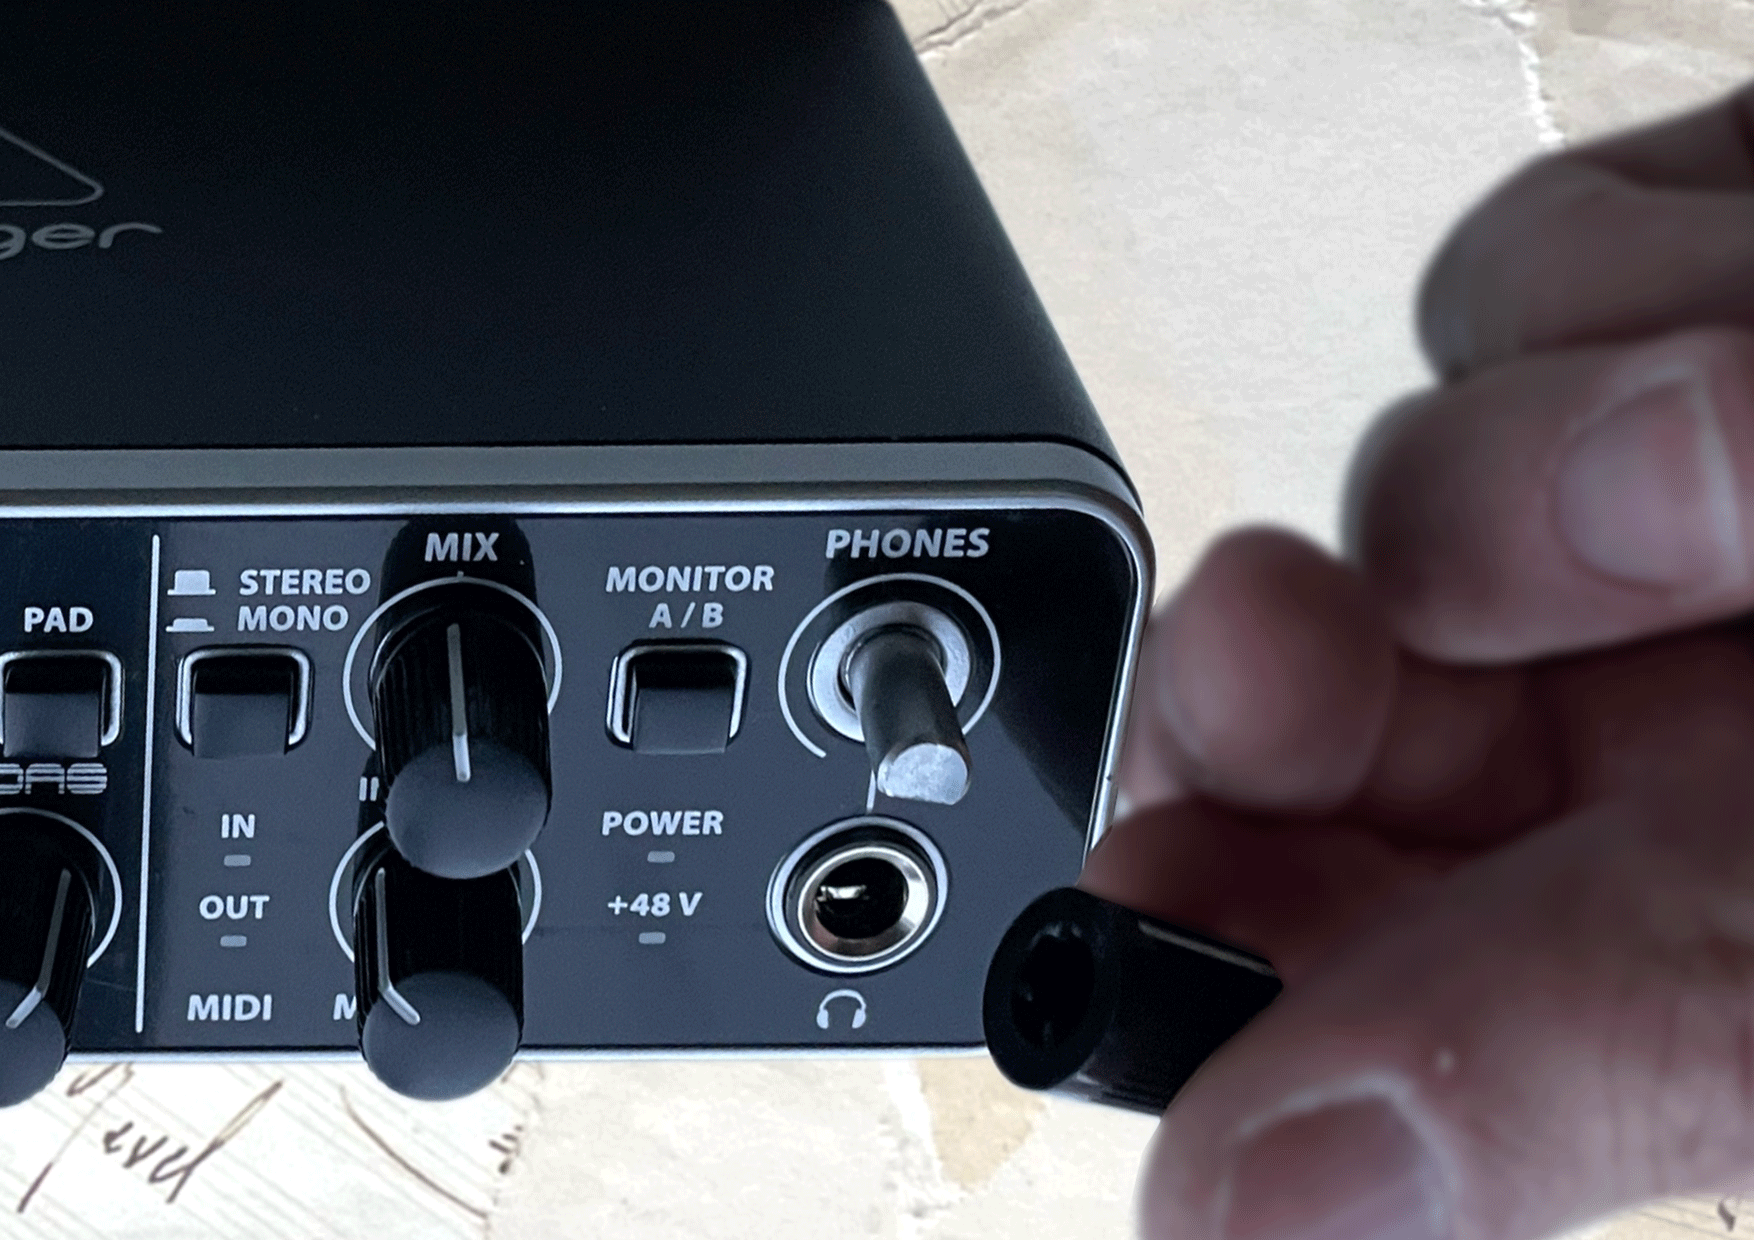
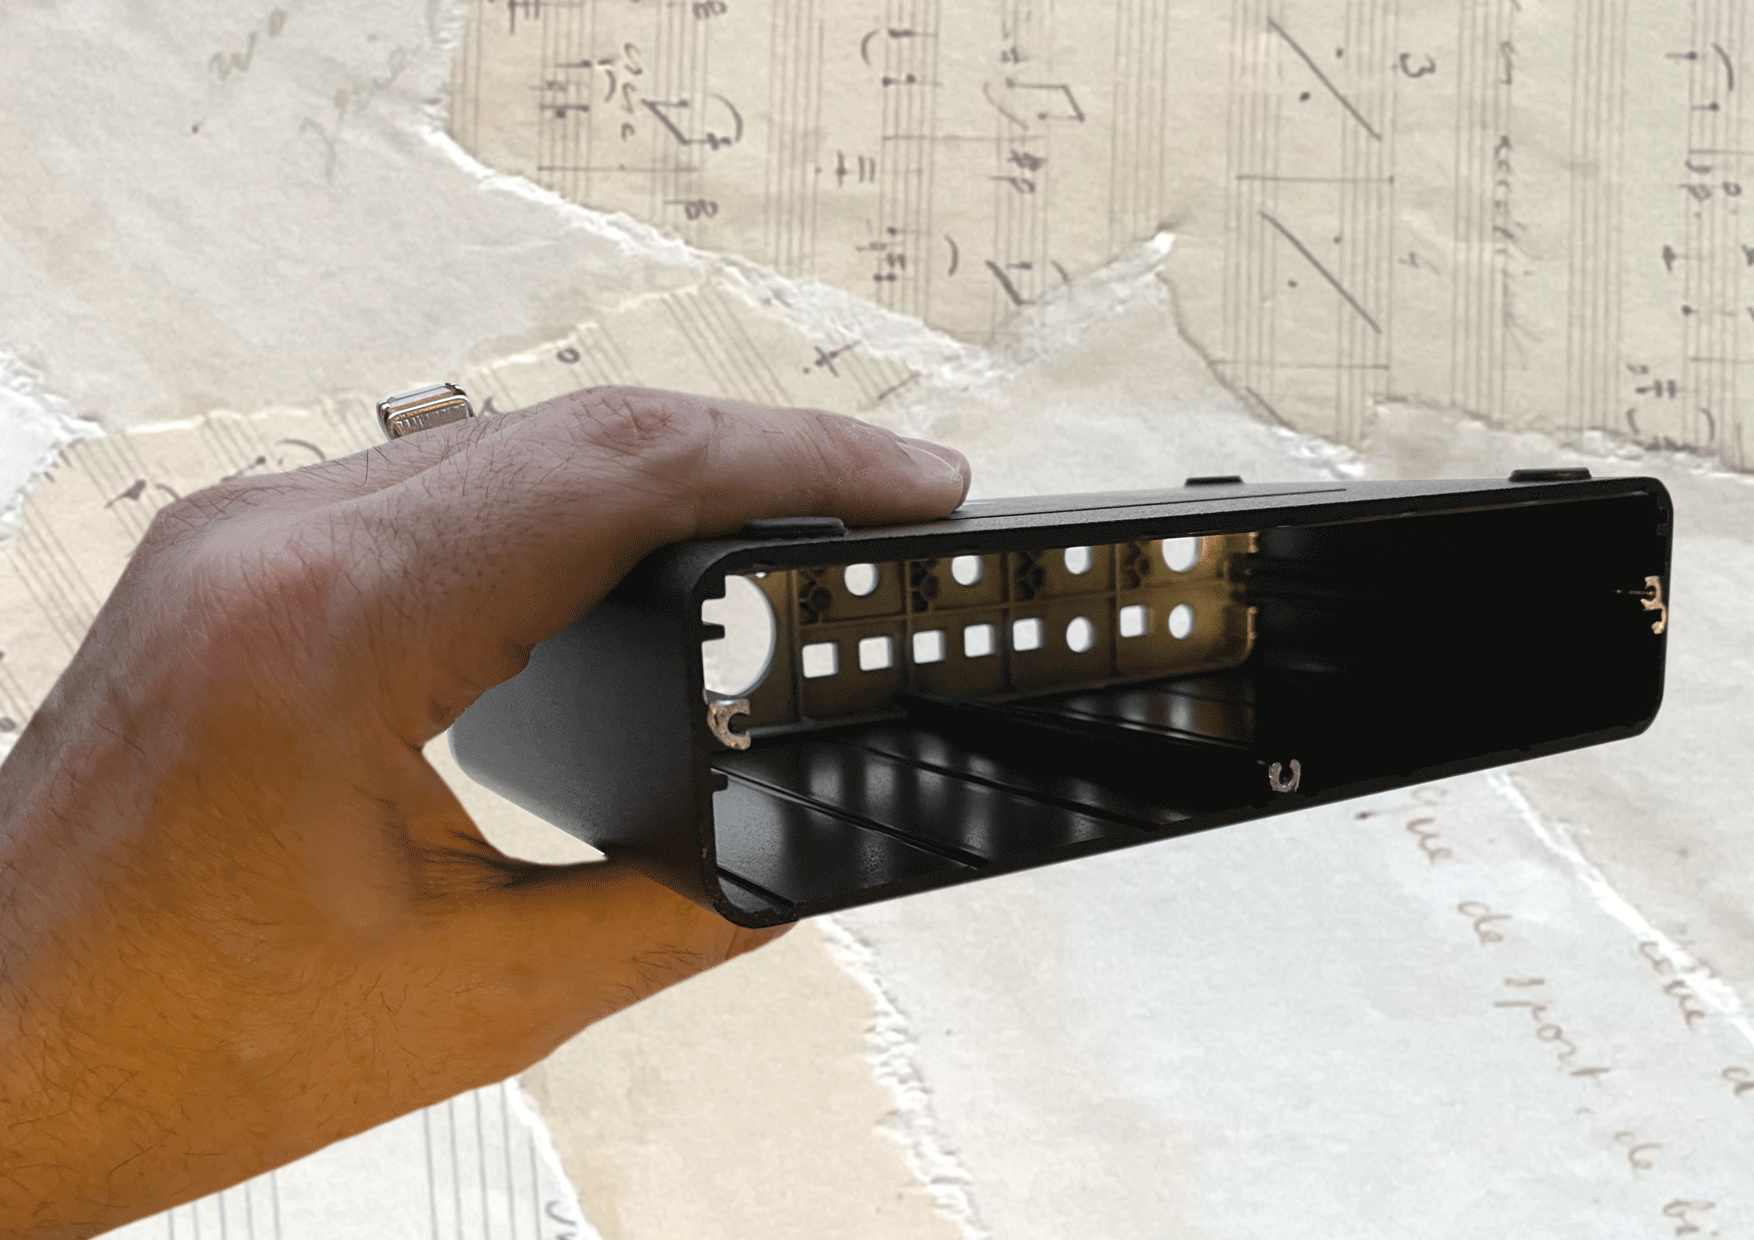
The internal circuit board is held firmly in place with place by 4 screws on the back panel, and four screws on the front panel, around the combo XLR sockets.
Takingthe 204 apart exposed an aluminium case, protecting a circuit board with plenty of Analogue Devices AD8694 amplifiers, and Cirrus Logic digital convertors. The use of plastic XLR sockets, and other components keeps costs and weight down, necessary for an interface at this price point.
With a strong metal casing, the Behringer UM204HD is sturdy enough to take on the road and use for remote recording. It’s small and light, and can easily be transported in a backpack with a laptop.
Compared to Behringer’s earlier 2
preamp audio interface, the FCA202, the difference is night and day. In the previous model, there was no volume control for your studio monitors, just for the headphones. And it needed external power if you wanted to use both headphones and studio monitors simultaneously. Rather than an upgrade, the UMC204HD is a completely redesigned piece of equipment form the ground up..
Connecting the Behringer U-Phoria UMC204HD
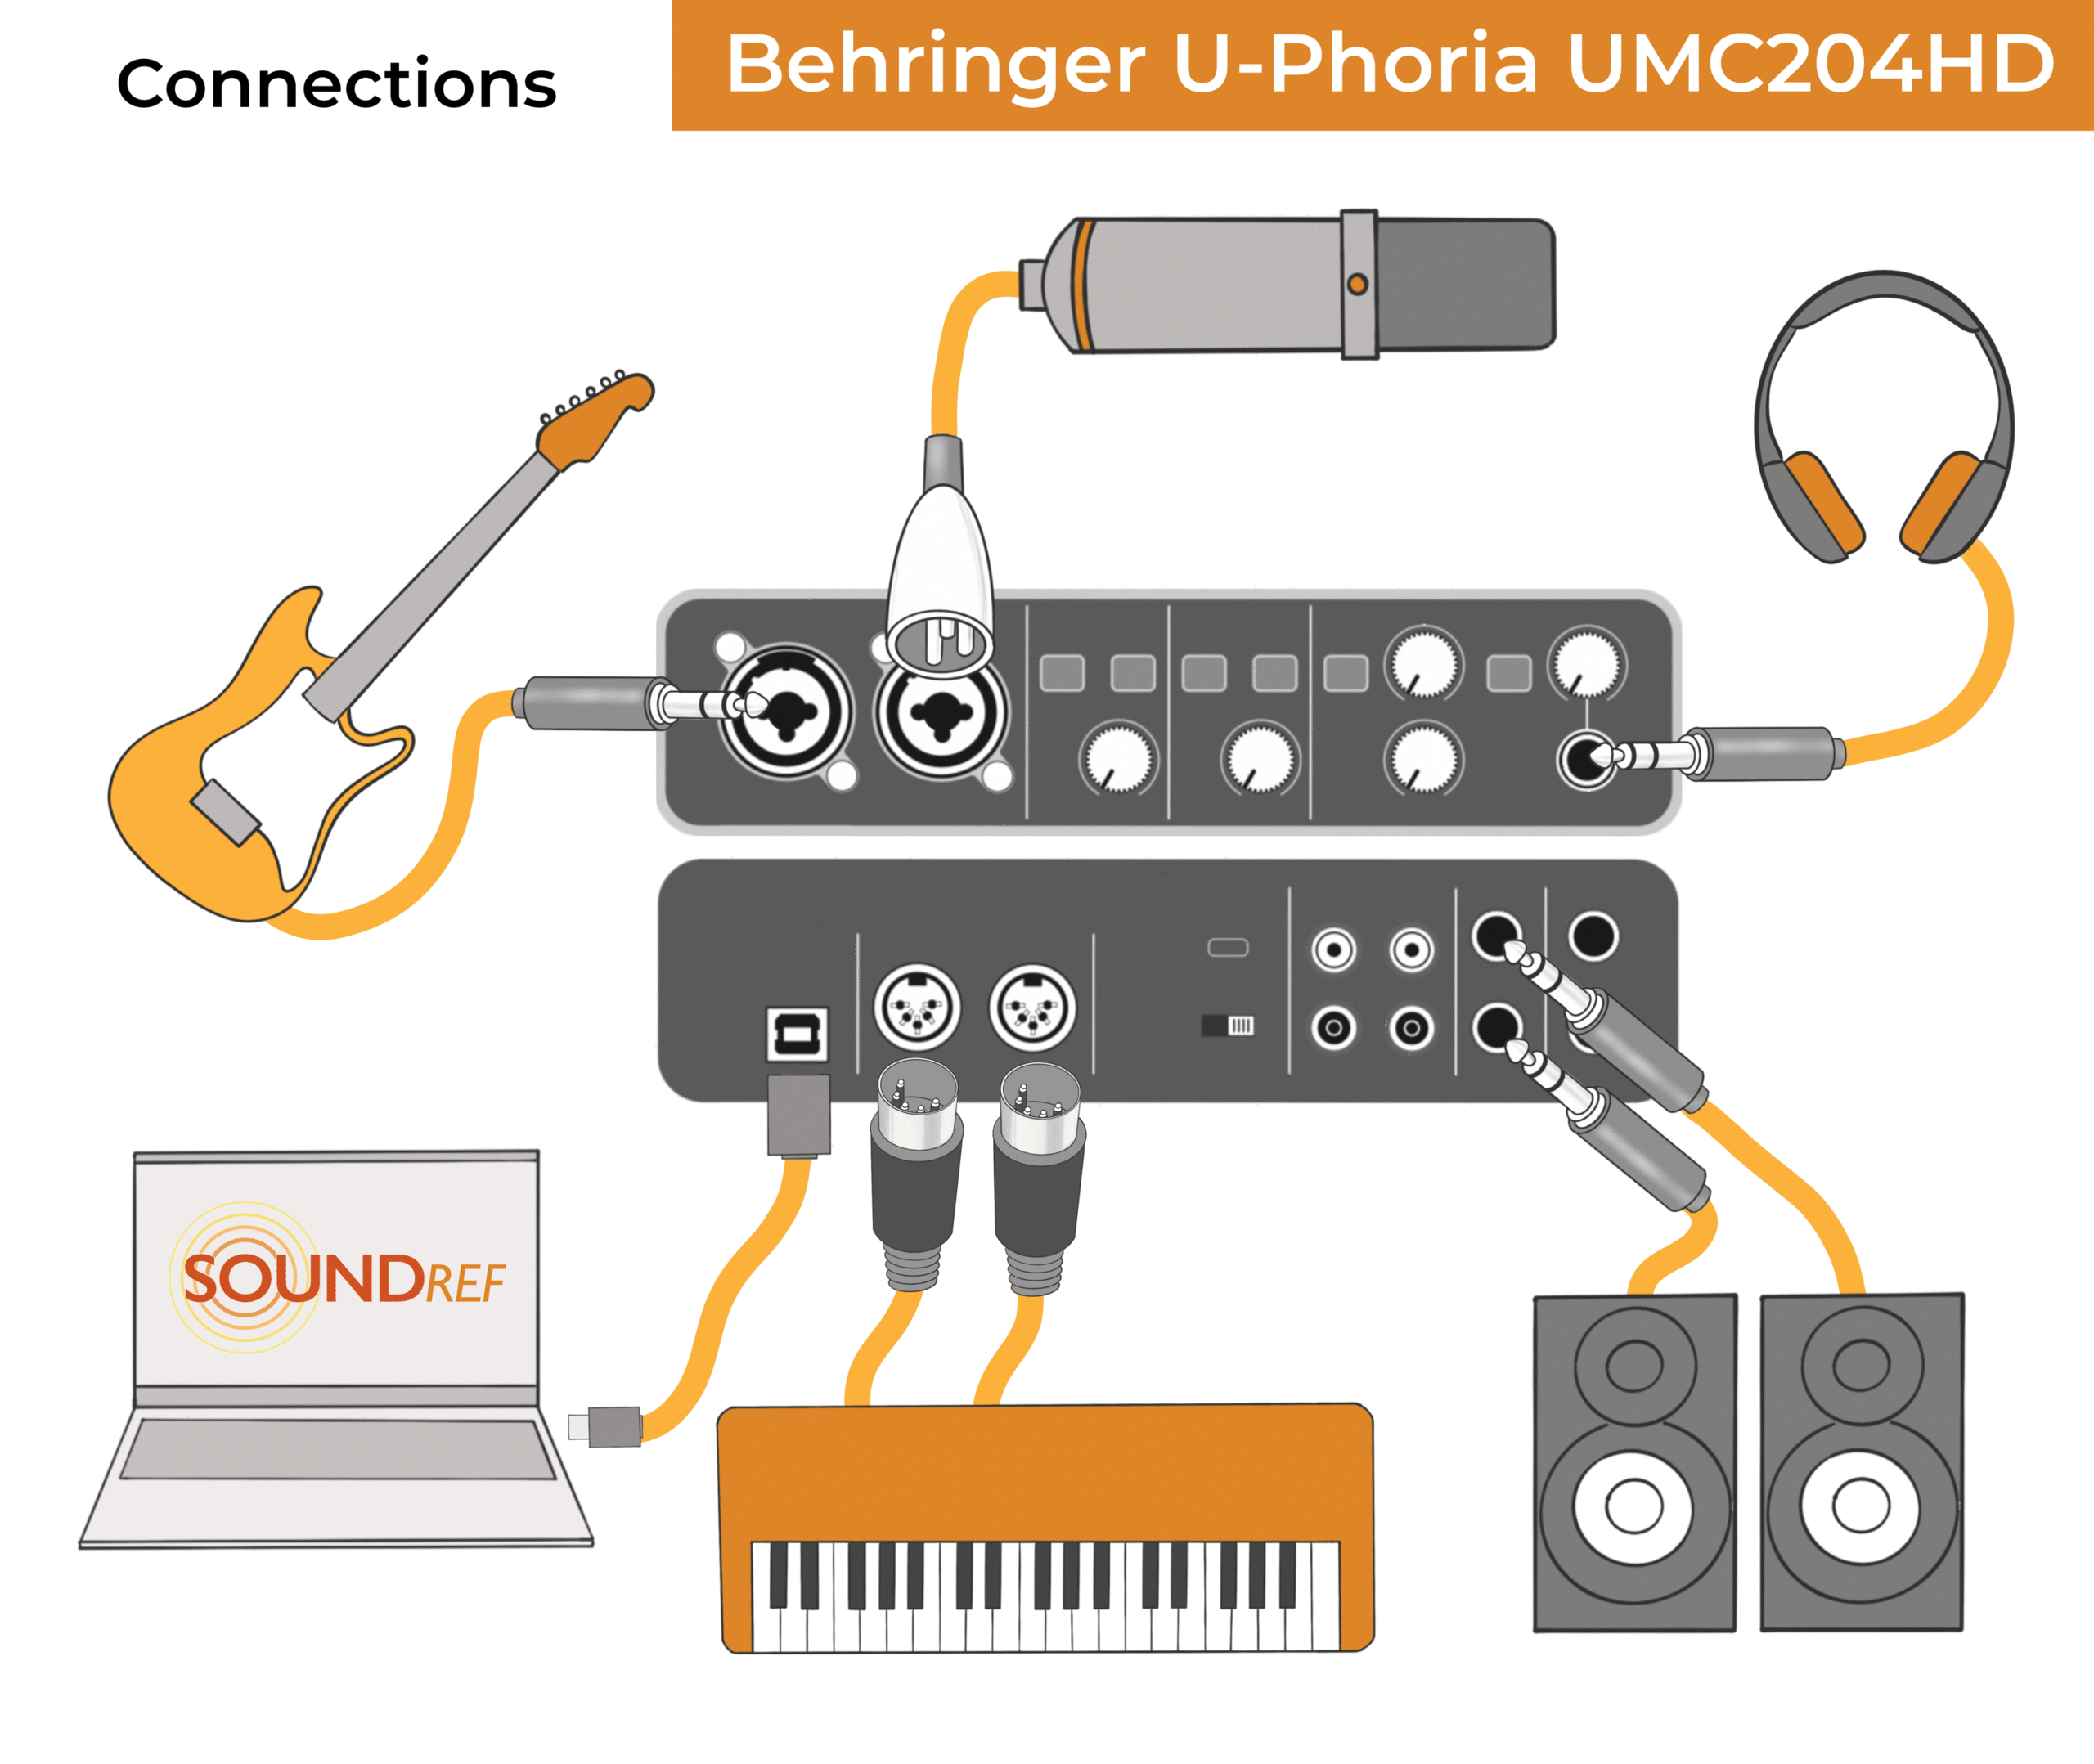
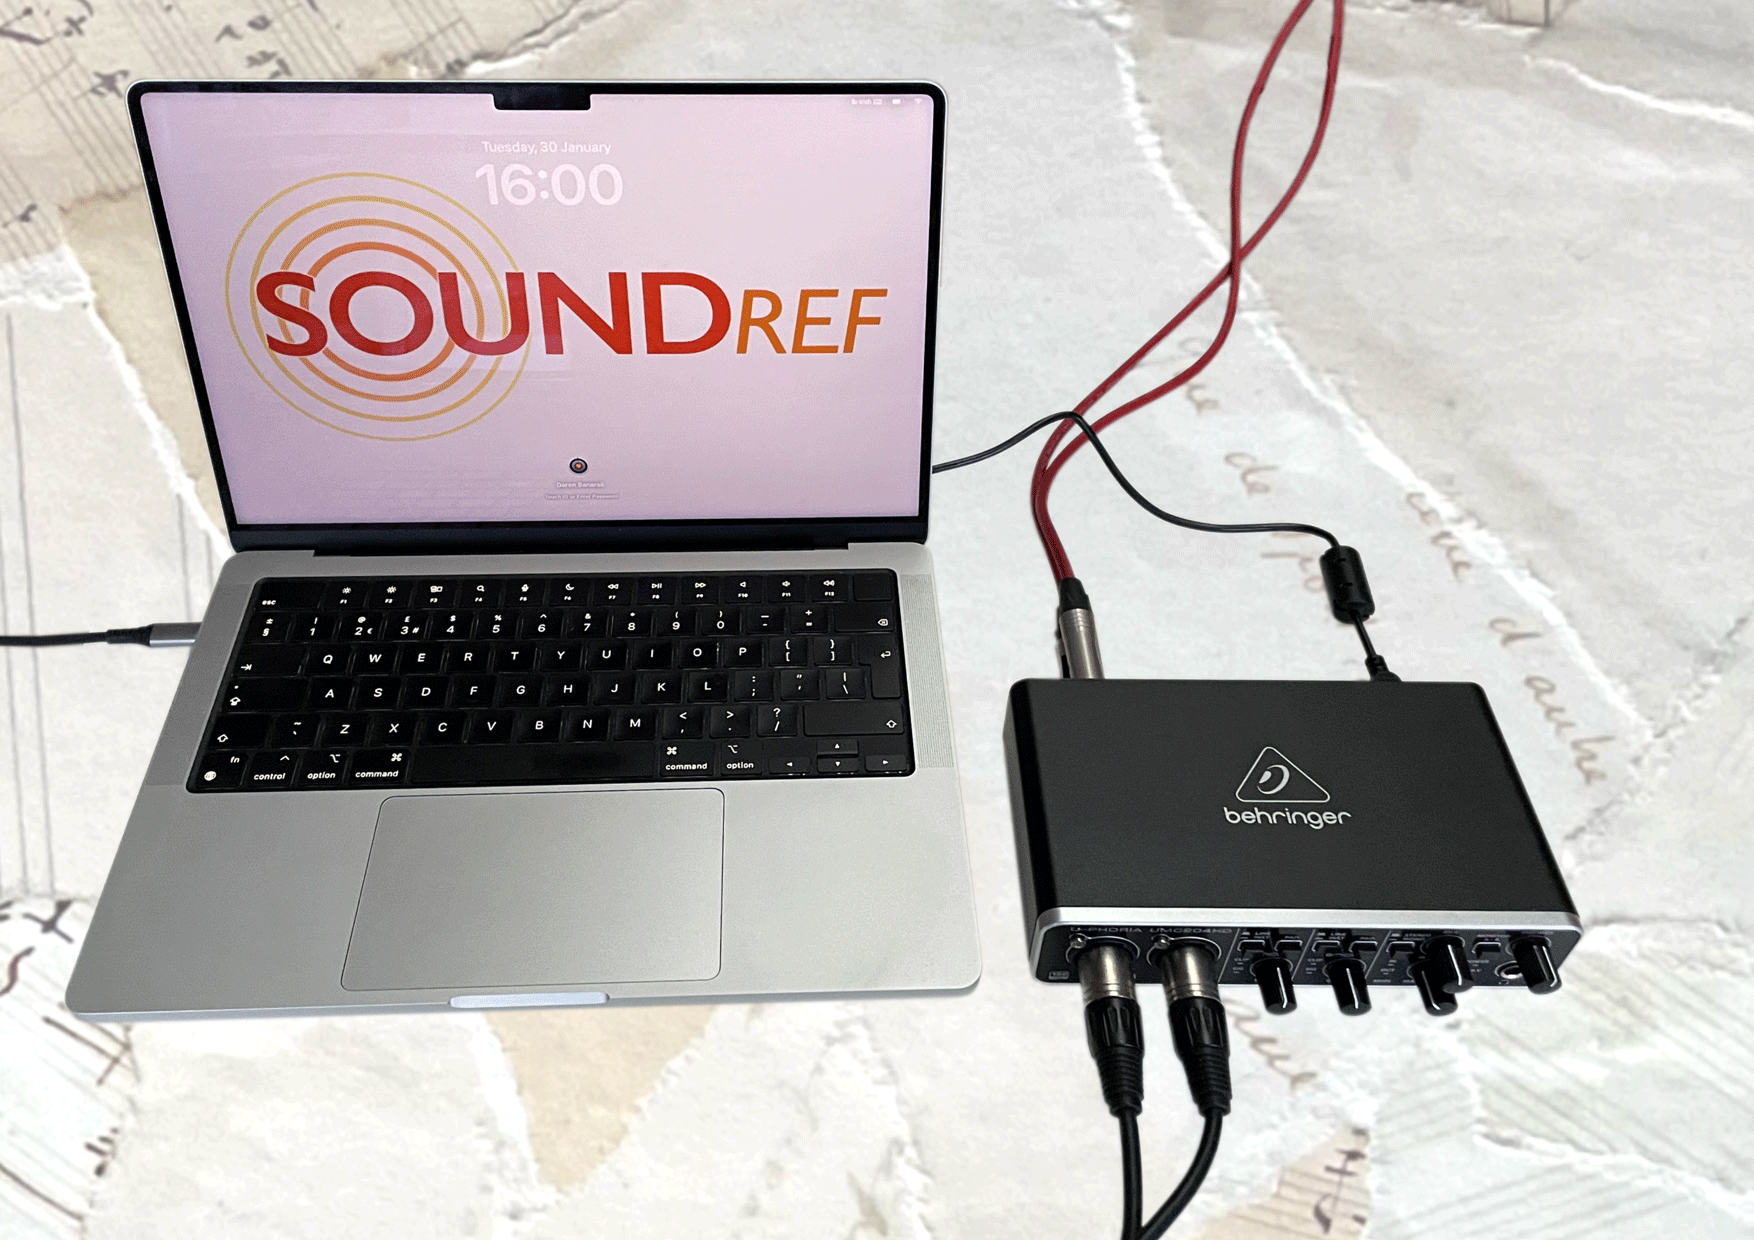
The Macbook M3 I used for testing only has thunderbolt/USB-C type connectors, so I bought a simple USB-A to USB-C adaptor for the connection.
I advise using balanced 1/4″ cables (TRS) wherever possible to connect devices to you 2i2 interface. This includes your microphones and studio monitors. Balanced cables are a bit more expensive, and have 2 rings rather than one ring. They’ll pick up less magnetic or electrical interference. This can show up as a constant hum, buzzing, or even radio signals.
Keep the volume on the audio interface at zero while you’re making any connections, and then turn it up to avoid any loud clicks or pops.
Front panel
On the front panel are two XLR/6.3mm combo jacks, giving you the choice of using either XLR or 1/4″ jacks. Next to the sockets are some control buttons. One is a switch allowing you to toggle between ‘line’ and ‘instrument’.
You’ll use line when plugging in audio equipment, and instrument for a guitar or other instrument which needs a bit of a signal boost. The other control is a ‘pad’ button, which instantly reduces the input signal by 20 dB.
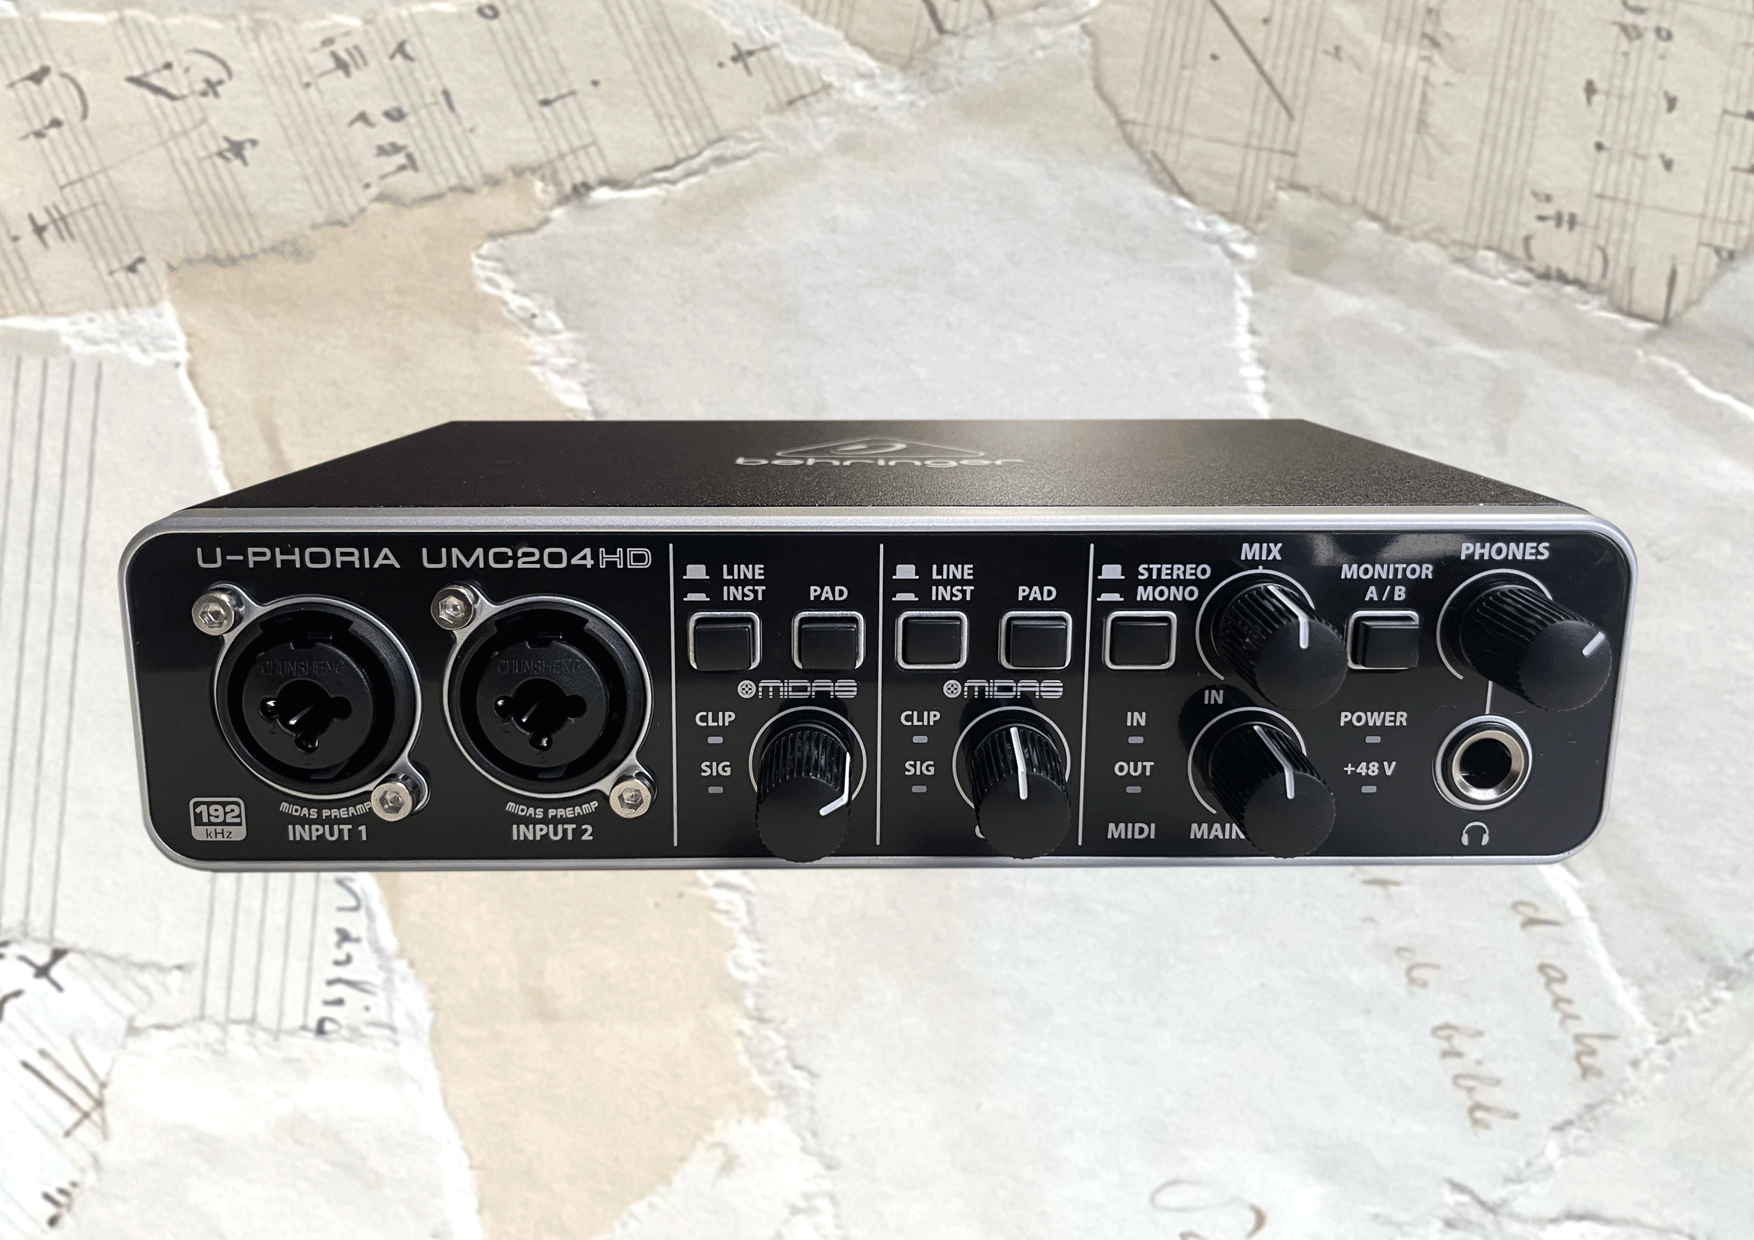
There are 2 indicator lights per channel too – the lower one, ‘sig’ lights up green whenever any input signal is detected, and the red ‘clip’ light indicates when signal is too loud. This is like a very basic level meter, but just about enough to set your gain levels with the gain input knob.
To the right of the front panel is a stereo/mono button to check your inputs in mono. There’s also a direct monitoring feature – a mix dial enabling you to adjust how much of the computers playback audio you hear, vs the direct microphone signal. You can adjust the mix between both extremes – hear only what’s coming into the interface, or what’s coming from your DAW, or find the balance that suits you.
There are two midi in and out indicator lights, showing when midi signals are active, and a main out volume control for your studio monitors. Next to this is also an A/B output button, which switches between 2 stereo sets of extra outputs on back of the interface. There’s a power on light, and phantom power LED to show you when 48v is switched on. Finally, there’s a 6.3mm headphone jack with it’s own volume control.
Line/Inst button
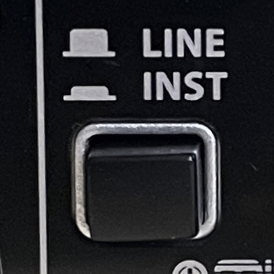
When you’re using a 1/4″ jack, you can set it to accept a ‘line level’ or an ‘instrument level’. There’s 2 types of line level – consumer and professional. CD players, DVD players and similar are set at -10dB, whereas signal processors or mixing desks are a least +4dB.
Leaving the button unpressed prepares it for line level, where it can accept signals of up to 20 dBu. Pressing the button activates Instrument level, which raises the gain, as instrument audio signals are much weaker.
Pad button
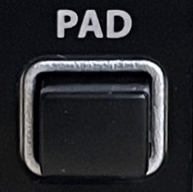
Pressing the pad button immediately reduces the input signal by 20 dB. It’s perfect for recording louder sound sources that would otherwise cause the signal to clip.
Clip/sig indicator lights
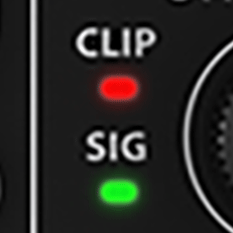
The green Sig LED, is short for Signal, and illuminates when an audio signal is coming through. Above it, the red Clip LED indicates when there’s too much signal coming through, and it needs to be adjusted downwards with the Gain control knob to the right.
In more expensive audio interfaces, there’s more of these lights, which form a level meter, showing you exactly who weak or strong the signal is, and whether it’s getting close to clipping.
Mix Knob
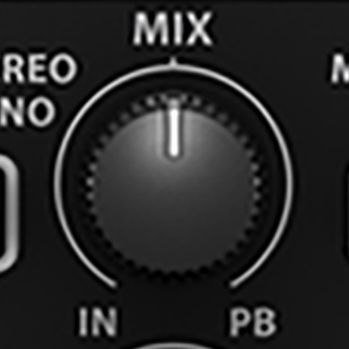
With this control knob, you can change the balance between what you hear from your DAW and from the inputs. For example, if you’re recording a vocal take, with the DAW playing a backing track, you can turn down the backing track and hear your vocals more directly, without latency (delay).
Stereo/mono button
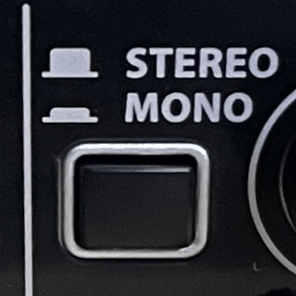
Anything you put through input 1 will automatically be hard panned to the left, and anything from input 2 will be hard panned to the right. In some cases, for example, if you’re recording just a single instrument, you can press the stereo/mono button, which blends inputs 1 and 2 into mono, bringing your instrument into the centre of the mix.
MIDI in and out LEDs
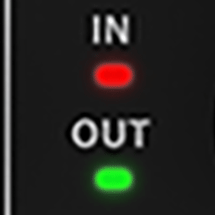
There’s 2 LED lights on the front panel which illuminate when MIDI there’s a MIDI signal coming in or out. This is useful for trouble shooting when you’re
Monitor A/B button
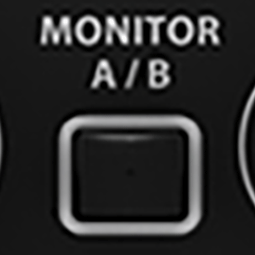
The Monitor A/B output button is a very useful feature – you can set it up to switch between 2 pairs of different sounding studio monitors to check your mixes.
Headphones output
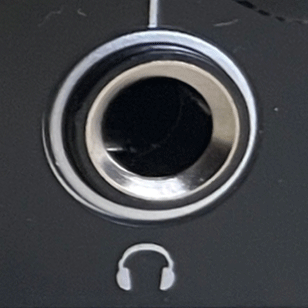
I found that the headphone output performed differently depending on which headphones I tested with. I started with an old pair of Sennheiser earbuds (30 ohms) which sound surprisingly good for their size with my iPhone. The sound was brittle, lacking bass, and distorted easily at higher volume levels.
But with both the Beyerdynamic DT 250s (80 ohms) the sound was detailed and clear. There was still distortion when pushing to the upper limits, but this was at a level far too loud for my ears. Using Sennheiser HD 650s (300 ohms), full volume resulted in minimal distortion at a very loud level. In my opinion, with a decent pair of studio headphones I think the UMC 204HD headphones are fine for mixing duties.
Focusrite 2i2 Back panel
On the back of the Behringer U-Phoria UMC204HD is the USB connection, midi in and out sockets, a 48v power switch, which turns on 48v for both channels.
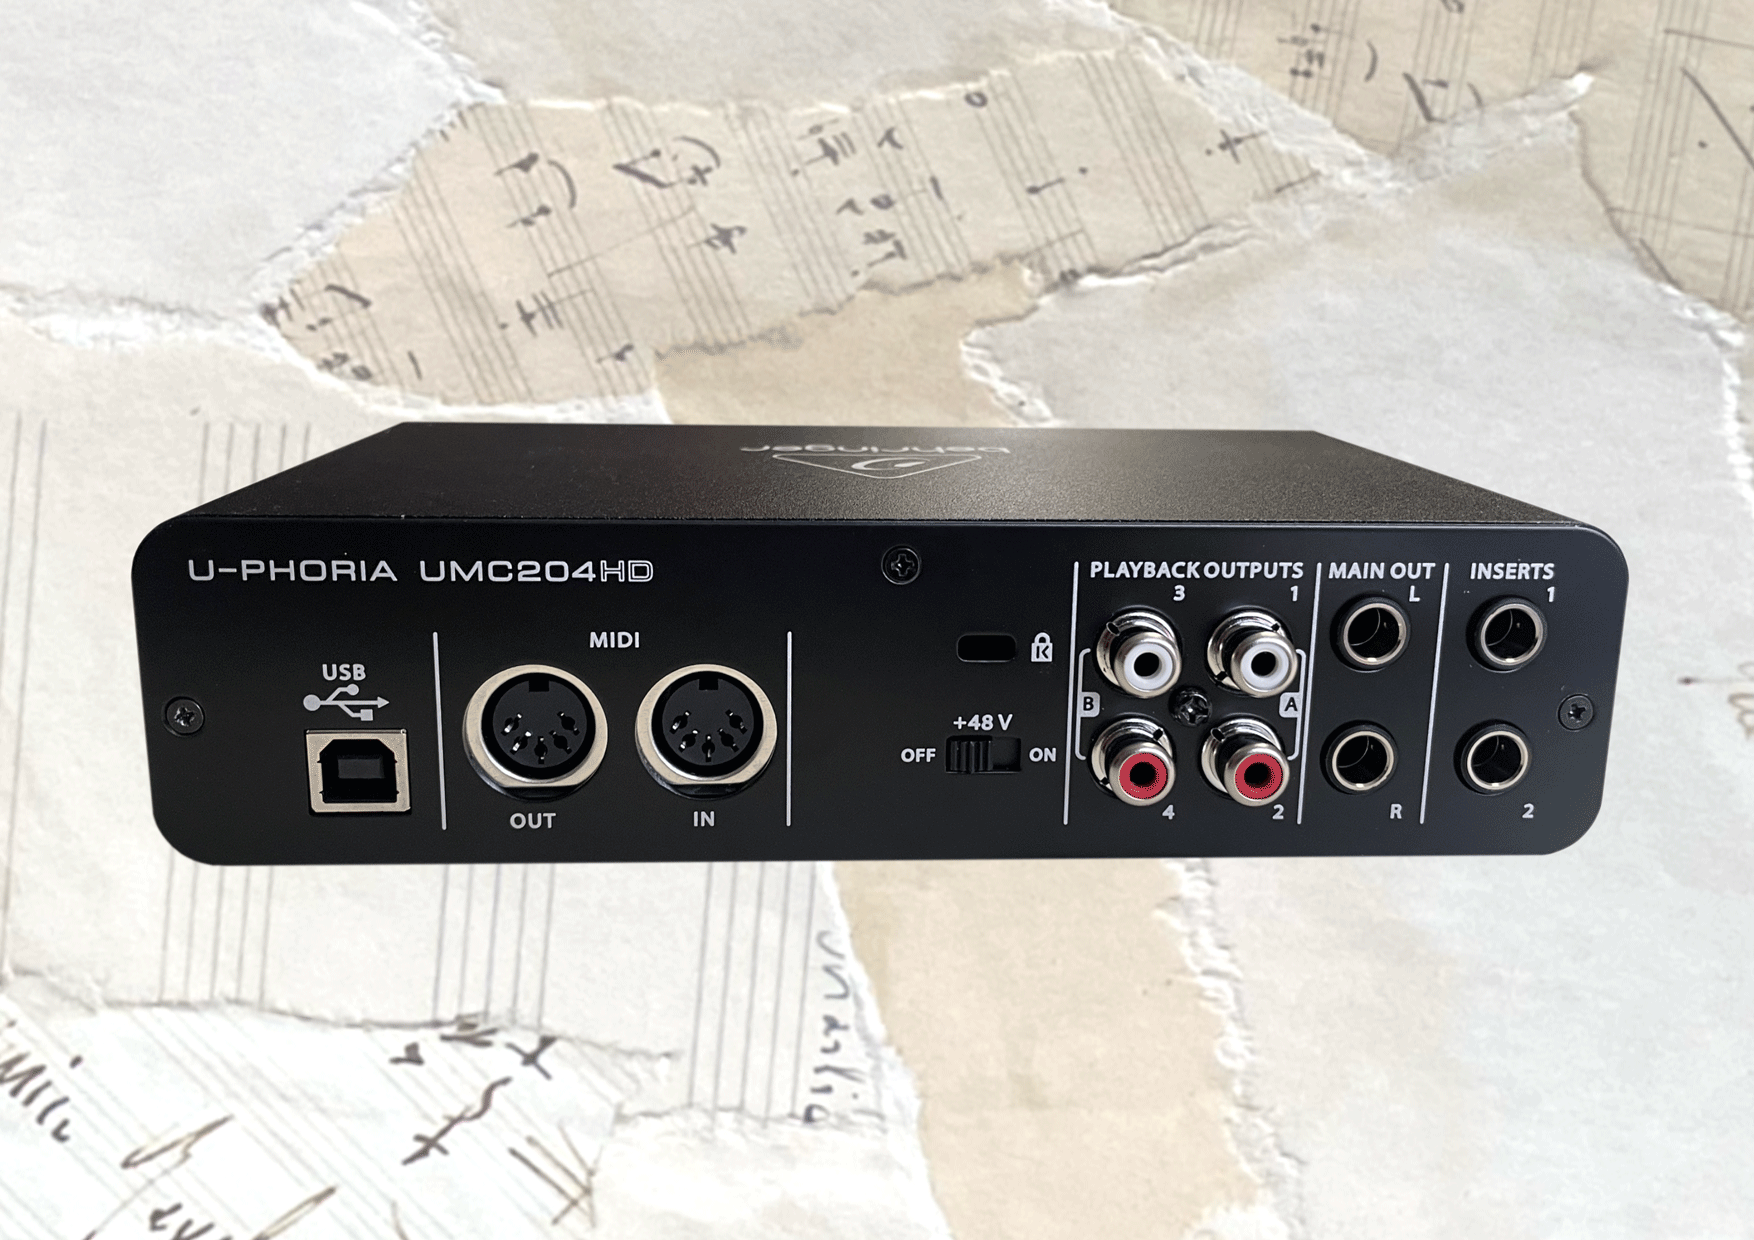
There’s also a set of 2 stereo RCA playback outputs, totalling 4 inputs. You can only use one set at a time with the monitor A and monitor B selection switch on the front panel. This gives you some great flexibility in your set up, enabling you to connect a small mixer, recorder or a set of hifi speakers to check your mixes.
As well as the RCA outputs, there’s a set of balanced 1/4″ or 6.3mm TRS jacks to use as your main outputs. The volume of these is controlled by the volume control on the front panel.
48v Phantom power switch
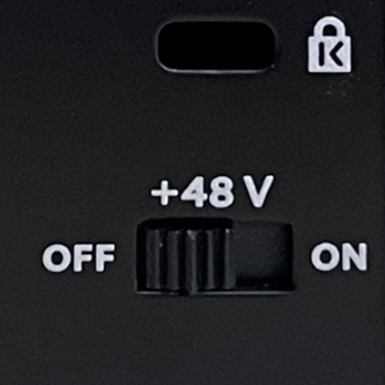
Just below the Kensington lock, is the 48v phantom power switch. It’s quite small and not easy to get to at the back of the interface. But thankfully there is a +48V light which illuminates on the front panel to show you when it’s switched on.
RCA Outputs
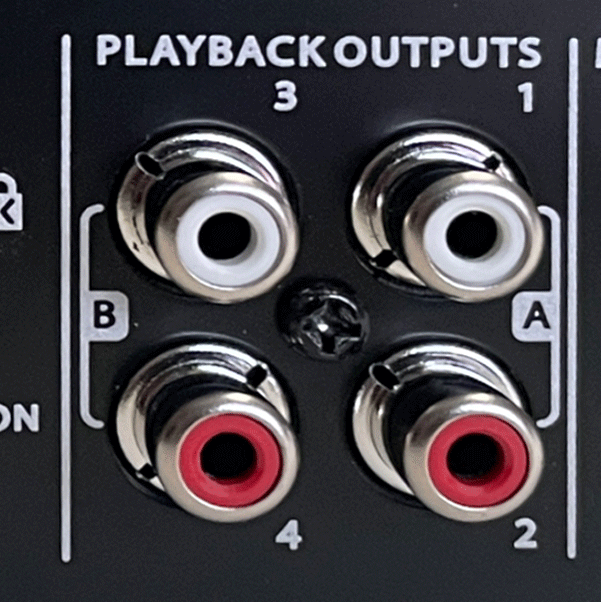
This is a feature you wouldn’t normally expect for an audio interface at this price point. 2 pairs of stereo RCA outputs can be used to connect other audio gear, or by using the switch on the front panel, switching from set A to set B to hear you mix different speakers.
Inserts
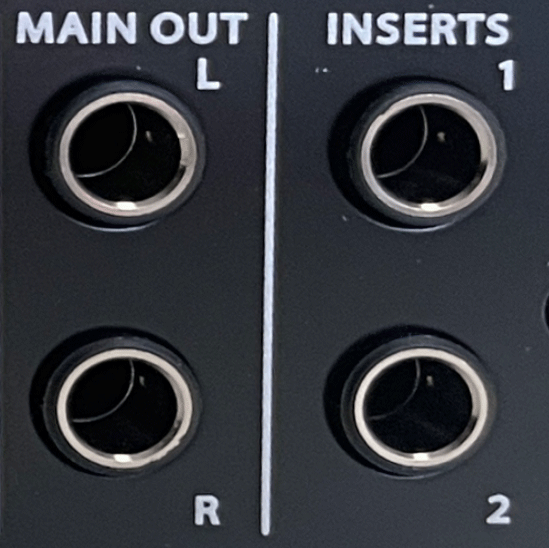
Nest to the main outputs are a pair of insert sockets. This gives you the option of using external signal processors such as EQ, compression, reverb or delay. It could be an old analogue piece of gear, of an audio unit you like the sound of.
You can use one insert to send the signal out to your external device, and use the other to bring the treated signal back in.

Behringer U-Phoria UMC204HD Sound quality
I found the Behringer U-Phoria UMC204HD very clean sounding, certainly high enough quality for voice overs, instruments or vocals. It responded well to condenser and dynamic mics. There was no need to add a signal booster for low level mics, like a Fethead of Cloudlifter.
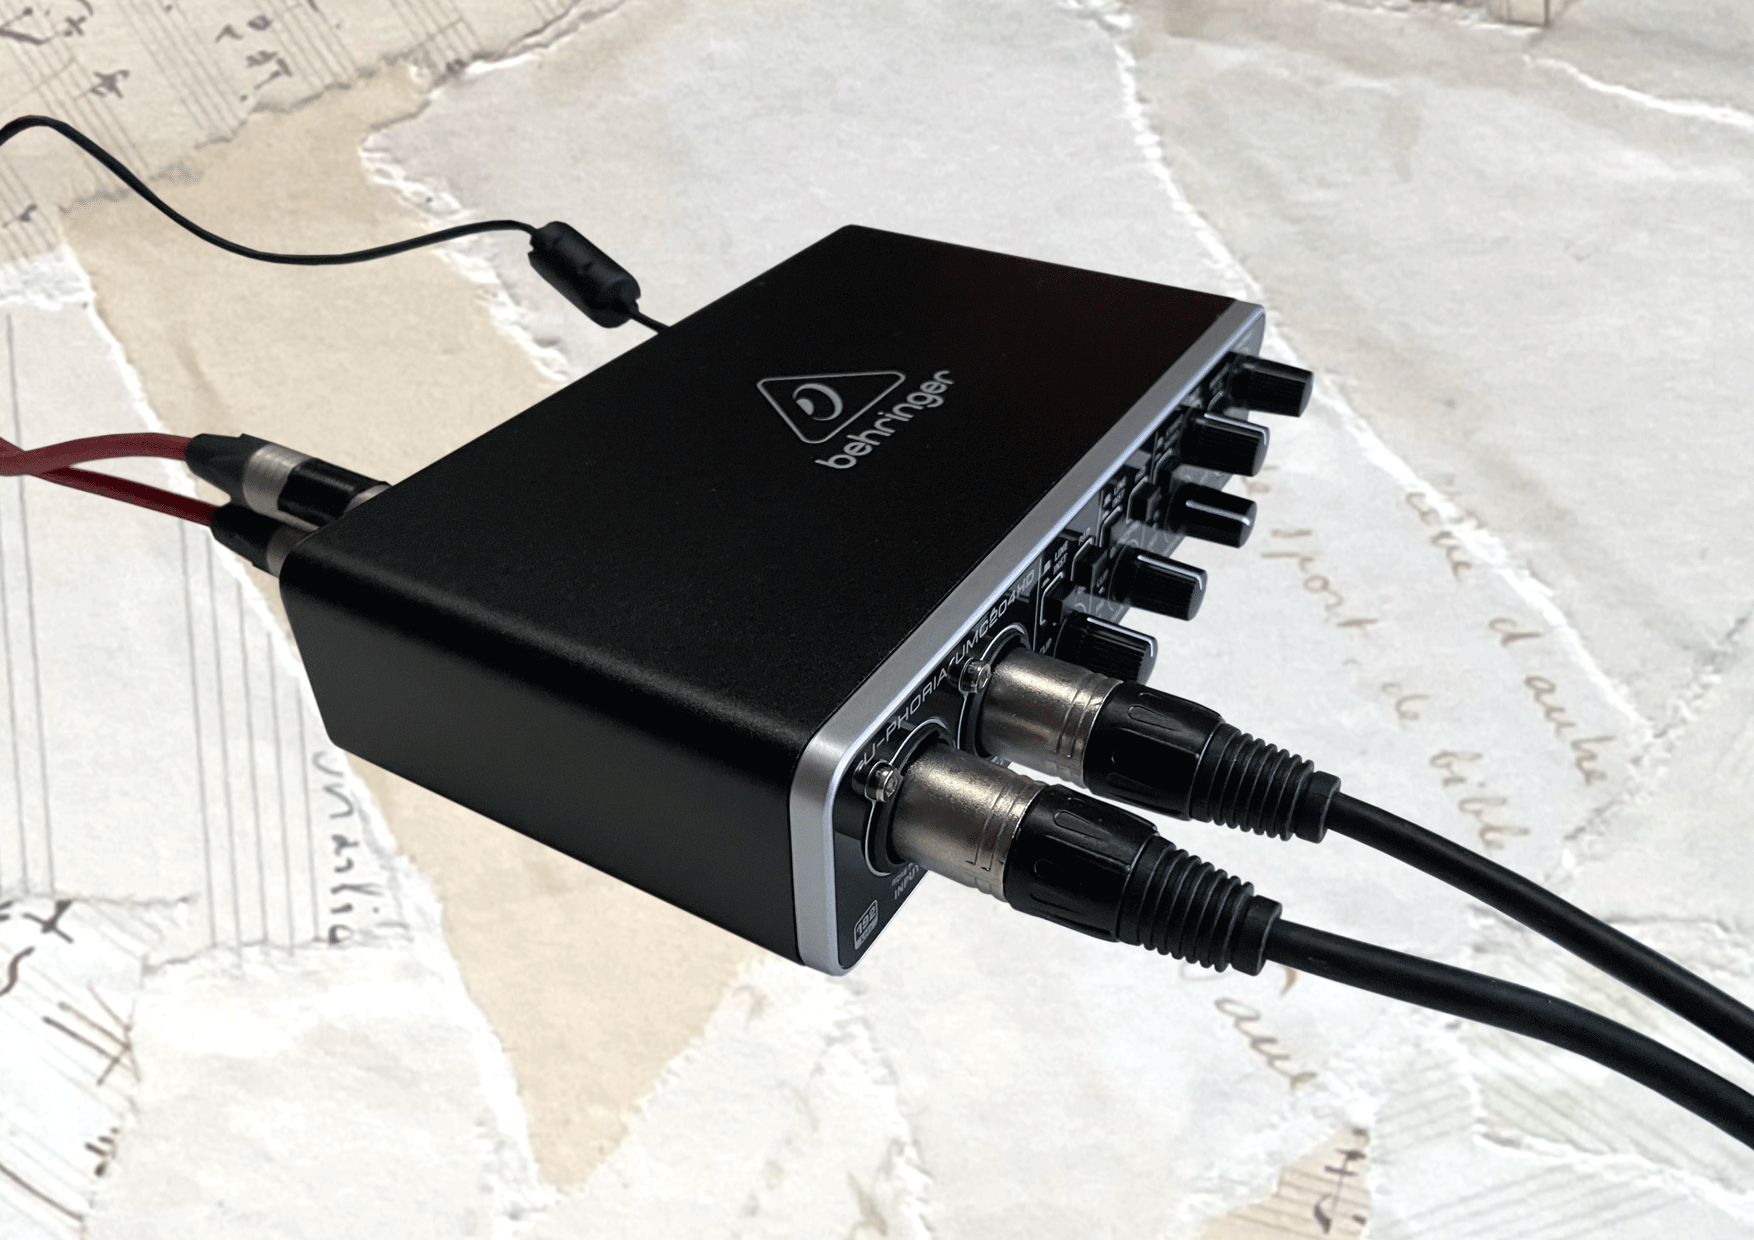
Clean and balanced sound comes down largely to three areas, the pre amps, the analogue to digital, and digital to analogue convertors, and the how they are all put together.
Behringer U-Phoria UMC204HD Pre amps
The quality of the mic pres incorporated into any audio interface have a big impact on the overall sound quality and noise floor. They’re used to amplify the low level signal of a microphone, and need to be as transparent as possible, without introducing too much noise or distortion.
For the U-Phoria UMC204HD, Behringer worked with Midas, a sister company world renowned for its preamps and mixing consoles. While these aren’t the midas pre amps you’ll find on a legendary Midas Heritage H3000, they are in practice nice quality – clear, bright and crisp, with a noise floor that will be inaudible in most circumstances.
These came as a bit of a surprise to me, as I still remember when Behringer Xenyx preaamps were not taken seriously by professional musicians. But times have certainly changed, and with it Behringer’s reputation for professional level audio quality.
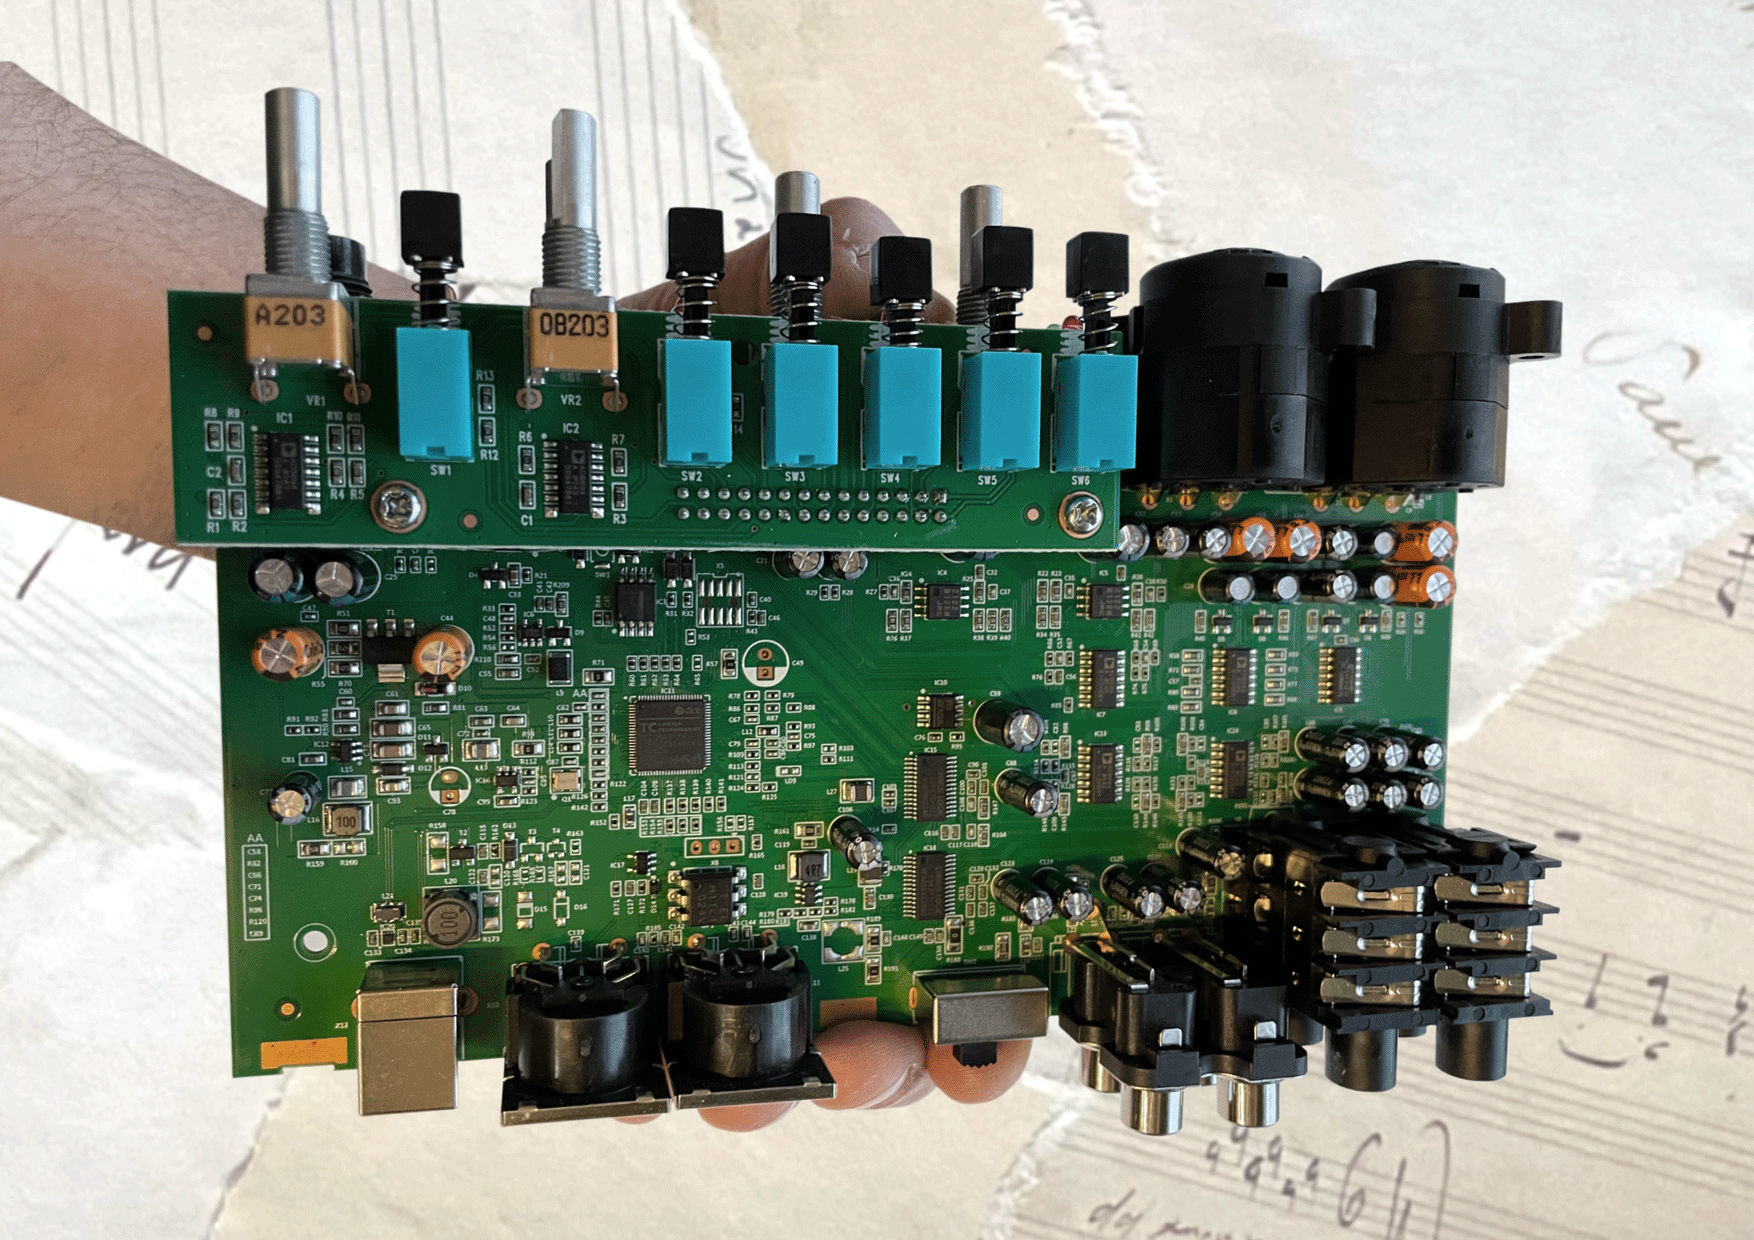
The mic preamps were quiet, even while using a Shure SM58, a dynamic microphone with a weak audio signal. If you’re using a quiet dynamic mic, like an SM58 or Shure SM7B, stay close to the mic and you’ll have plenty of headroom.
A further strength of the Behringer U-Phoria UMC204HD is it’s very high maximum input level of +20 dBu. This means it can handle very loud signals with ease.
Behringer U-Phoria UMC204HD Digital Analogue Convertors
The UMC204HDs use 24 bit Cirrus Logic CS4272 AD/DA digital analogue converters, which you used to find in the old Focusrite Saffire interfaces. Behringer claim a dynamic range of 110dB – while testing showed it to be slightly lower, there weren’t any problems.
The AD convertors were prone to distortion and clipping when the gain was too high, so I recommend keeping them at around -10dB to maintain a clear and usable signal. It’s the same for the outputs – don’t oversaturate the DA convertors and you’ll achieve a very good sound.
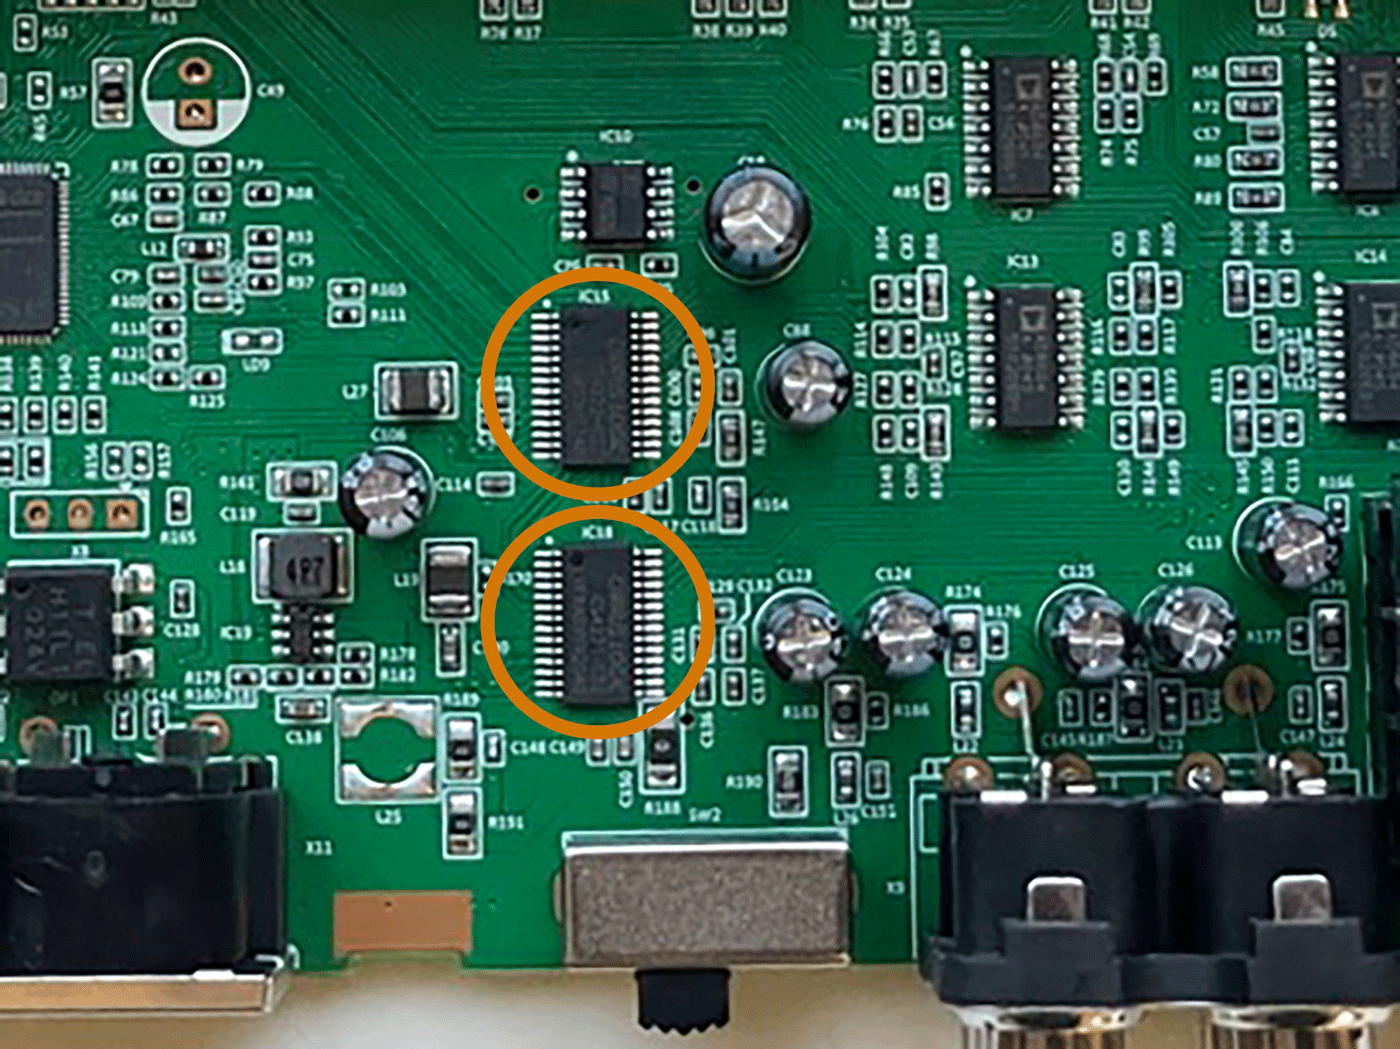
If you don’t saturate the input/output stages of the UMC204HD, you have a decent, all-in-one audio interfaces with a bunch of functionality at a reasonable price. Go beyond that and performance gets ugly fast whether it is the DAC or ADC. Remember, there’s always the RCA outputs on the back which you can utilise if you need to as well.
Behringer U-Phoria UMC204HD Stand alone mode
By using a power source other than your computer, such as a USB power adaptor, you can use the UMC204HD as a stand alone unit. This way you can have access to the preamps and phantom power, or use the 204 is a small mixer in live situations.
Behringer U-Phoria UMC204HD 2i2 Loopback feature
There’s no loopback feature on the Behringer U-Phoria UMC204HD. Loopback is a feature which allows you to livestream, using sound from you DAW as well as your live source.
Some people use the loopback feature to rip sounds or samples from the internet – theoretically you could do this with the UMC204HD, by routing the signal from the extra pair of RCA outputs into a recording device.
Behringer U-Phoria UMC204HD drivers
This UM204HD was tested on a Macbook Pro M3, and I can report that the ASIO drivers were stable, with good round trip latency results – one of the better USB interfaces in this regard. It wasn’t quite the same as the RME Babyface Pro FS, but better than some interfaces costing more. There were no dropouts or audio glitches to report.
Behringer U-Phoria UMC204HD dimensions and weight
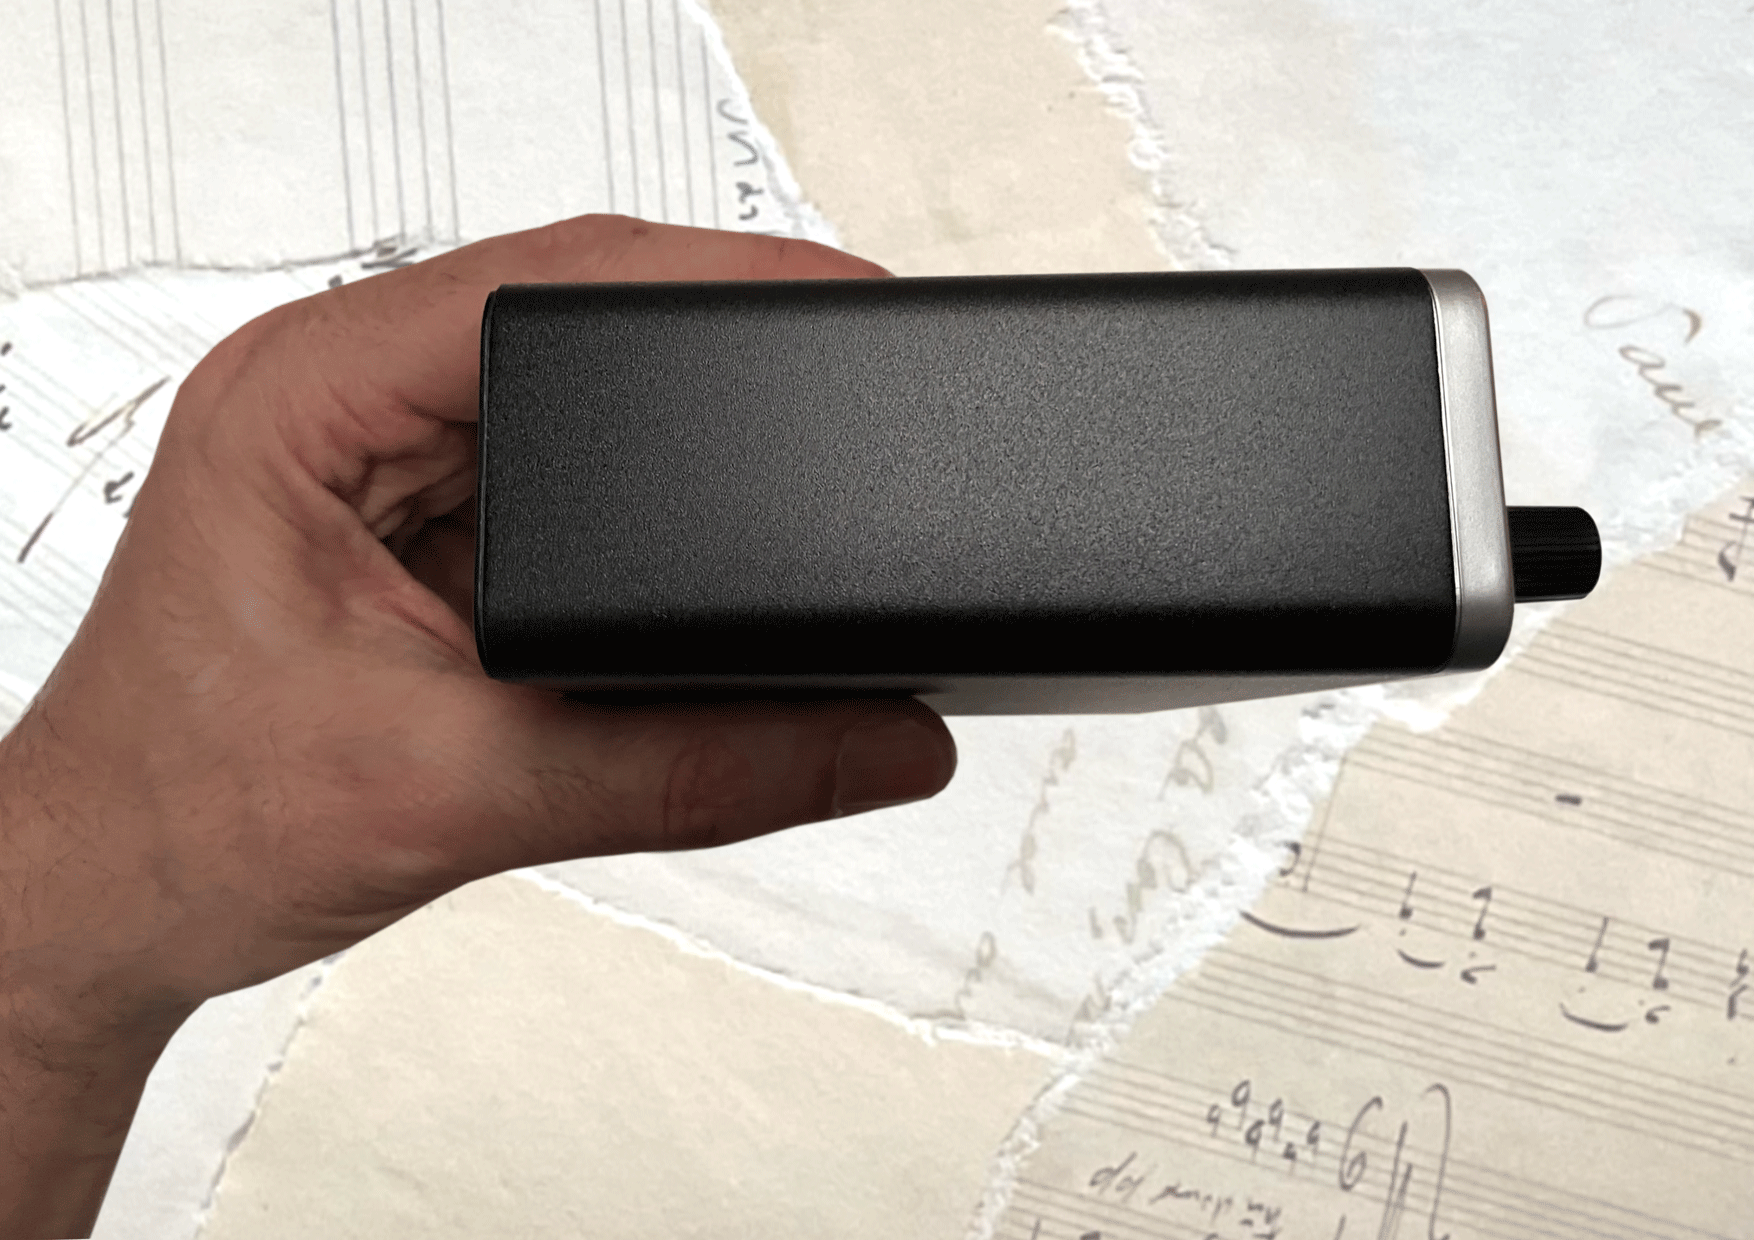
The Behringer U-Phoria UMC204HD is a small and lightweight audio interface. Small enough to put in your coat pocket or backpack for location recording, taking to another studio environment, or for live recording.
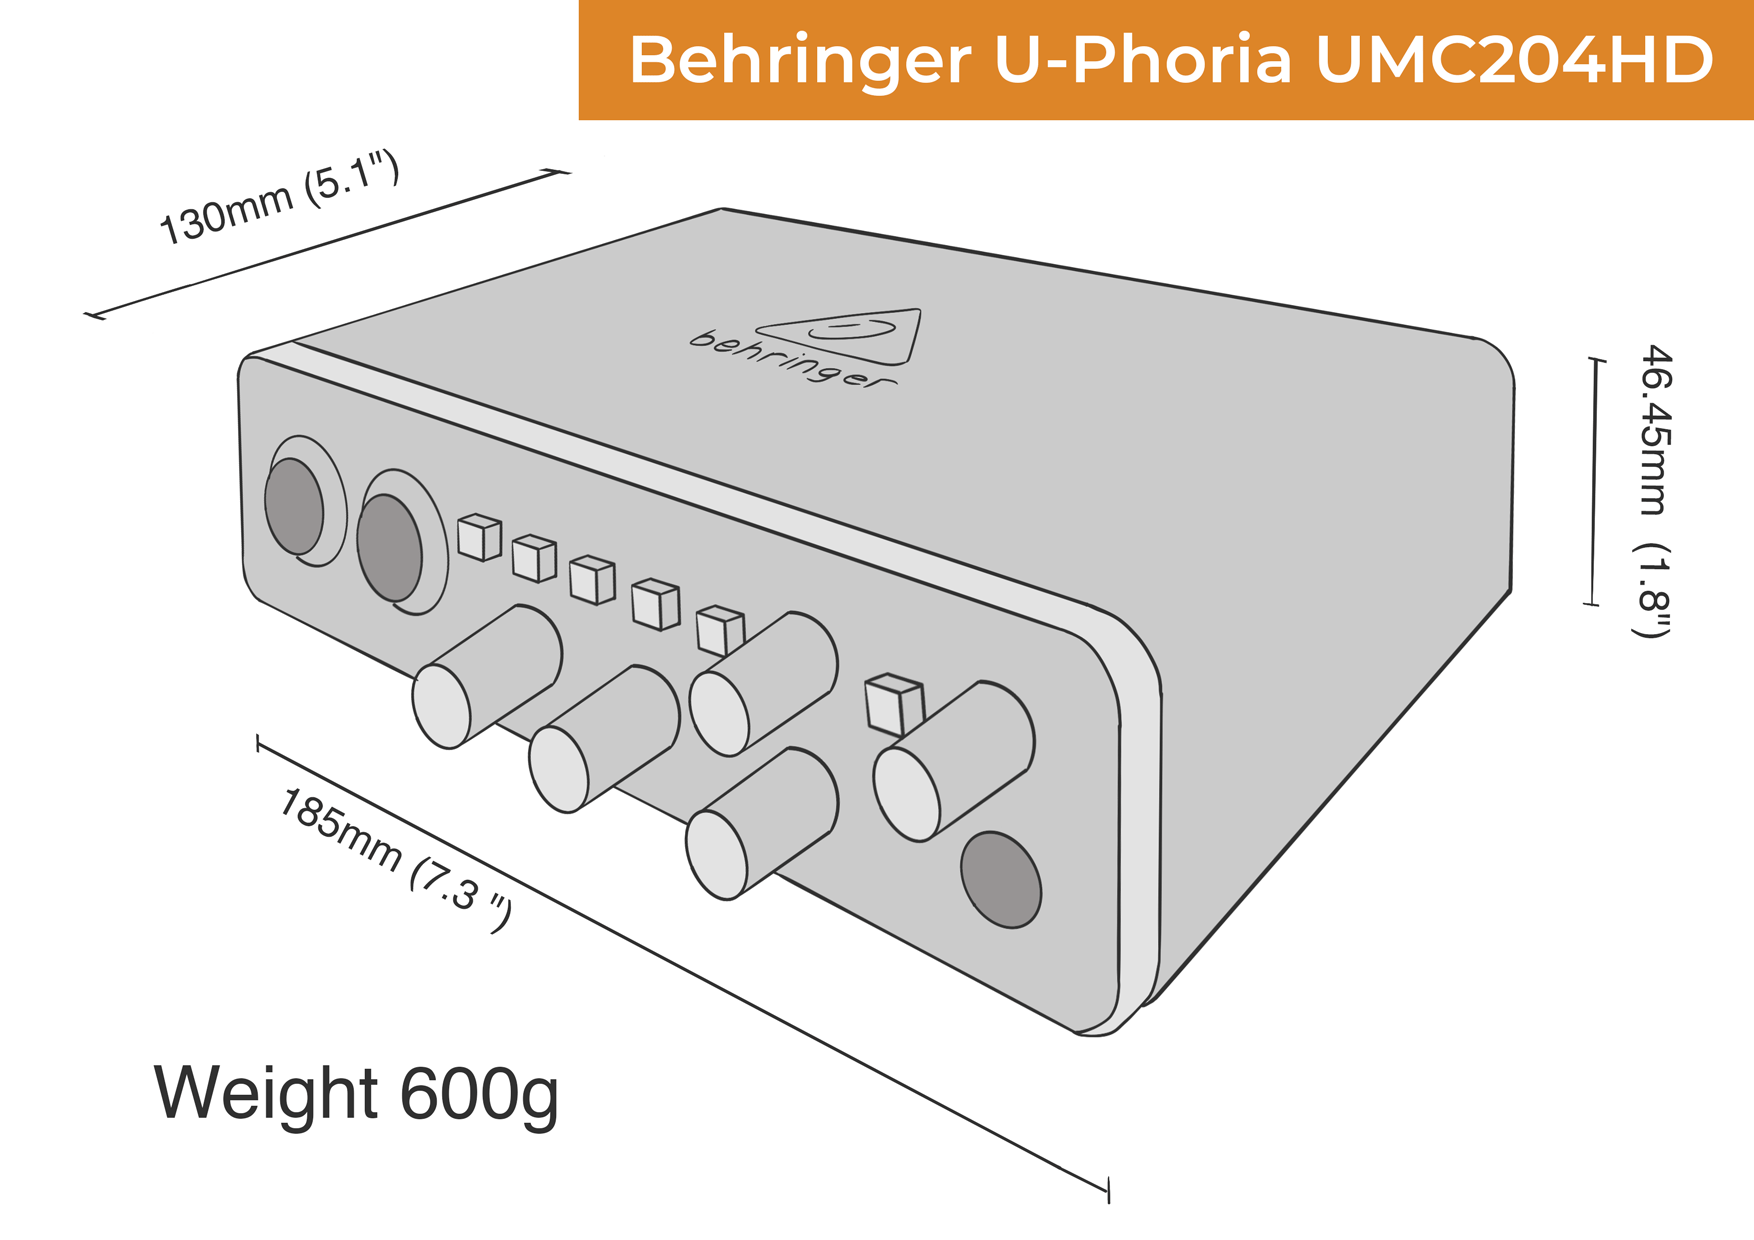
Behringer U-Phoria UMC204HD dimensions vs UMC404HD
| UMC204HD (this one) | UMC404HD | |
| Weight | 0.6 kg (1.4 lbs) | 1.2 kg (2.7 lbs) |
| Height | 46.45mm (1.8″) | 45.81 mm (1.78″) |
| Width | 185mm (7.3 “) | 292 mm (11.5″) |
| Depth | 130mm (5.1″) | 130 mm (5.1″) |
Other audio interfaces by Behringer
There’s 2 other similar audio interfaces by Behringer, the UMC 202HD, and the UMC404 HD, both described in more detail below.
There’s also two models with just one mic preamp, the UM2m which uses the old Xenyx preamp, and the UMC22 with the MIDAS designed preamp.
If you’re looking for even more preamps, the larger rackmount U-Phoria UMC1820 has I/O support for S/PDIF, ADAT and S/MUX formats. It also has a DC power socket, traditional MIDI in and out sockets, and 2 headphone outputs.
Behringer U-Phoria UMC204HD vs UMC202HD
The Behringer UMC202HD is a pared down version of the 204HD, with the 2 midas preamps, but no MIDI inputs or the 4 RCA playback line outs.
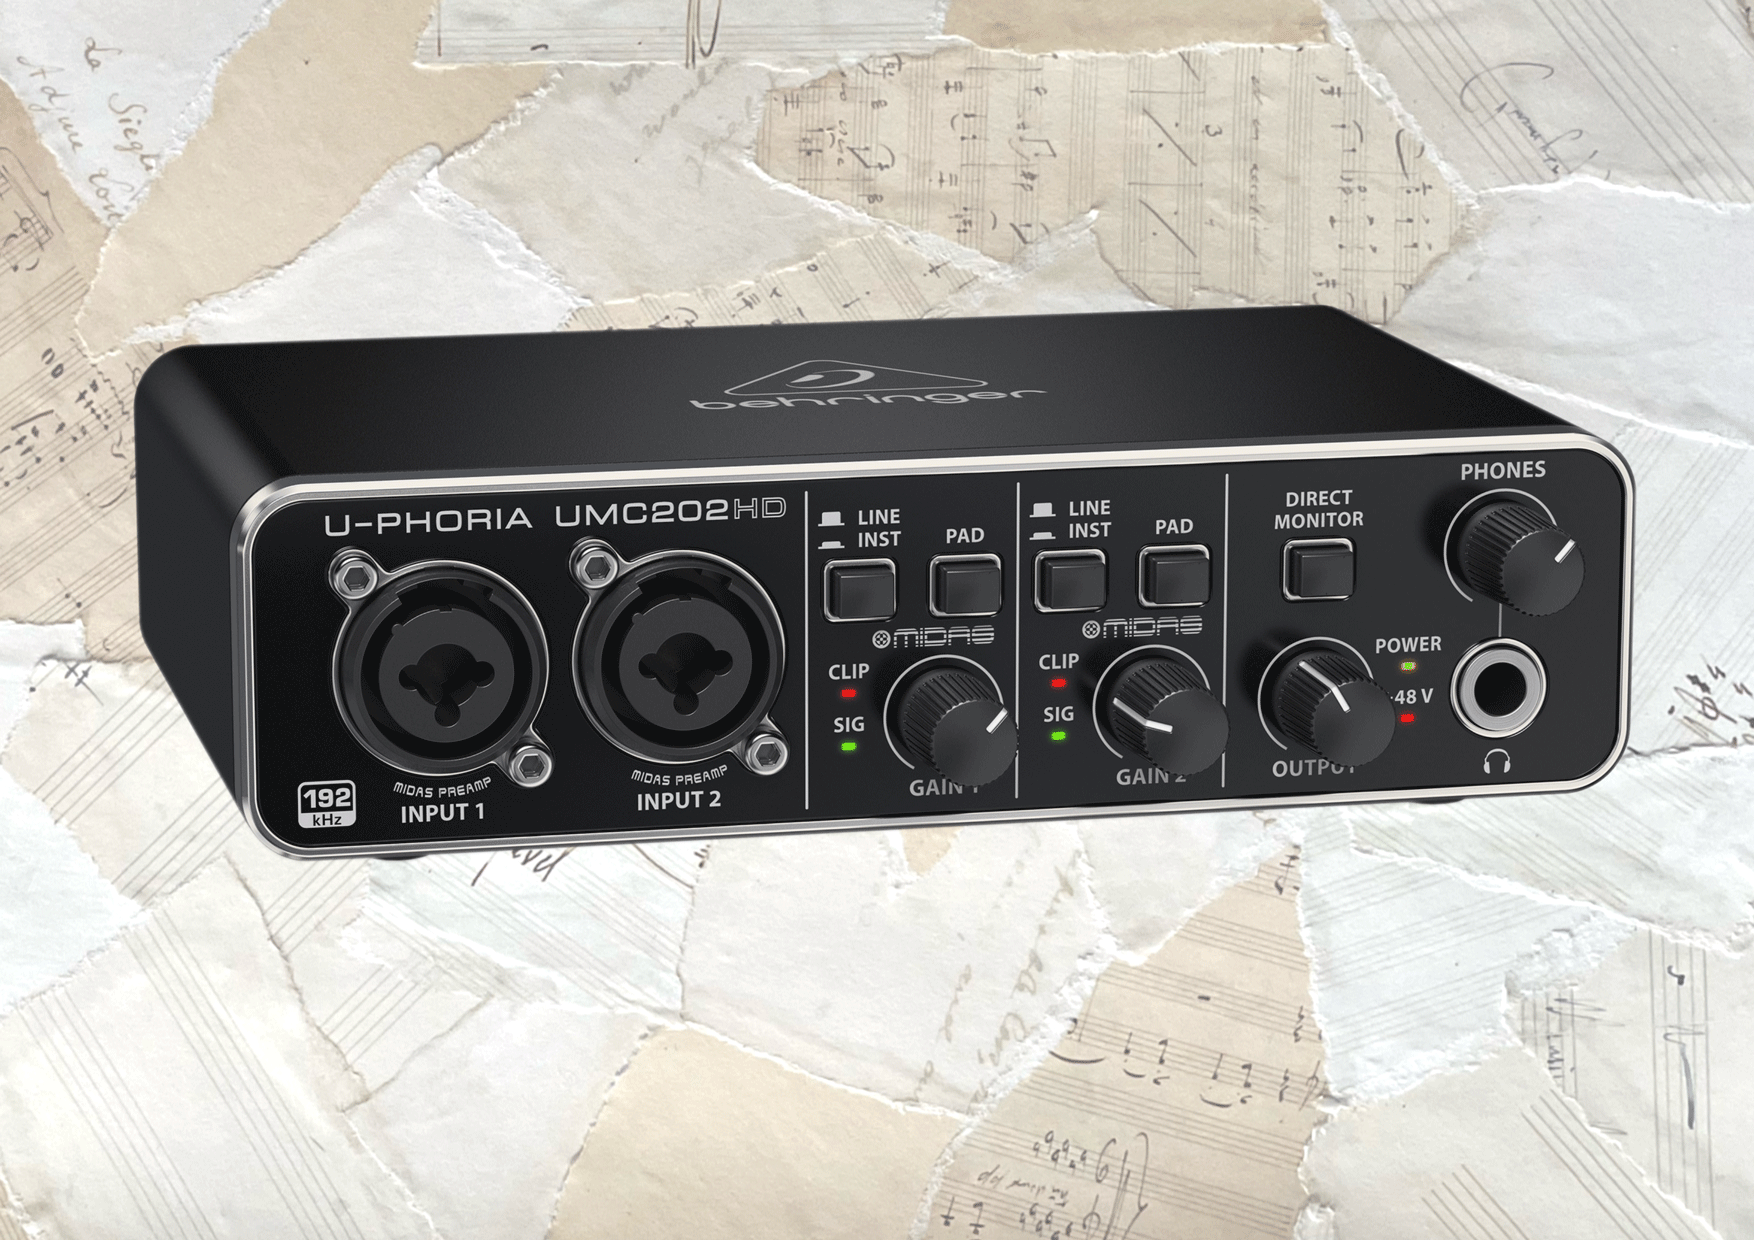
In comparison to the 404HD, the 202HD also lacks the inserts, and perhaps most importantly, doesn’t have a mix balance control, which allows you to adjust the balance of sound coming from your DAW and your input source.
Behringer U-Phoria UMC204HD vs UMC404HD
The Behringer UMC404 HD might be a good choice if you need more than 2 preamps. It provides a total of 4 combo jacks with the option for phantom power. There’s also a DC power socket which you have the option to utilise if you’re not getting enough power from your computer USB connection
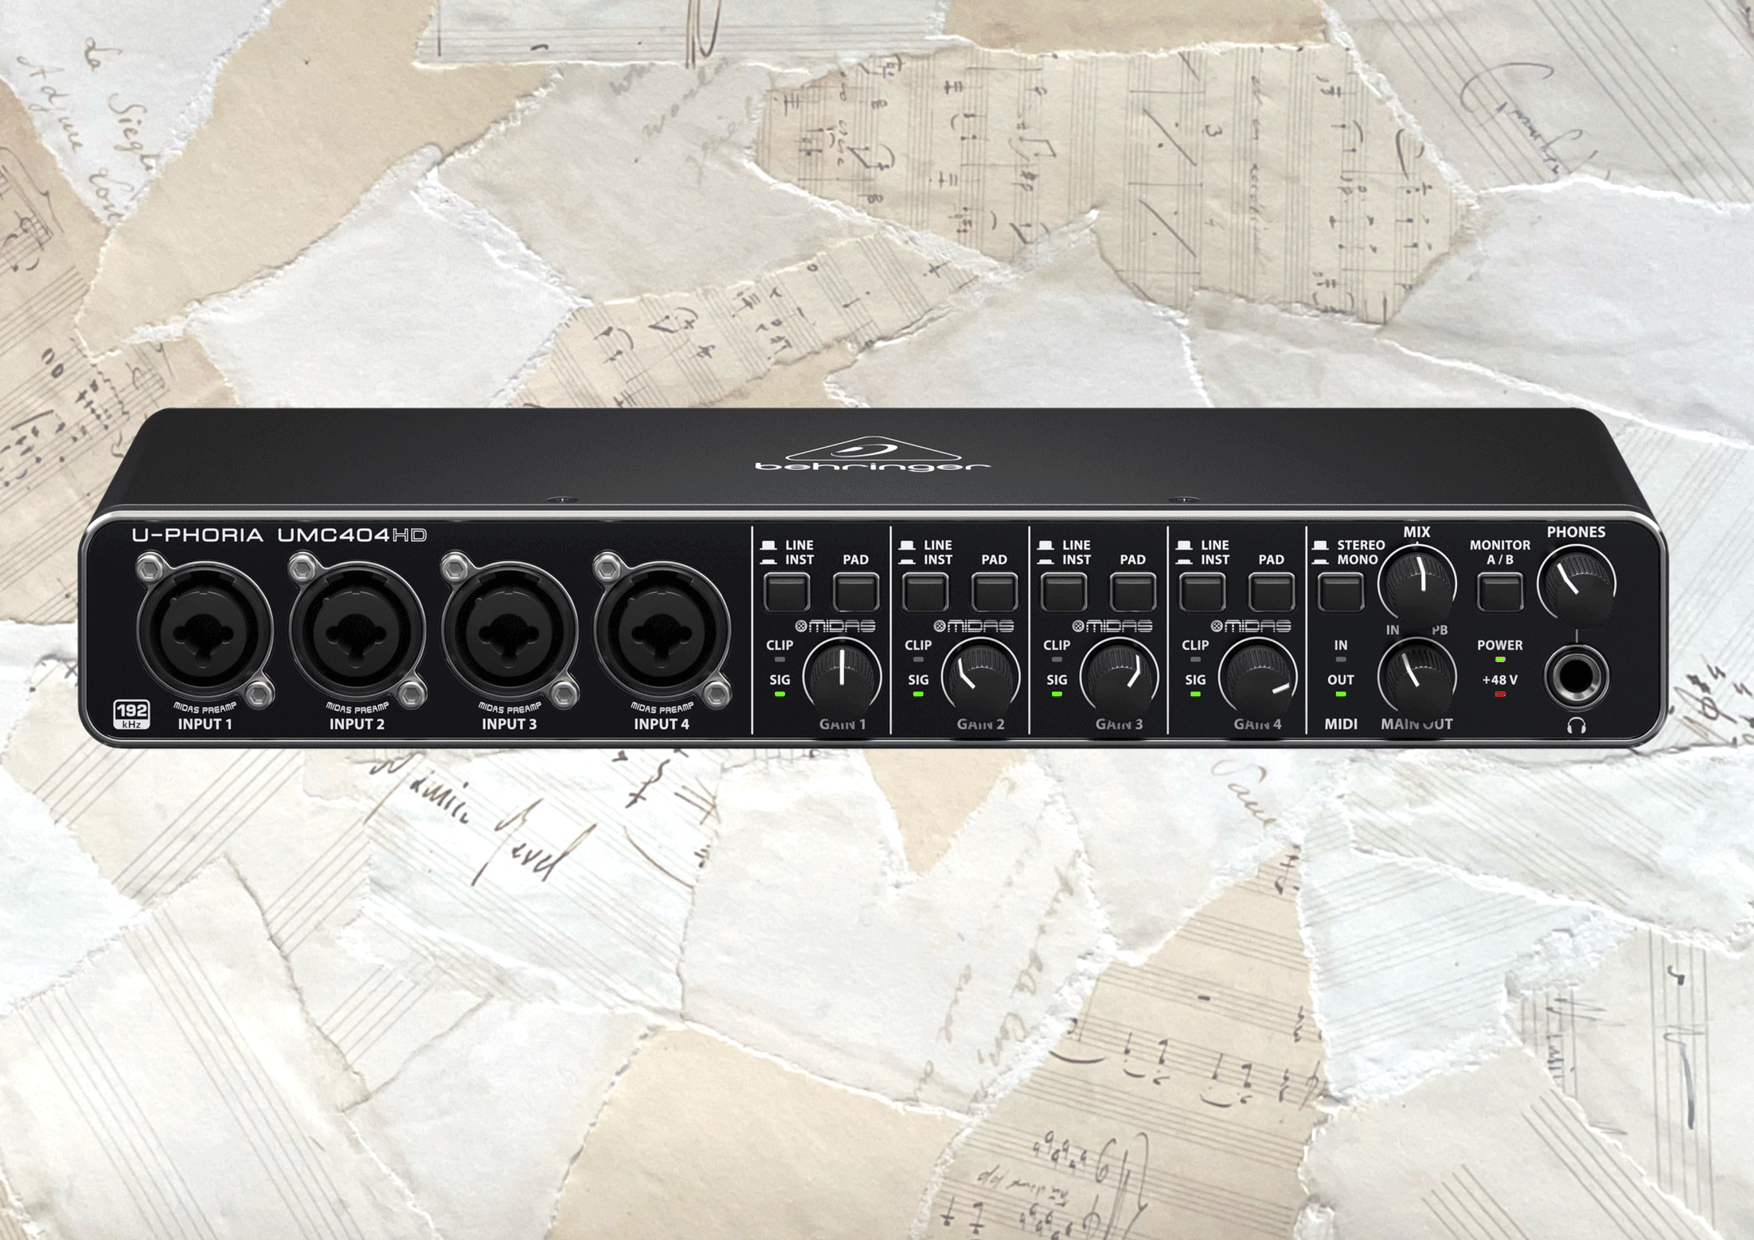
Having four preamps enables 4 simultaneous inputs for recording, which in practice could be a stereo acoustic guitar (2 inputs), and 2 singers (2 inputs). The 404HD also has an extra pair of inserts, so you could connect more outboard gear, such as effects units should you need to.
Verdict
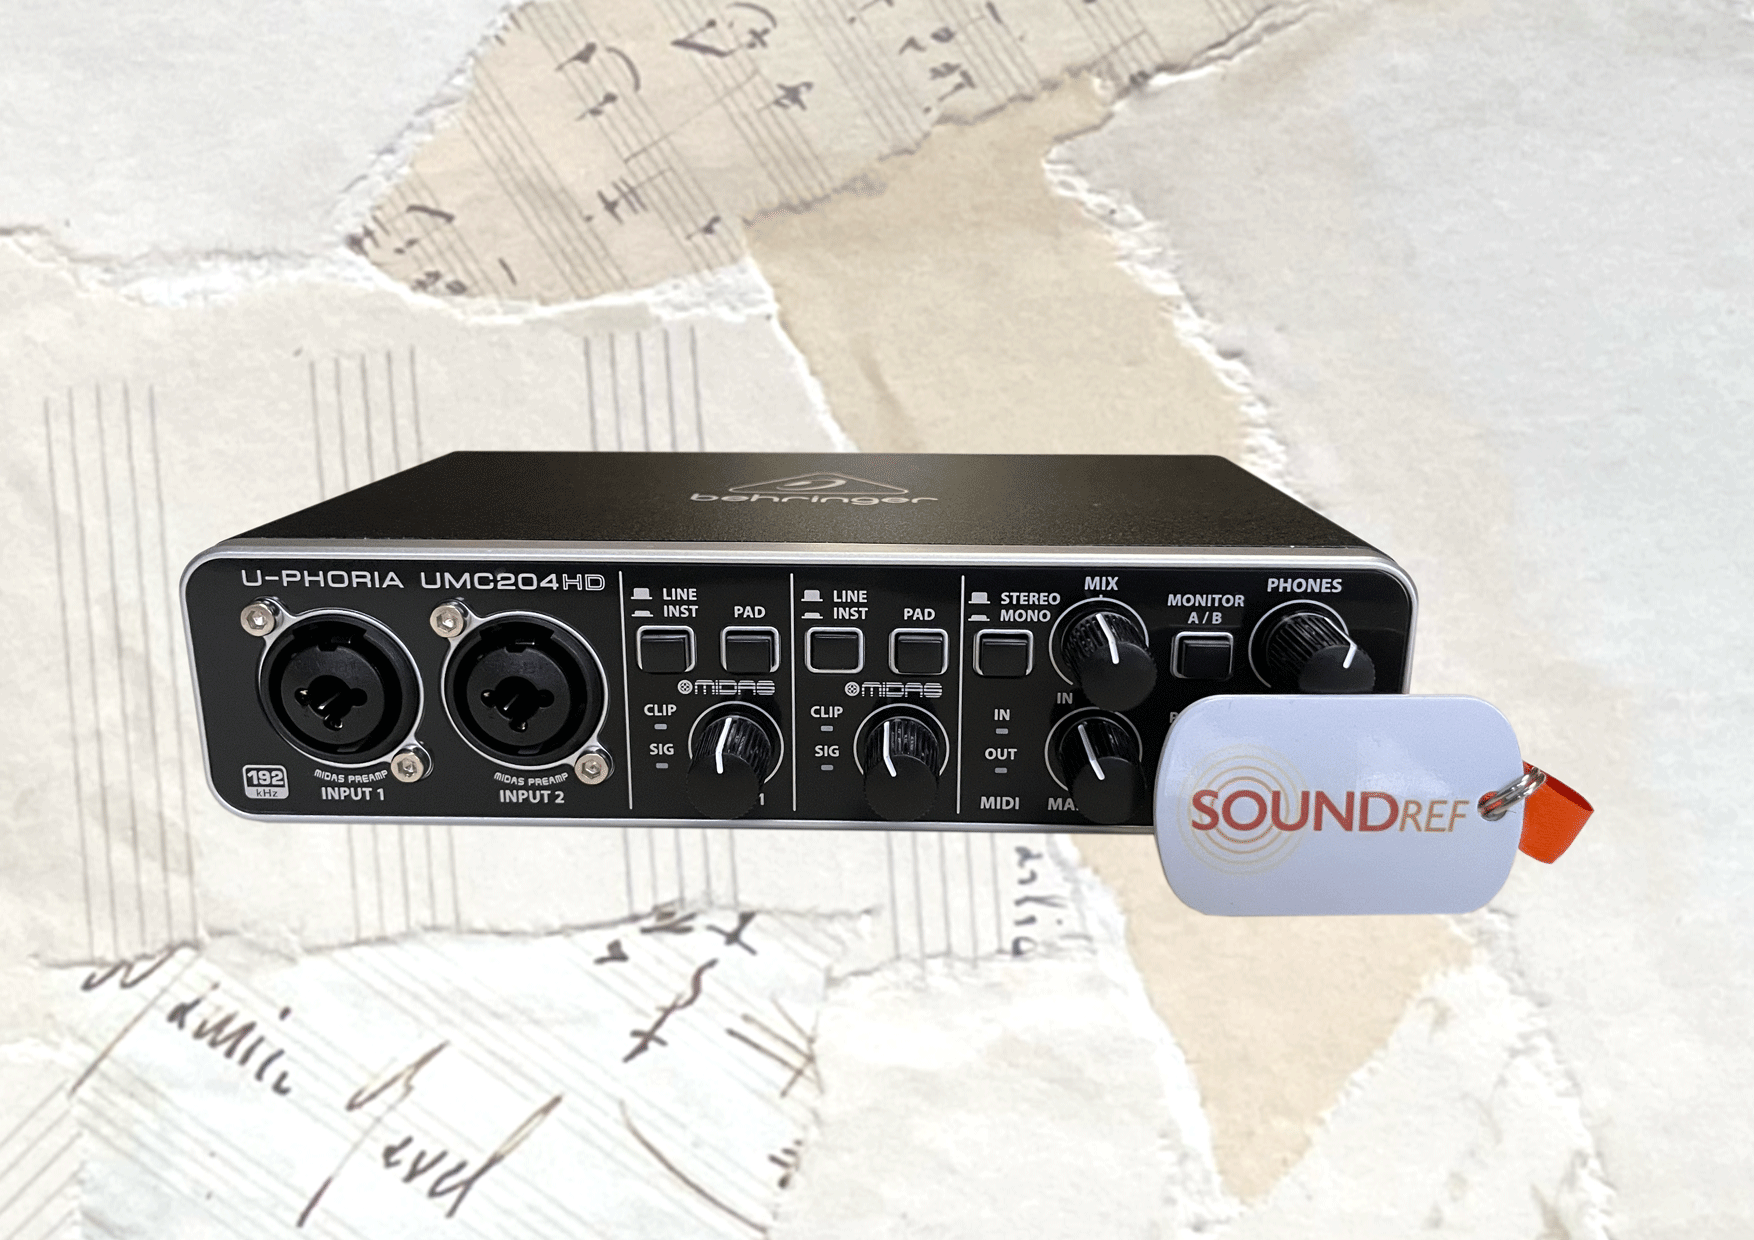
The Behringer U-Phoria UMC204HD is a superb budget audio interface. The MIDAS designed mic preamps are quiet, and a welcome improvement over the Xenyx preamps of some of the past Behringer interfaces. Along with the low latency, the U-Phoria UMC204HD also has extra output options and inserts, making it a very versatile tool for the studio.
As there’s nothing out there at this price point that comes near, the Behringer U-Phoria UMC204HD is incredibly good value for money for anyone starting out in home recording or podcasting, and needs a professional sound.
Behringer U-Phoria UMC204HD frequently asked questions
Does the Behringer U-Phoria UMC204HD have separate phantom power for individual pre amps?
The Behringer U-Phoria UMC204HD has one 48v phantom power switch which turns on phantom power for both channels
Do you need to install drivers with the Behringer UMC204HD?
A driver isn’t necessary for the UMC204HD on Mac OS because it is ‘class-compliant’. On a PC, you can download and install the necessary Windows driver from the Behringer website.
Why are Behringer products such good value?
Behringer use out of copyright designs to recreate equipment at the fraction of the cost in their factories in China
What are the alternative 2 channel audio interfaces to consider for your home studio?
