The Definitive RME Babyface Pro FS Review
Pro Quality Sound and rock steady reliability for the home studio

Reviewed by: Daren Banarsë
Review date: January 2024
Current price: Under $1000

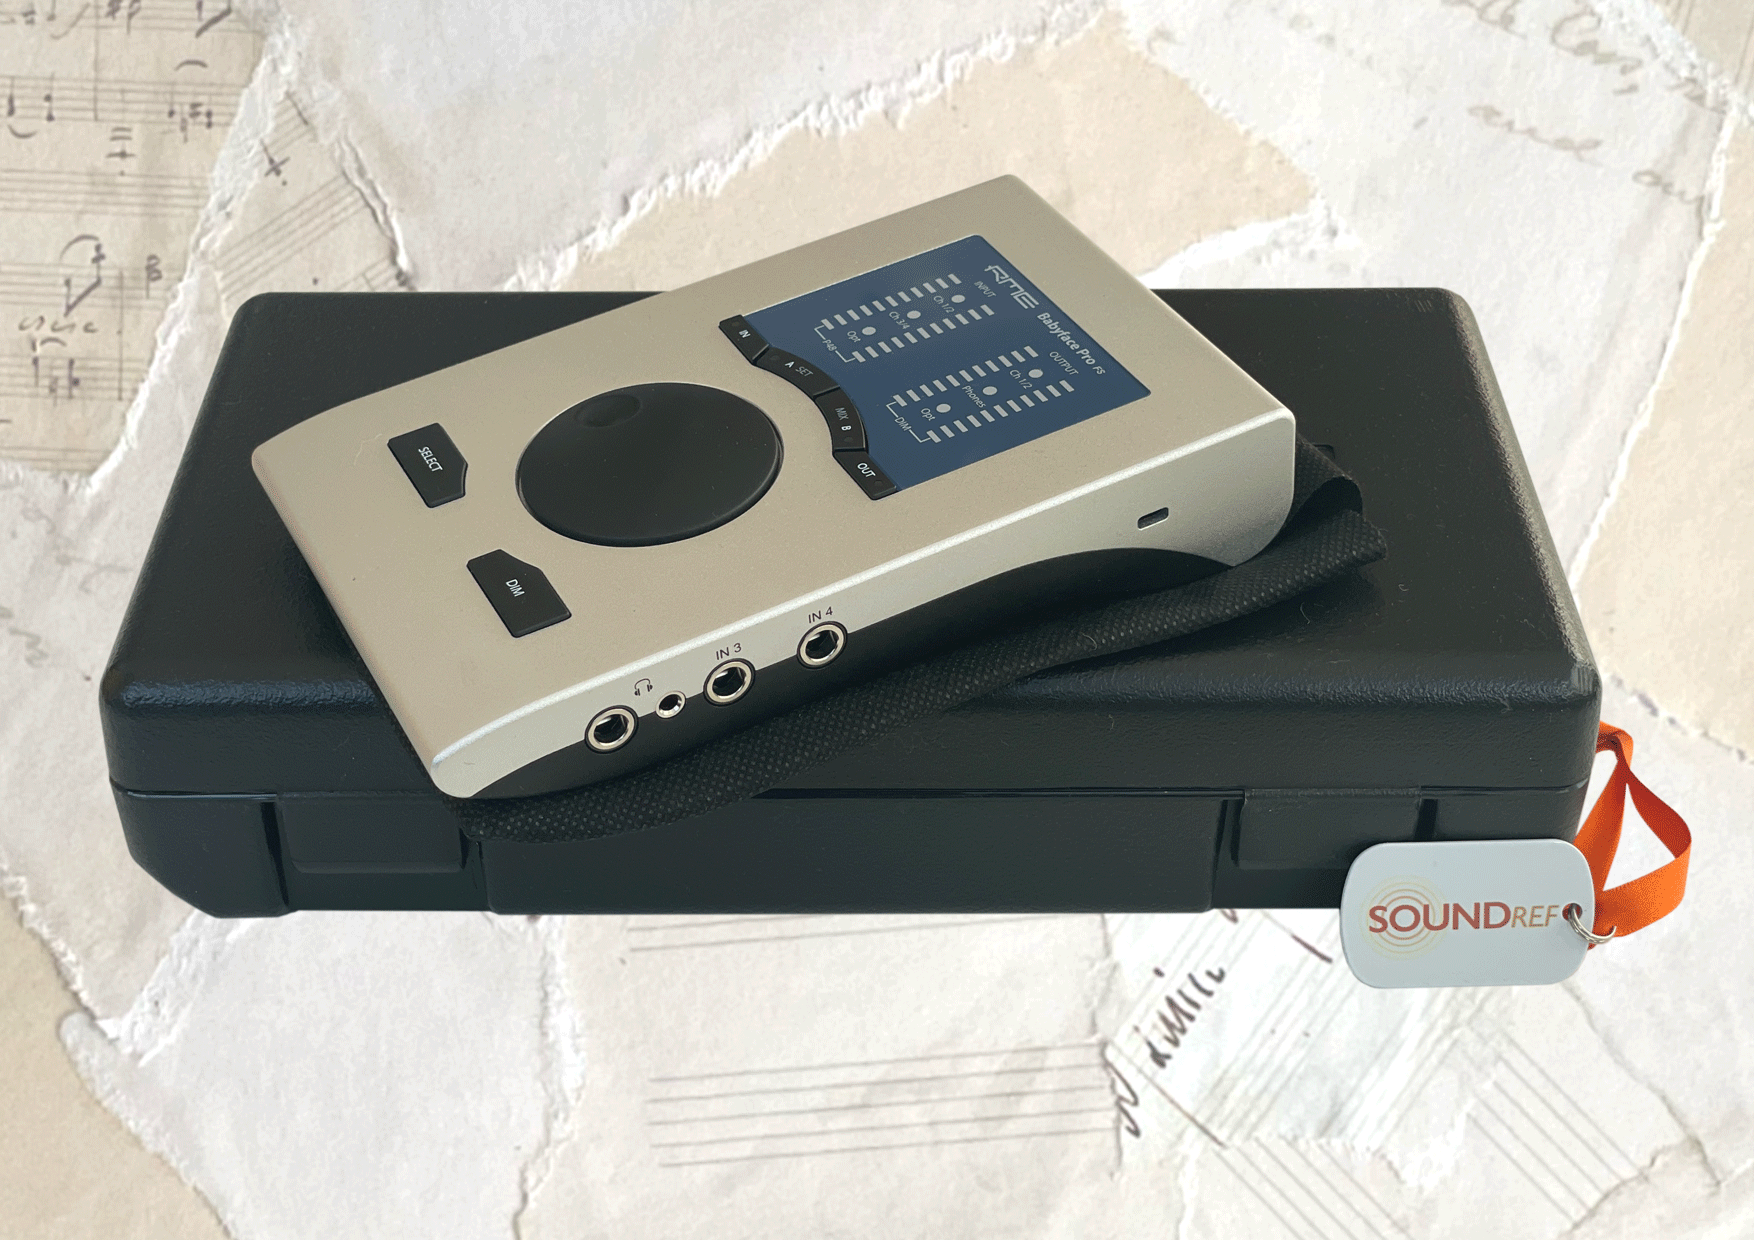
RME Babyface Pro FS Review
| Pros: | Cons: |
| Solid build quality Pristine clear sound Customisation options Portability | Not cheap |
RME Babyface Pro FS Review
The Babyface Pro FS is a high quality 2-input 2-output USB bus powered audio interface. It’s suitable for composers, musicians and on location sound recorders. Noted for its high degree of flexibility and customisation, the Babyface Pro FS has stunning mic preamps and digital analogue convertors.
What is it?
RME was founded in 1996, and are considered one of the leading manufactures of audio equipment and audio interfaces in professional recording studios. Along with a transparent sound, they’ve developed a reputation for reliability and stability within their software and hardware.
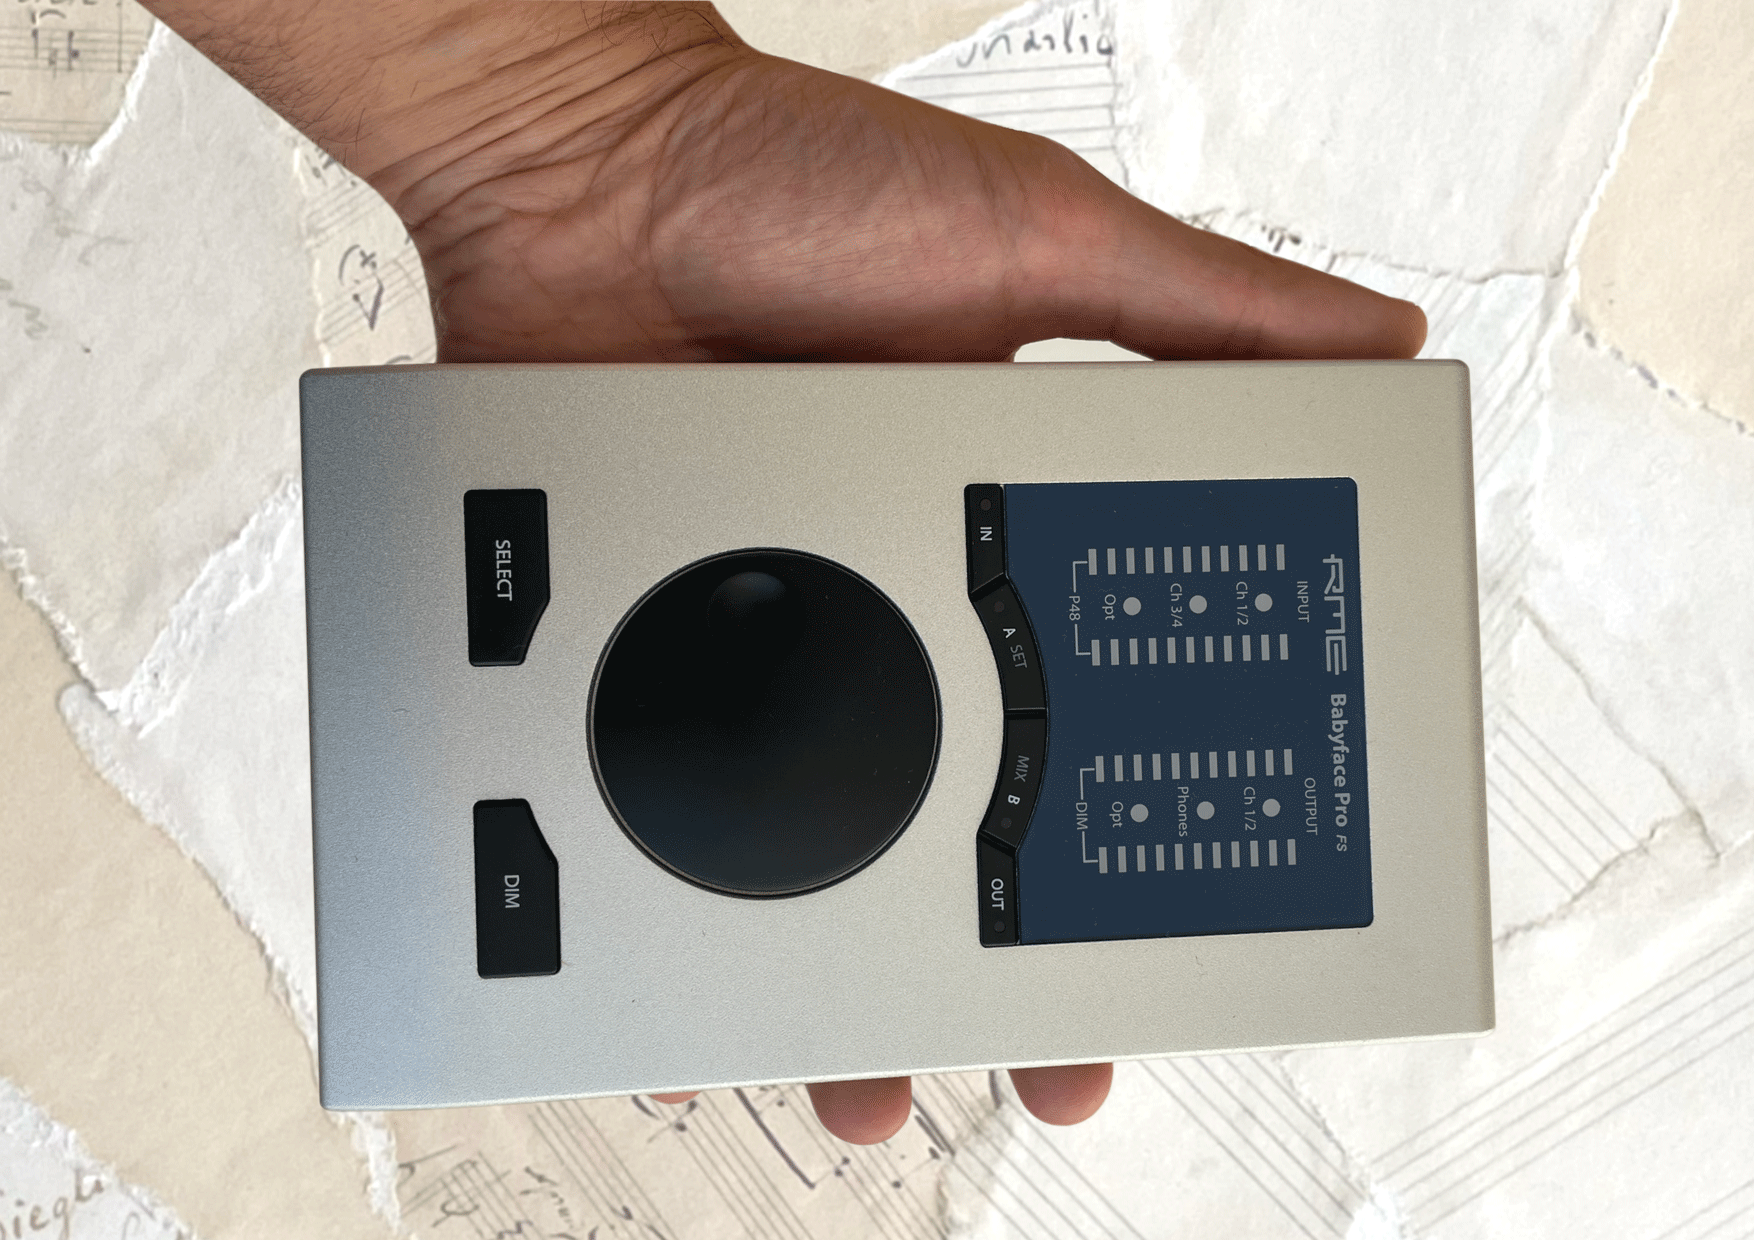
The 2020 Babyface Pro FS, reviewed here is a refreshed version of the previous Babyface Pro of 2015. It’s similar to the previous design, with a rock solid aluminium body, and a large rotary dial taking centre stage.
RME call it a 24 channel interface, but remember, they’re also including optional optical connections and headphone outputs etc. For practical purposes, it’s an expandable 2 in, 2 out interface, with two high quality mic preamps and high-end digital convertors.
Given the relatively cheap price of the Babyface Pro FS, does it still manage to live up to RME’s reputation for uncompromisingly clear and pristine sound? Let’s find out in this definitive RME Babyface Pro FS review.
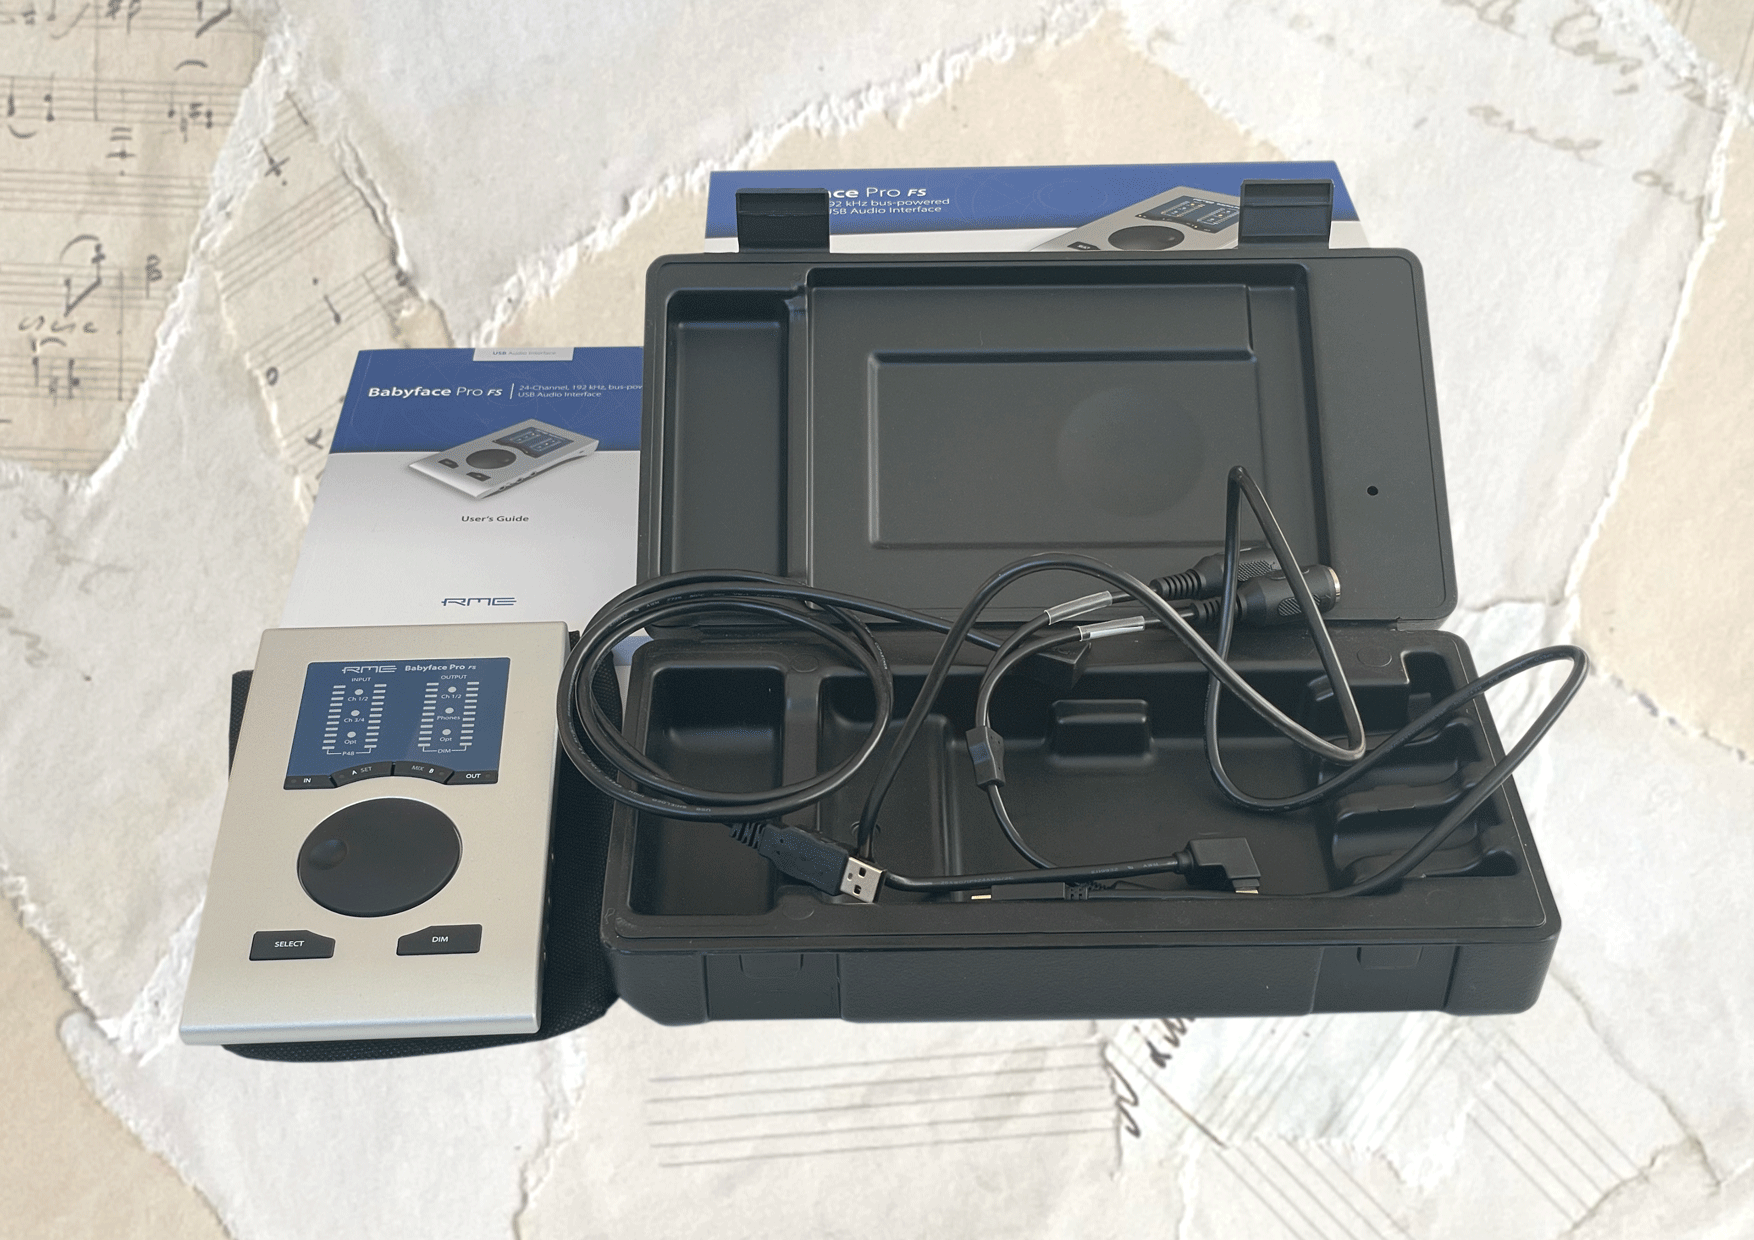
In the box
- Babyface Pro FS
- 1 metre (39″) USB-A 2.0 cable to right angle USB-B plug
- I metre (39″) USB-C 2.0 C cable to right angle USB-B plug
- MIDI breakout cable
- Full printed manual
- Hard plastic carry case
Babyface Pro FS Design and Build Quality
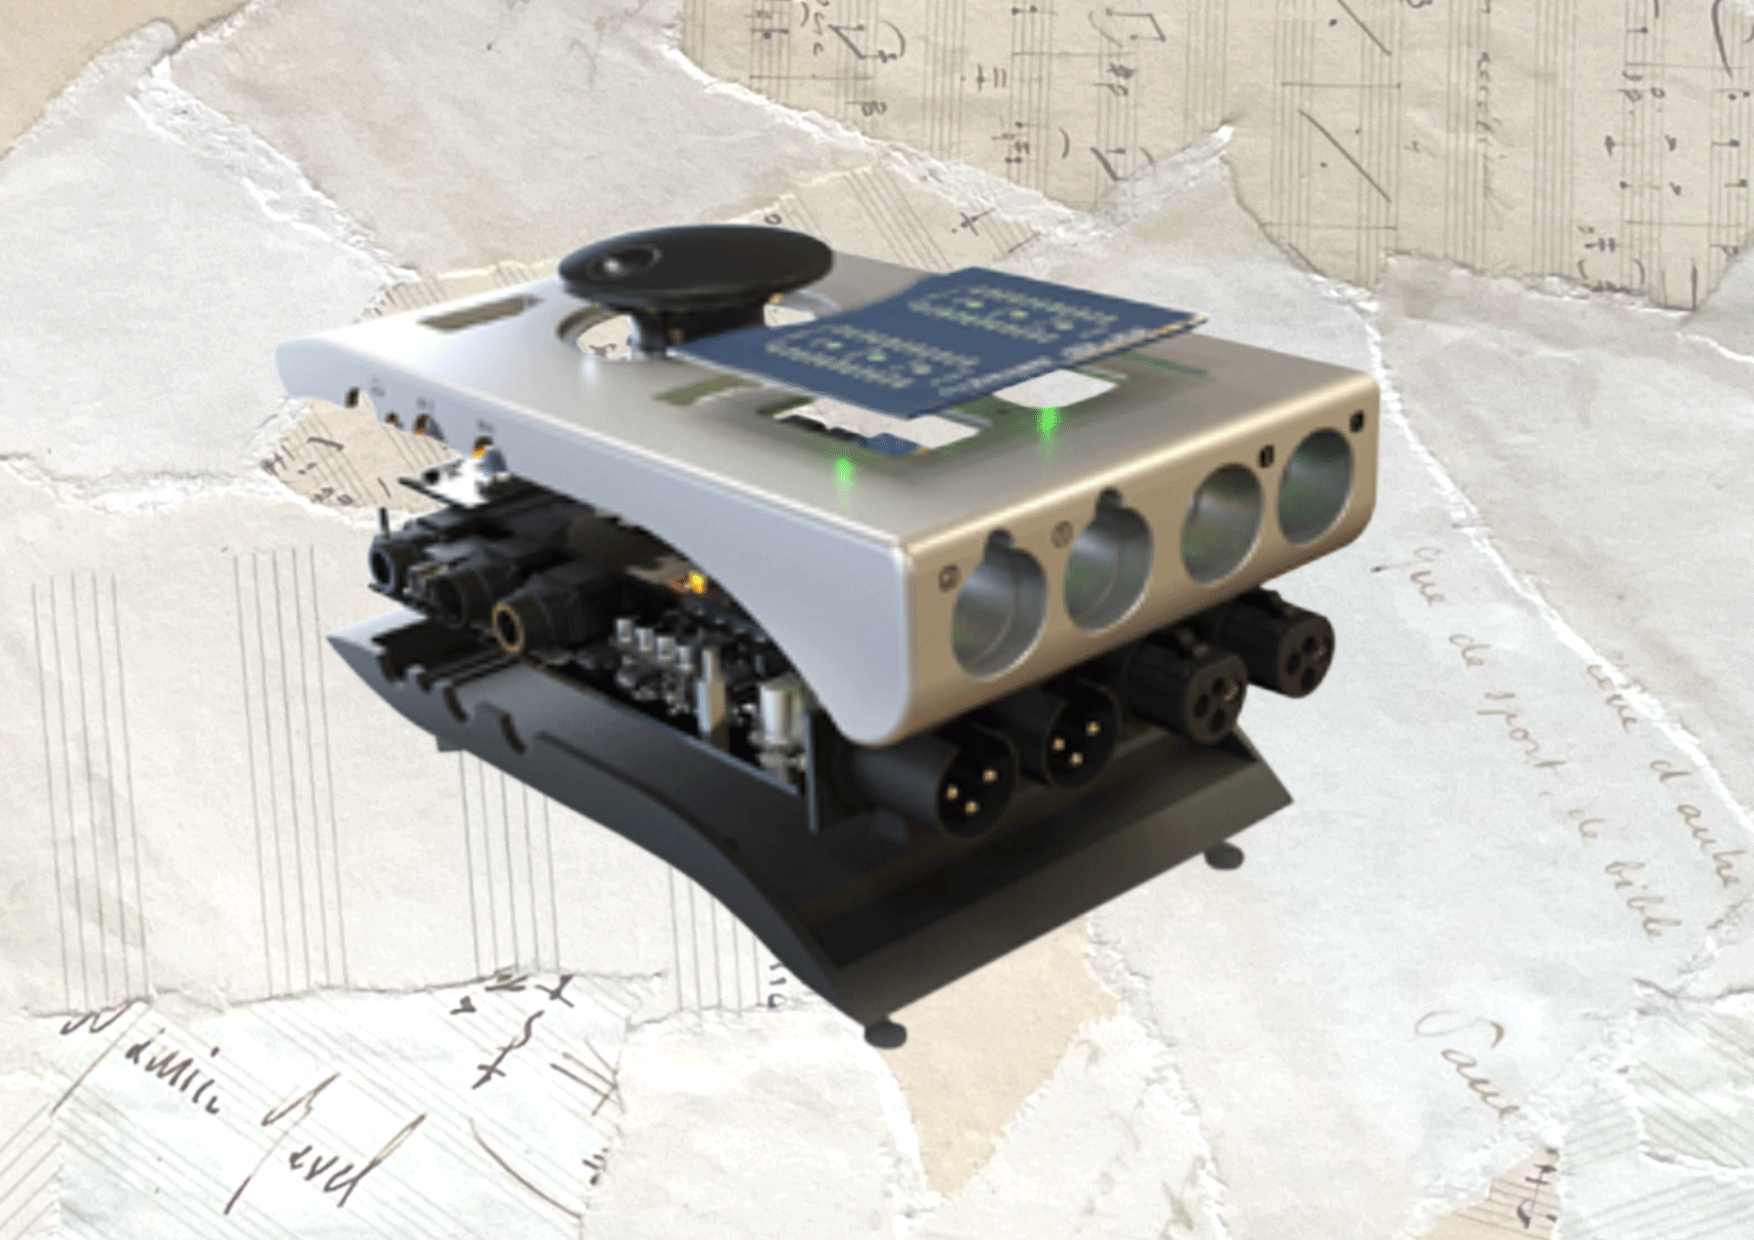
The first thing that struck me with the Babyface Pro was the solidity and weight of the interface. It has the weighty appearance of a smooth block of aluminium, because it simply is that. This Babyface Pro FS started life as a solid block of metal, mechanically milled into shape, making room for the multiple components to fit neatly within their housing.
It has smooth rounded edges, with a luxuriously large rotary encoder dial in the centre. This is used for multiple purposes – setting input gains, headphone levels studio monitor levels and much more. There’s also a selection of buttons on the front panel, which can be assigned to suit your work flow.
The silver colour and style matches my Macbook Pro, incidentally also machine carved from a single piece of Aluminium – they feel like they were made for each other with their minimal aesthetics.
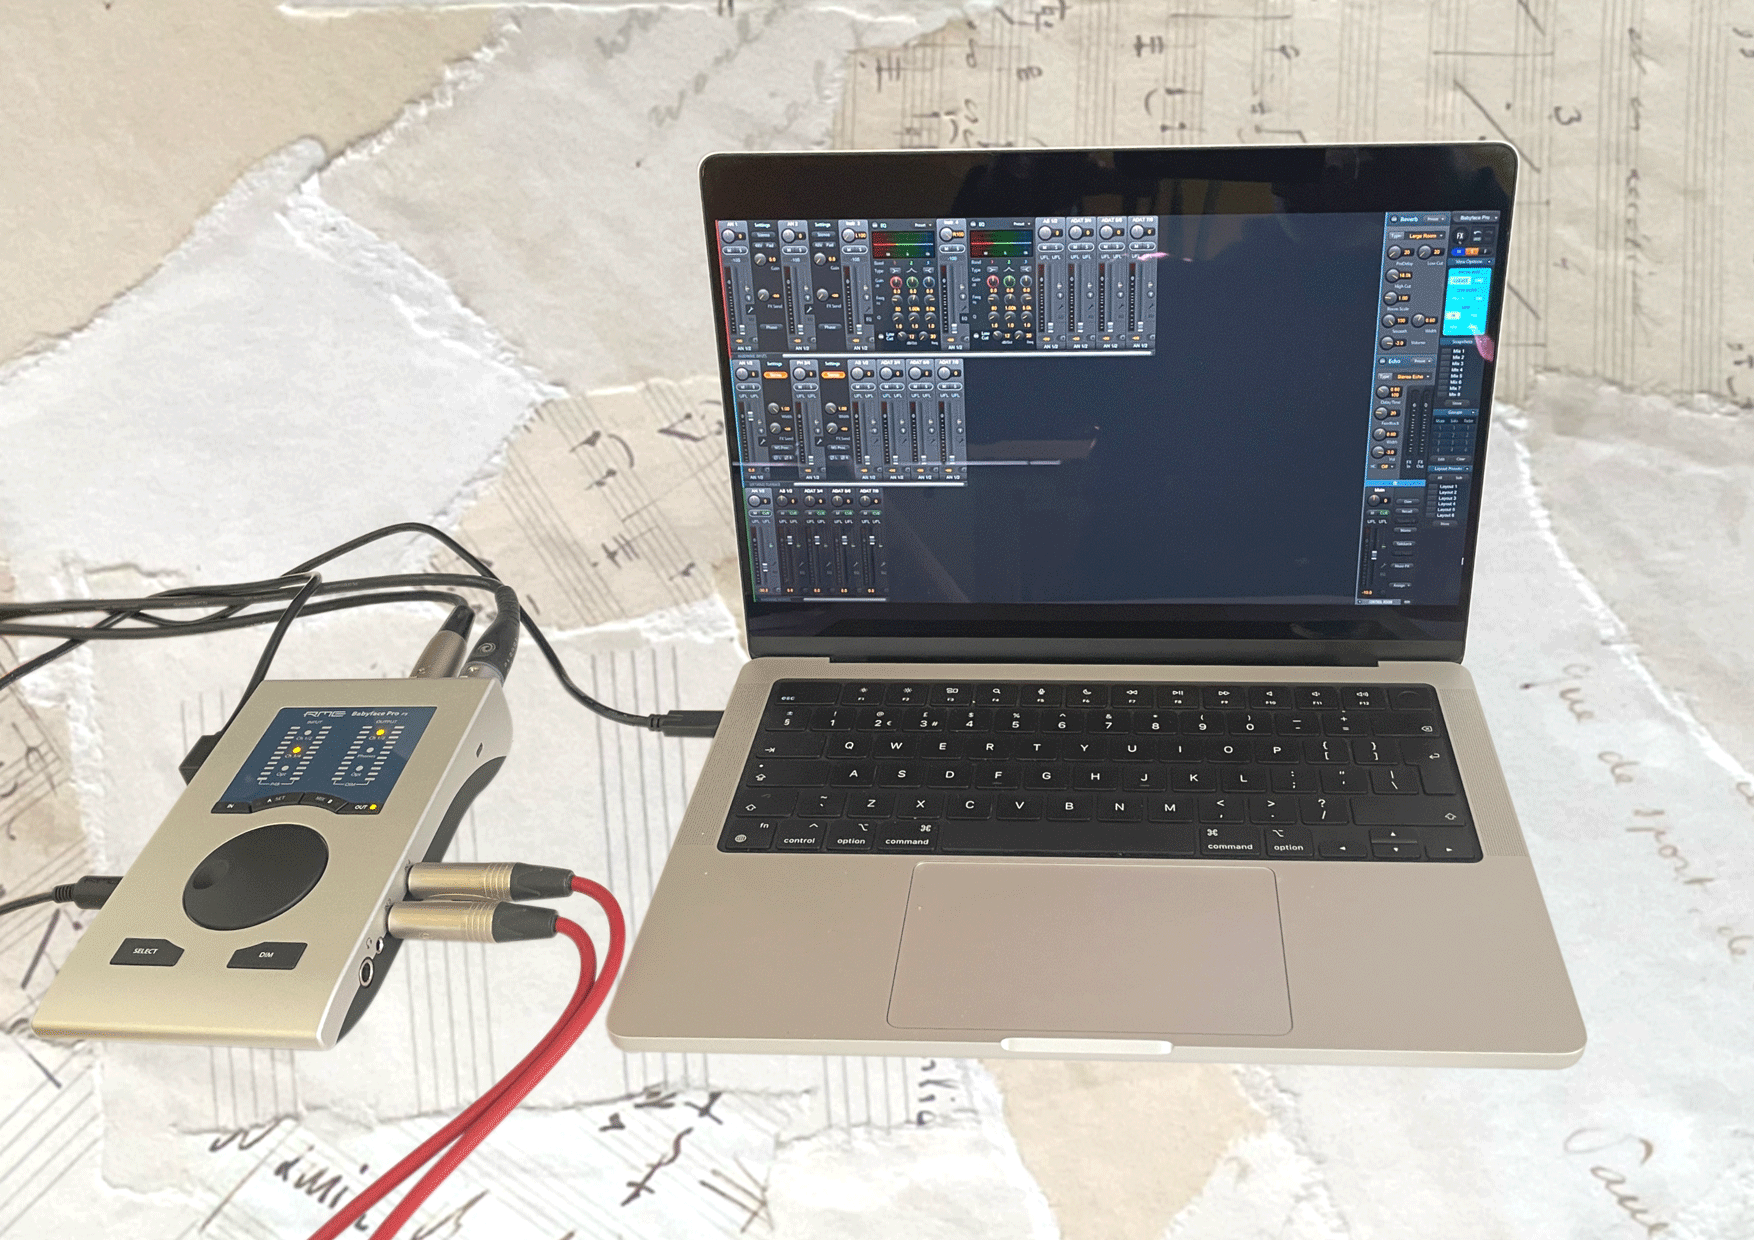
The RME Babyface Pro FS is designed to sit on your desk, at your home studio, or on location. It’s reasonably heavy, so won’t slide around while you’re using the dial or plugging in cables.
It utilities three sides of the interface for connections, with balanced XLRs at the back. Headphone jack sockets and 1/4 inch instrument inputs are on the right, with optical and midi connections on the left. It would be tidier on the desk if most of the connections were at the back, but that’s the compromise you have to make for have a unit that fits in your hand.
Above the rotary dial is a set of four level meters which give you an indication of input levels (on the left) and outputs (on the right). You can also use the dial to set input gain and many of the other features which we’ll explore later. With their high resolution, the meters are a lovely touch. They can even be increased in brightness, though 25% resolution has always worked for me.
On the bottom of the interface is a handy 3/8” inch thread incase you eed to mount the Babyface on a stand.
Connecting the Babyface Pro FS
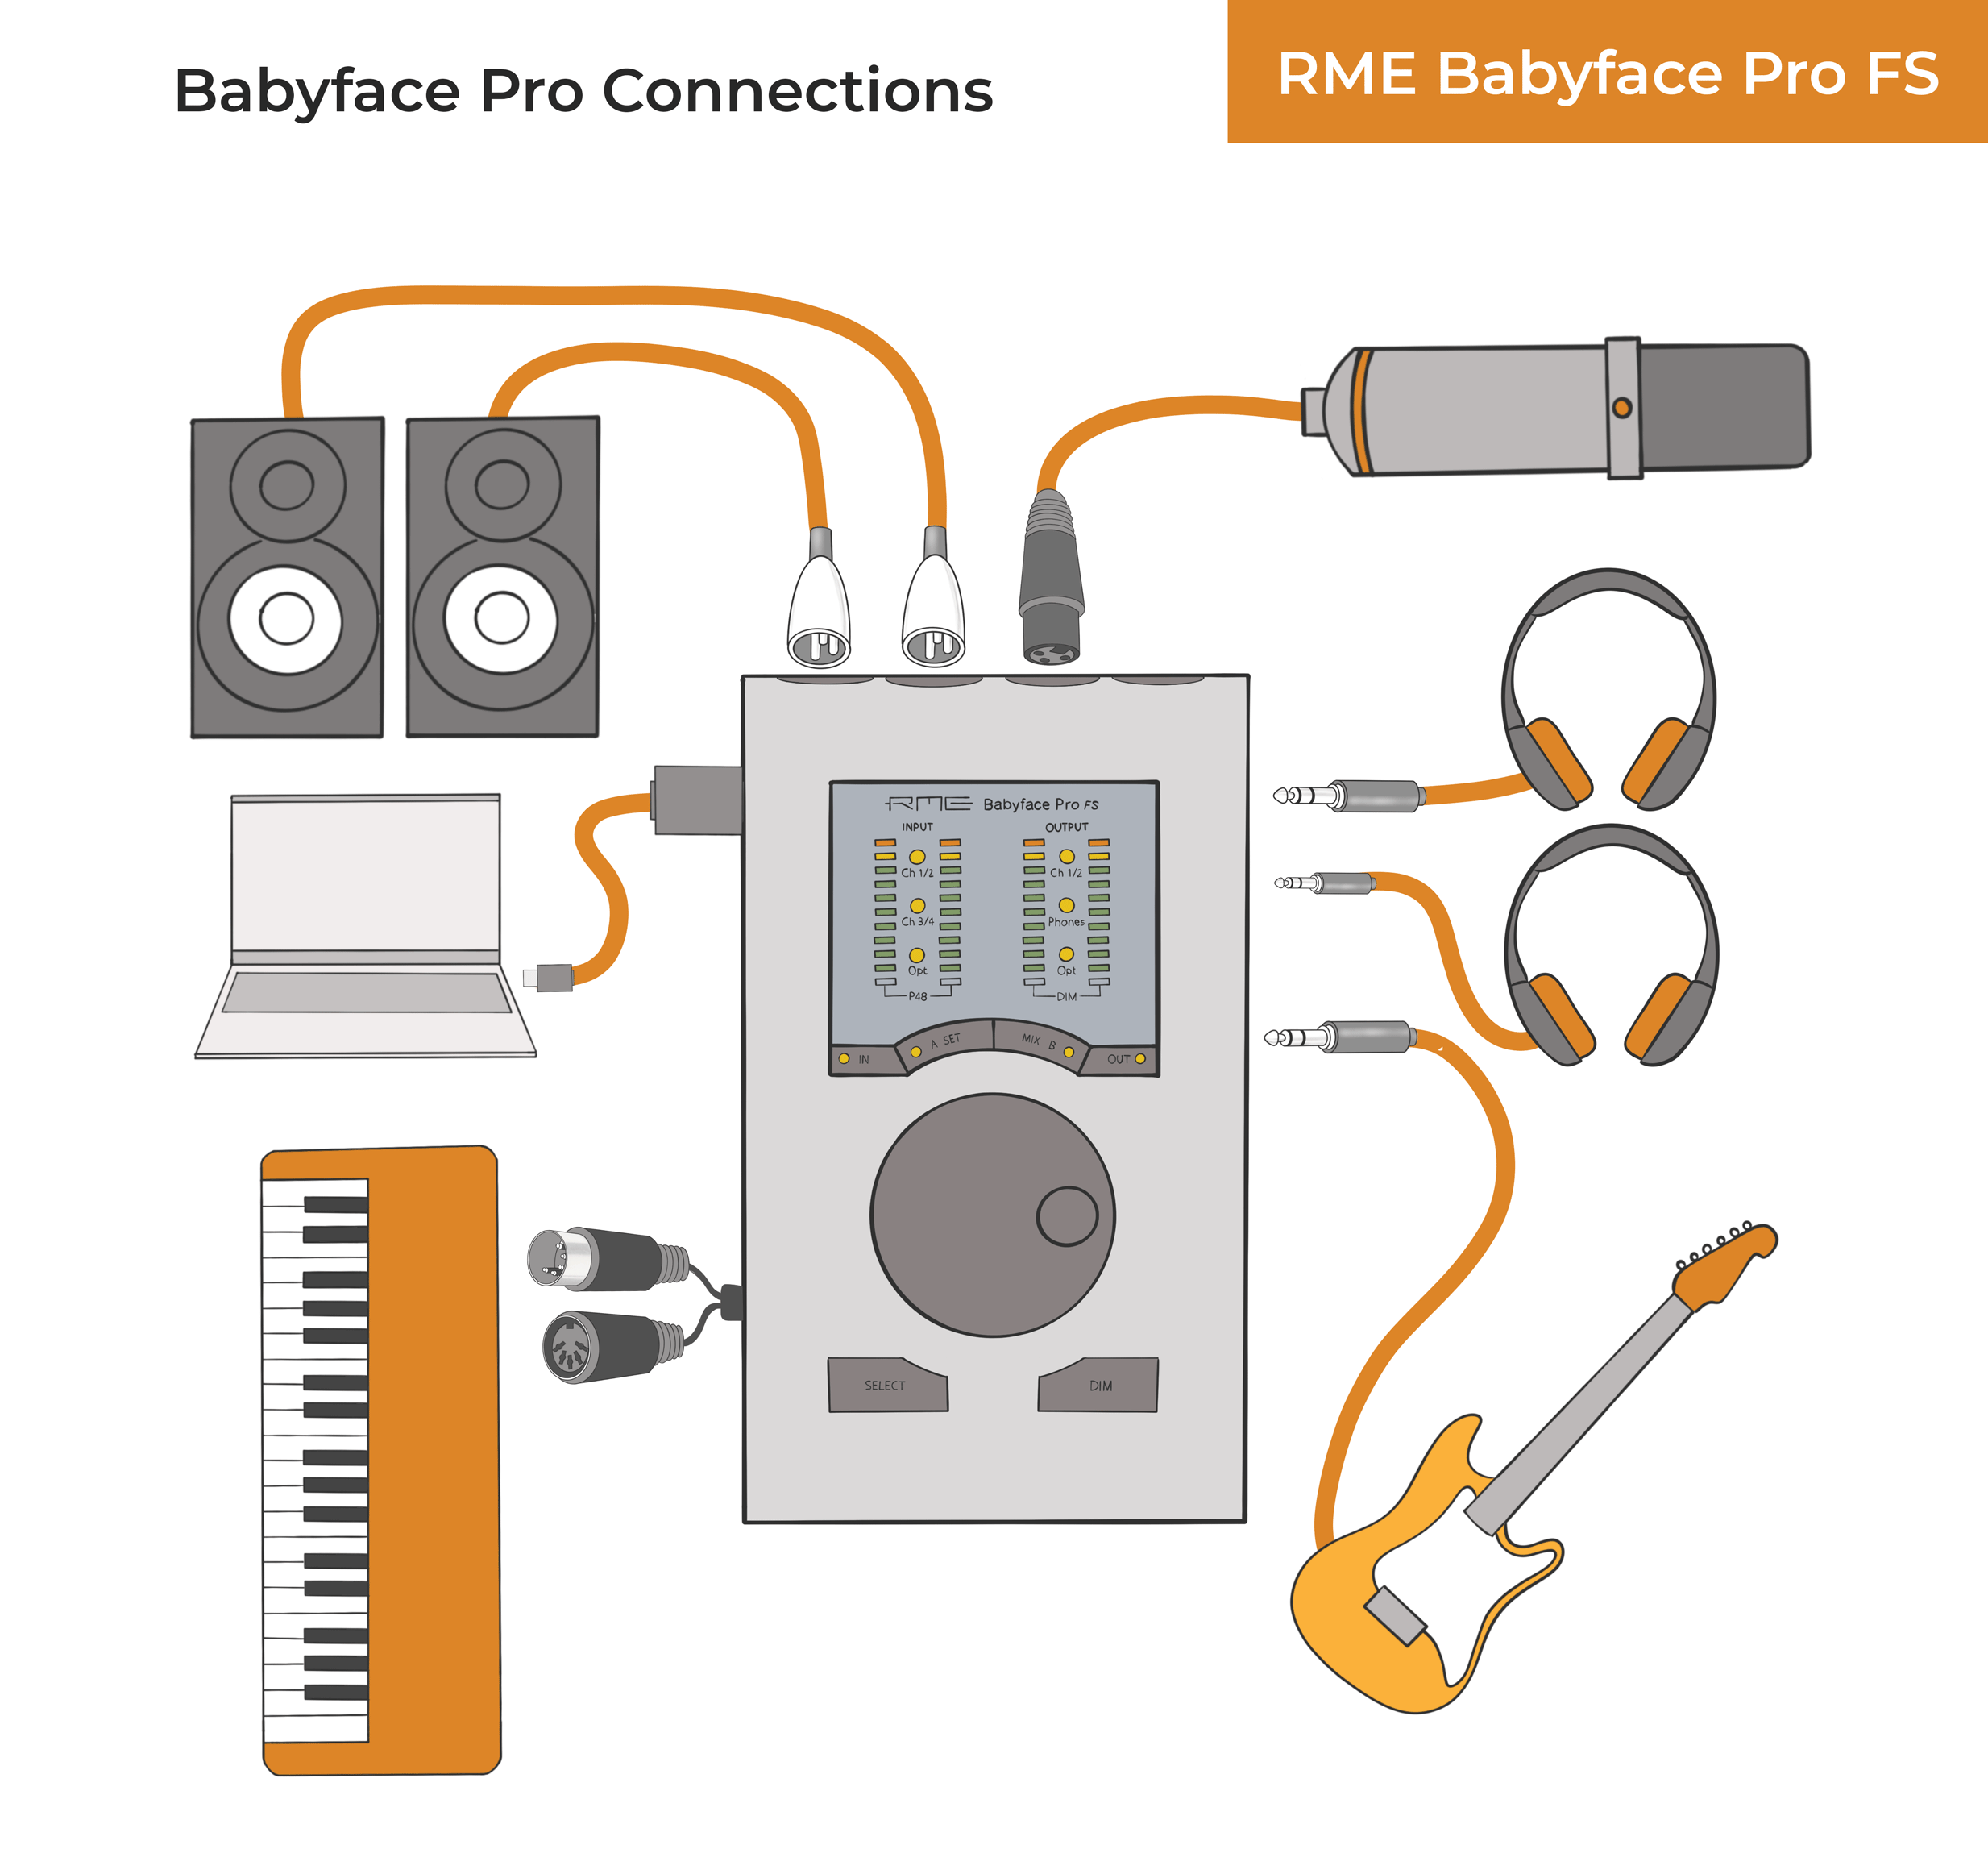
The Babyface Pro FS has a host of connections, split between the two sides and rear panel:
Rear Panel
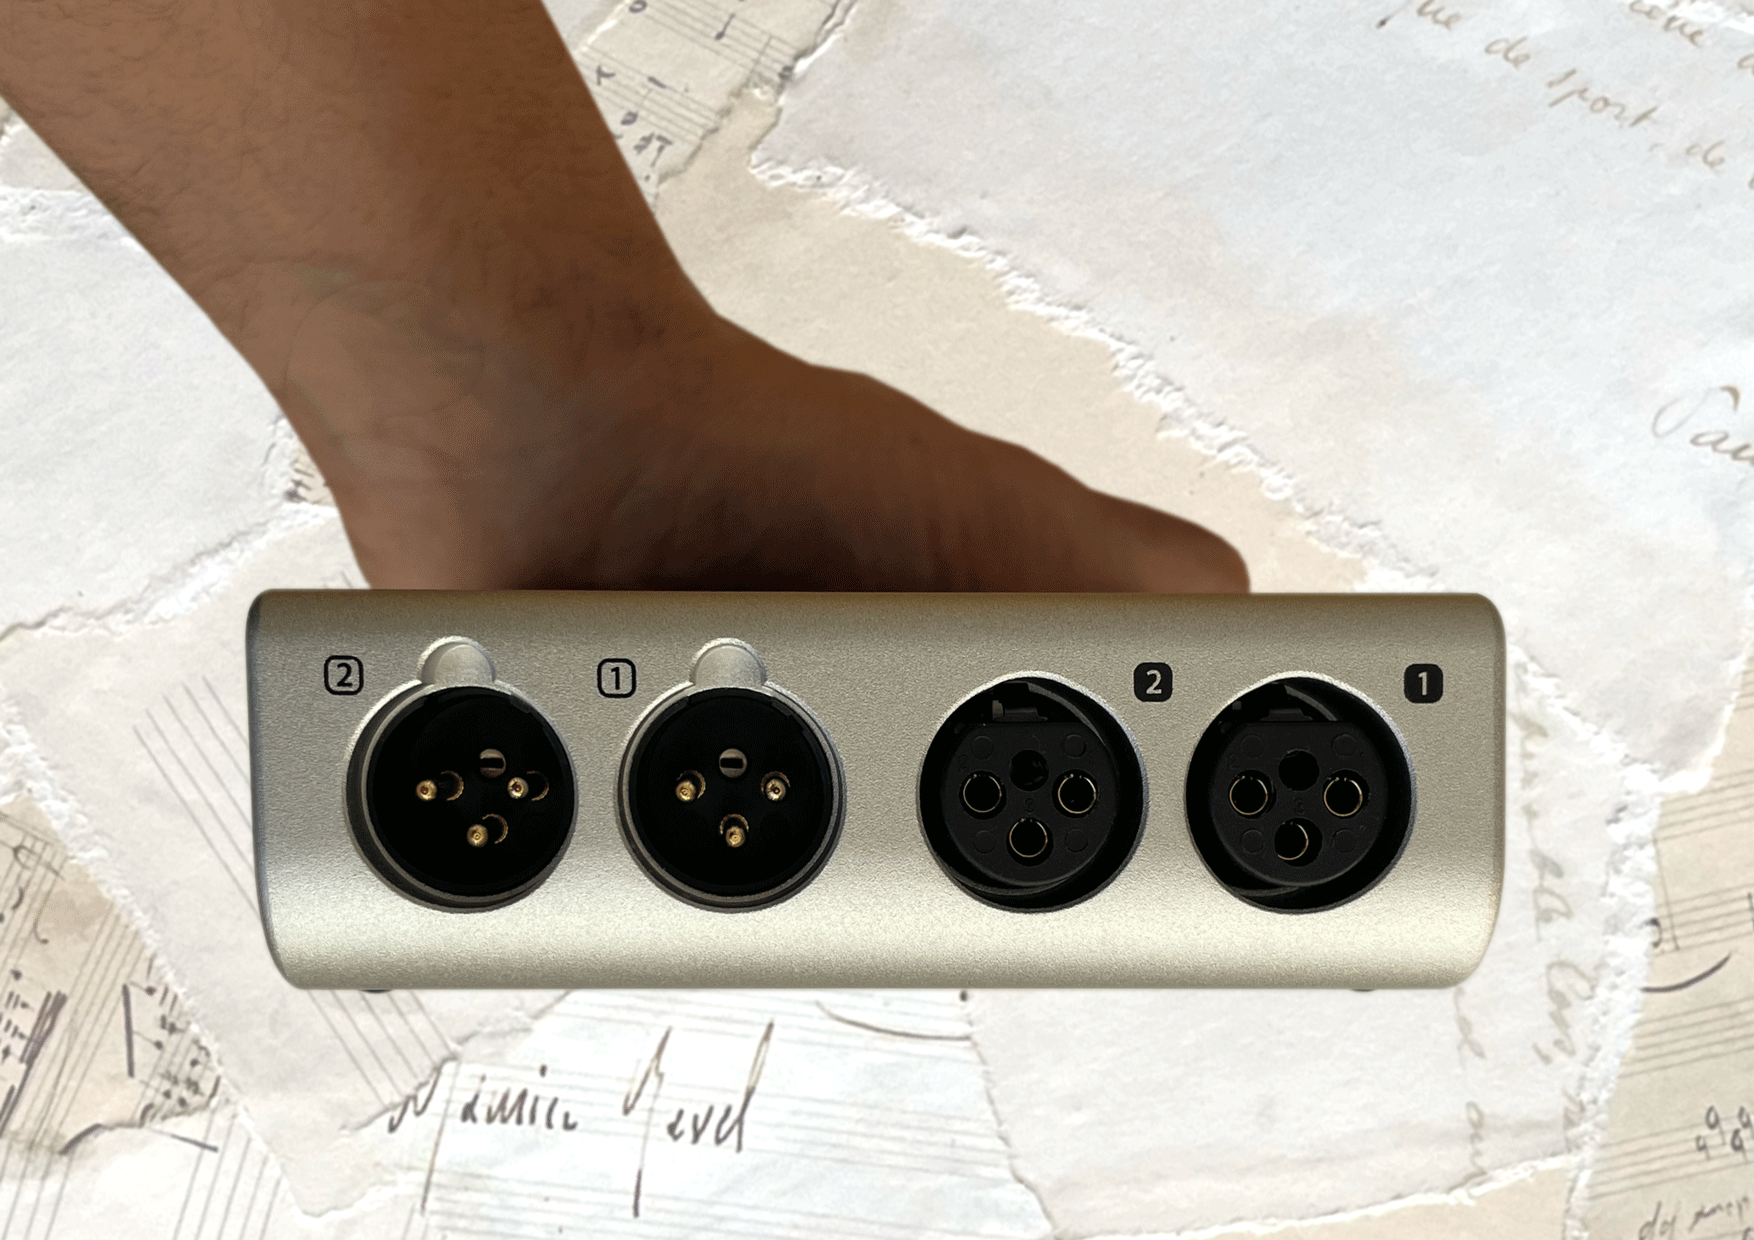
XLR Inputs on the Babyface Pro FS
On the rear panel are two XLR microphone inputs, which deliver an impressive 76 dB of gain (-11 dB up to +65 dB) in 1 dB increments. The XLR jacks don’t click into place, which won’t be a problem in the studio, but something to bear in mid if you’re planning location recording on the move.
Line level inputs
The XLRs can also be switched to accept balanced line level inputs, by reducing the gain to zero. This means you’ll have to use XLR plugs for line levels, and potentially XLR to 1/4″ jack cables. I think combination inputs would be an even neater solution for any future updates.
Whether your using the XLRs on the back or the 1/4″ jacks on the side for your line level inputs, you can expect a near perfect flat frequency response. There’s plenty of dynamic range using either inputs too – 116.2 dBa on the XLRs and 118.5 dBA on the instrument line inputs, with imperceptible distortion.
Seeing as you might end up using the XLR inputs for balanced line level equipment, make sure you don’t accidentally leave phantom power on – there’s a danger of damaging the circuitry of your studio equipment. The first thing I did was to reassign the A and B buttons on the front control to phantom power for the left and right input. This way an LED lights up whenever phantom power is activated ,and turns off when it’s not.
Right side Panel
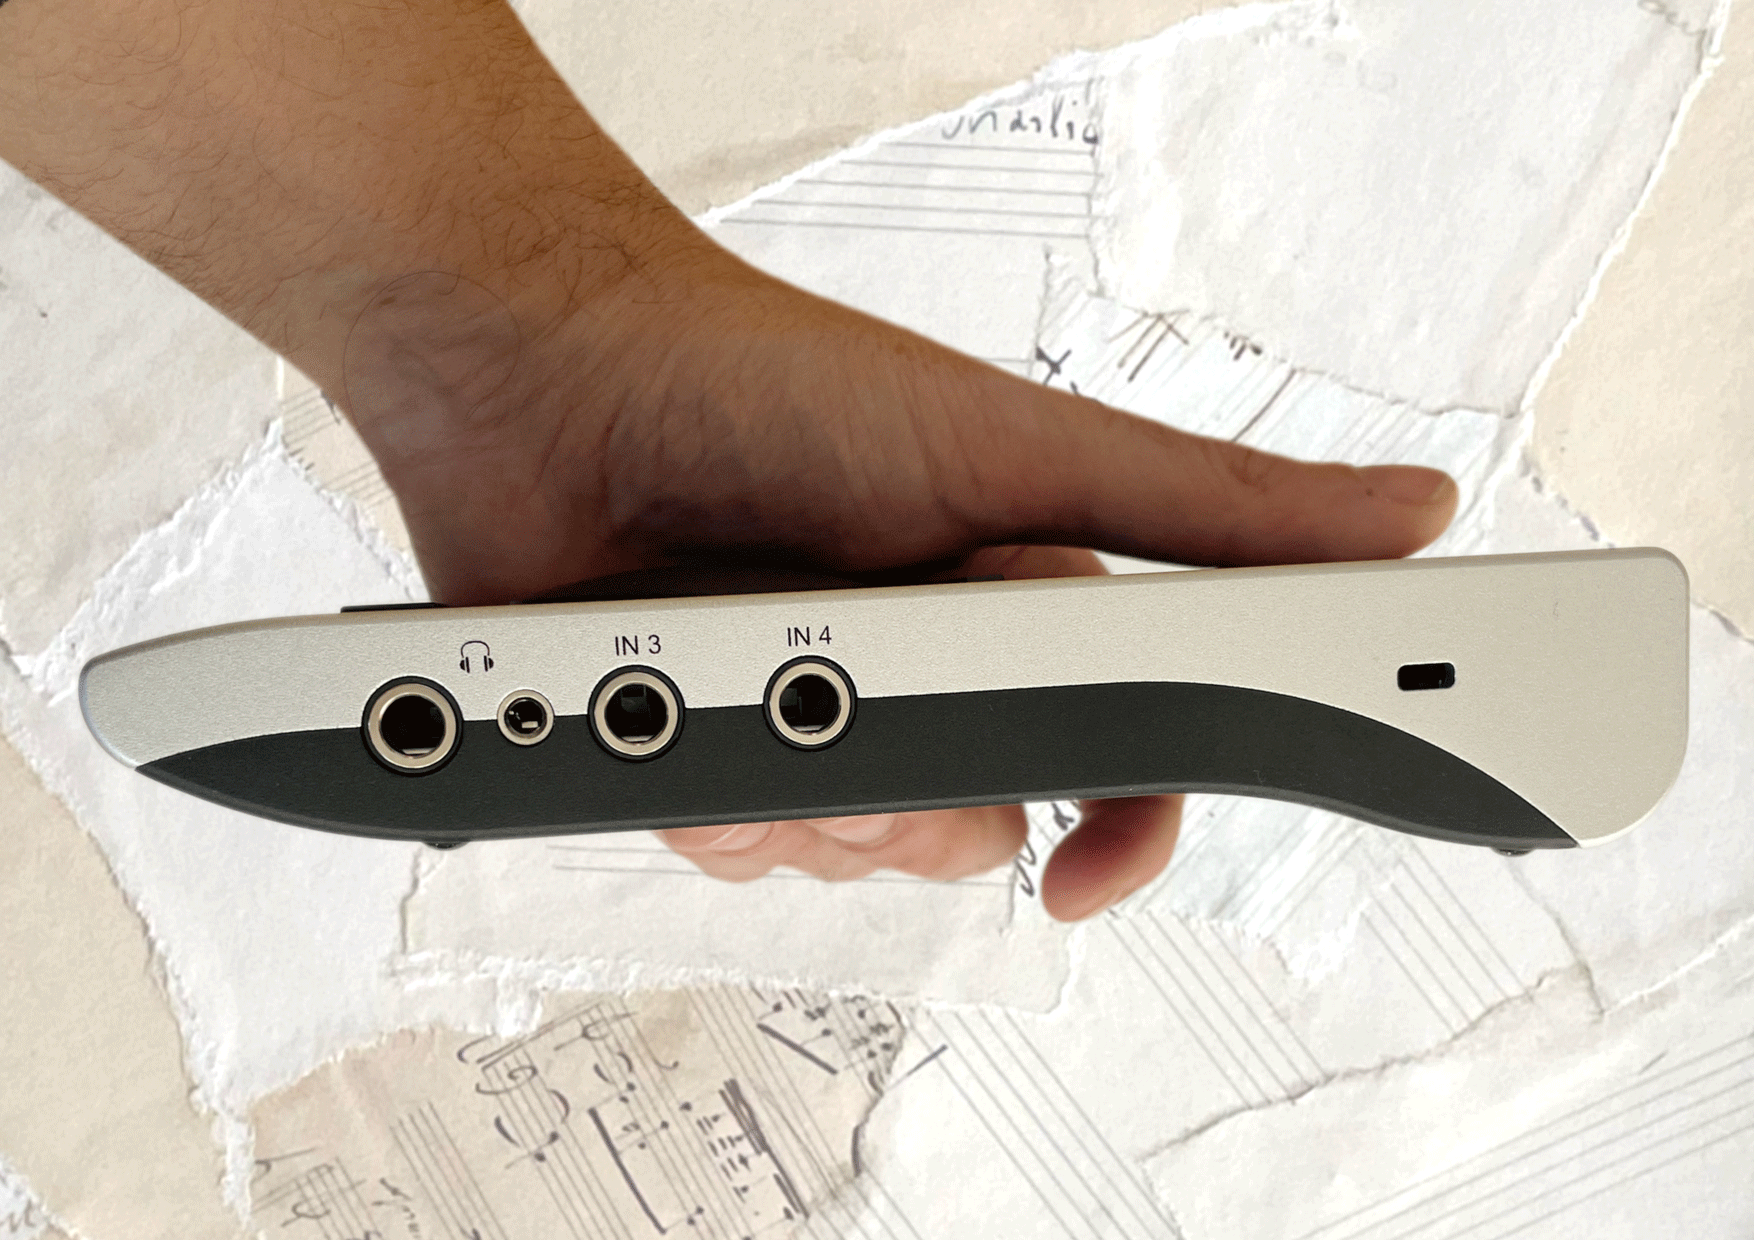
On the right side of the Babyface Pro FS are 2 line or Hi-Z instrument inputs – the unit will automatically detect what you’ve plugged in, and treat them accordingly. Bear in mind, these inputs are unbalanced. If you want balanced inputs, head round the back to the XLR inputs.
You can use these high impedance, TS inputs for recording electric guitar or bass, or for plugging in audio equipment. You can set the level in channels 3 and 4 of the Total Mix software, and switch between -10 dBv for consumer equipment (CD players etc) and +4dB for pro equipment (mixing desks and signal processing units).
Headphone sockets on the Pro FS
Like the earlier version, there’s 2 headphone jacks – so you can use headphones with 3.5mm (1/8″) jacks or studio quality headphones with 6.3mm (1/4″) jacks without having to use an adaptor.
The small 1/8″ jacks have an output impedance of around 0.1 ohms (lowered from 2 Ω), and are optimised for use with low impedance headphones. Low ohms on a headphone output are normally a good sign, as they’re likely to provide accurate sound across a range of headphones.
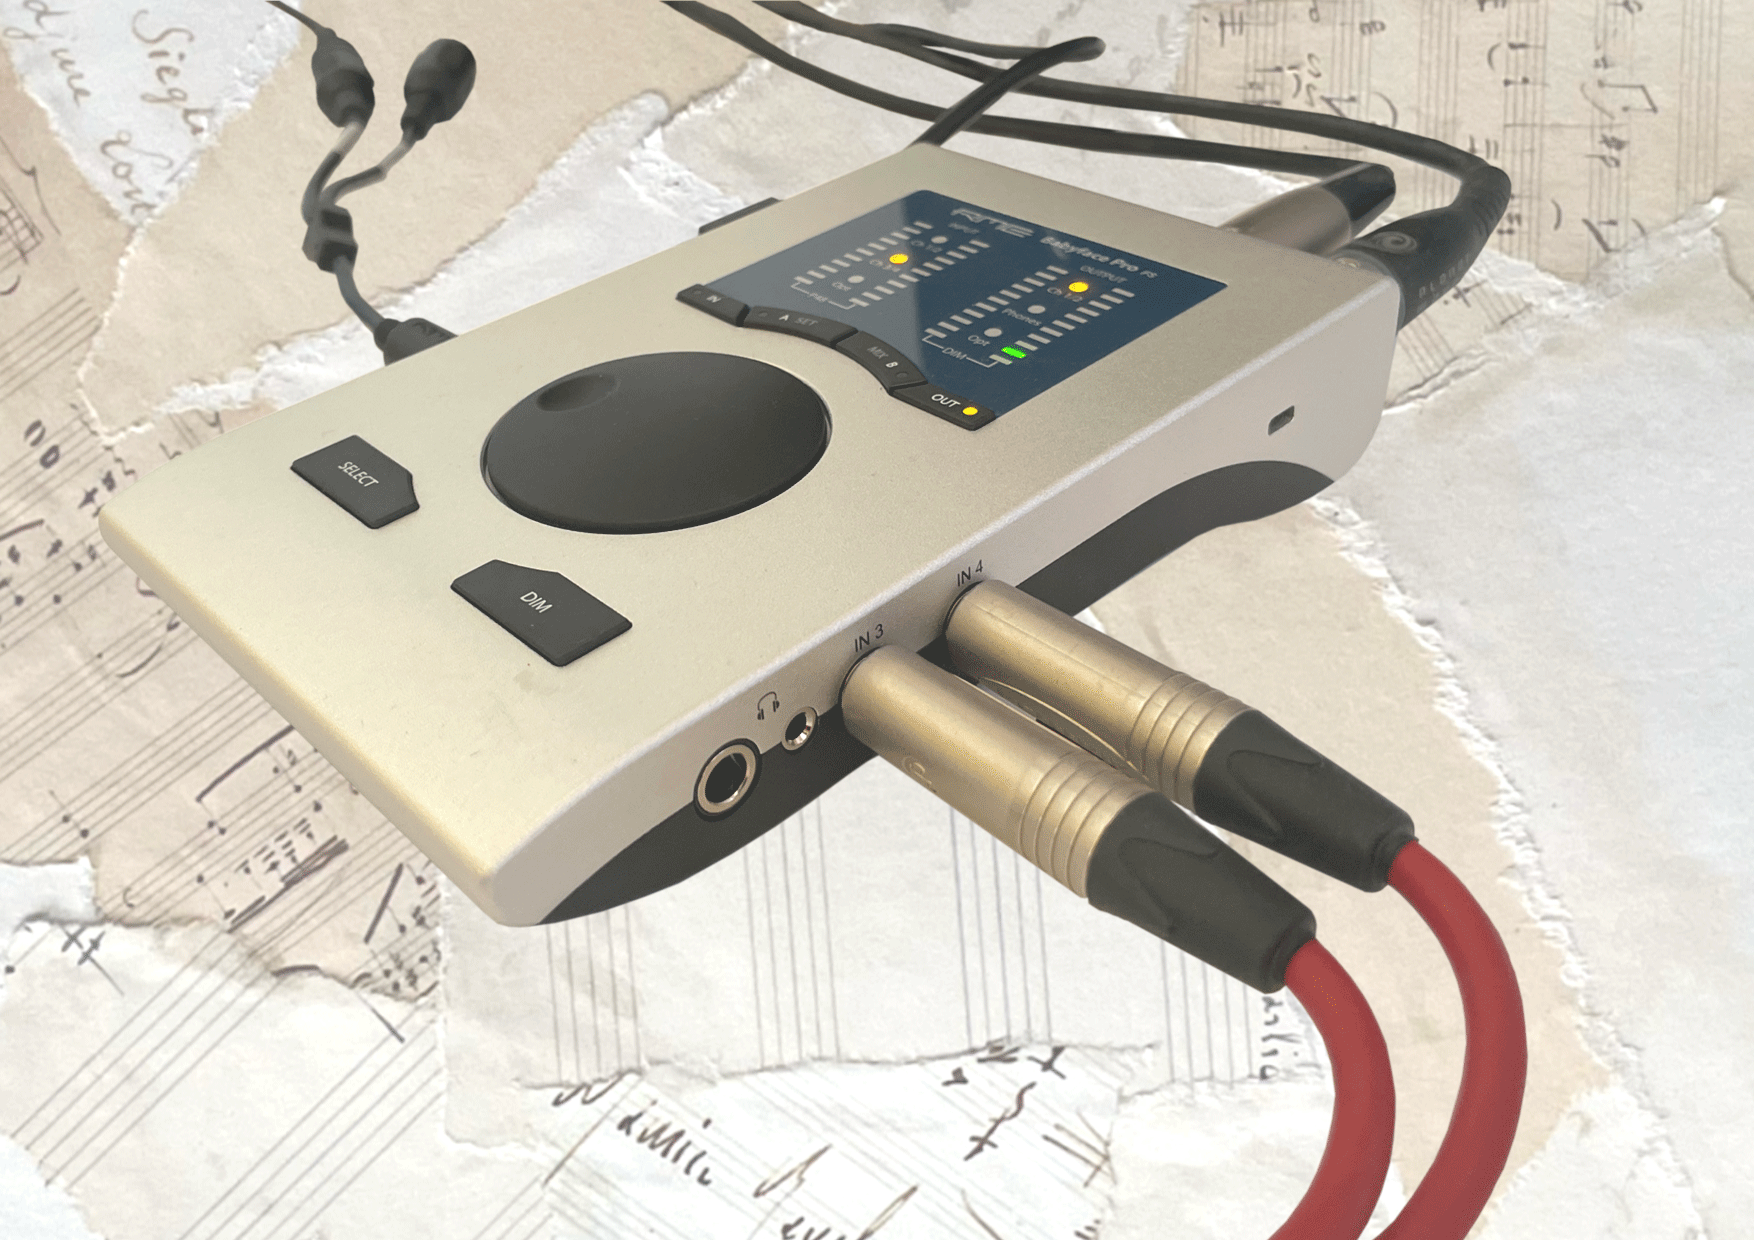
But for those working with high impedance headphones, the larger 1/4″ sockets have kept the output impedance of 10 ohms, which are suited to studio grade reference headphones, They certainly sounded accurate, loud and clear on my Sennheiser HD 650s (300 ohms). RME suggest using high impedance headphones (of at least 80 ohms and upwards) for these headphone outputs.
The signal-to-noise ratio has been slightly improved from the Babyface Pro (112.2 to 113.7 dB), using the same op-amps as the ADI‑2 Pro for improving distortion and boosting power from 70 to 90 mW. You can connect and listen to 2 headphones at the same time, but it’s not possible to adjust the volumes individually.
In terms of sonic quality, the headphone output signal is the same as the XLR line outputs, but lower in level. This gives you the option of splitting one of the headphone outs into two cables to power a second pair of monitors. You can use headphones at the same time without any sound loss, as each socket has a separate driver stages.
Left side Panel
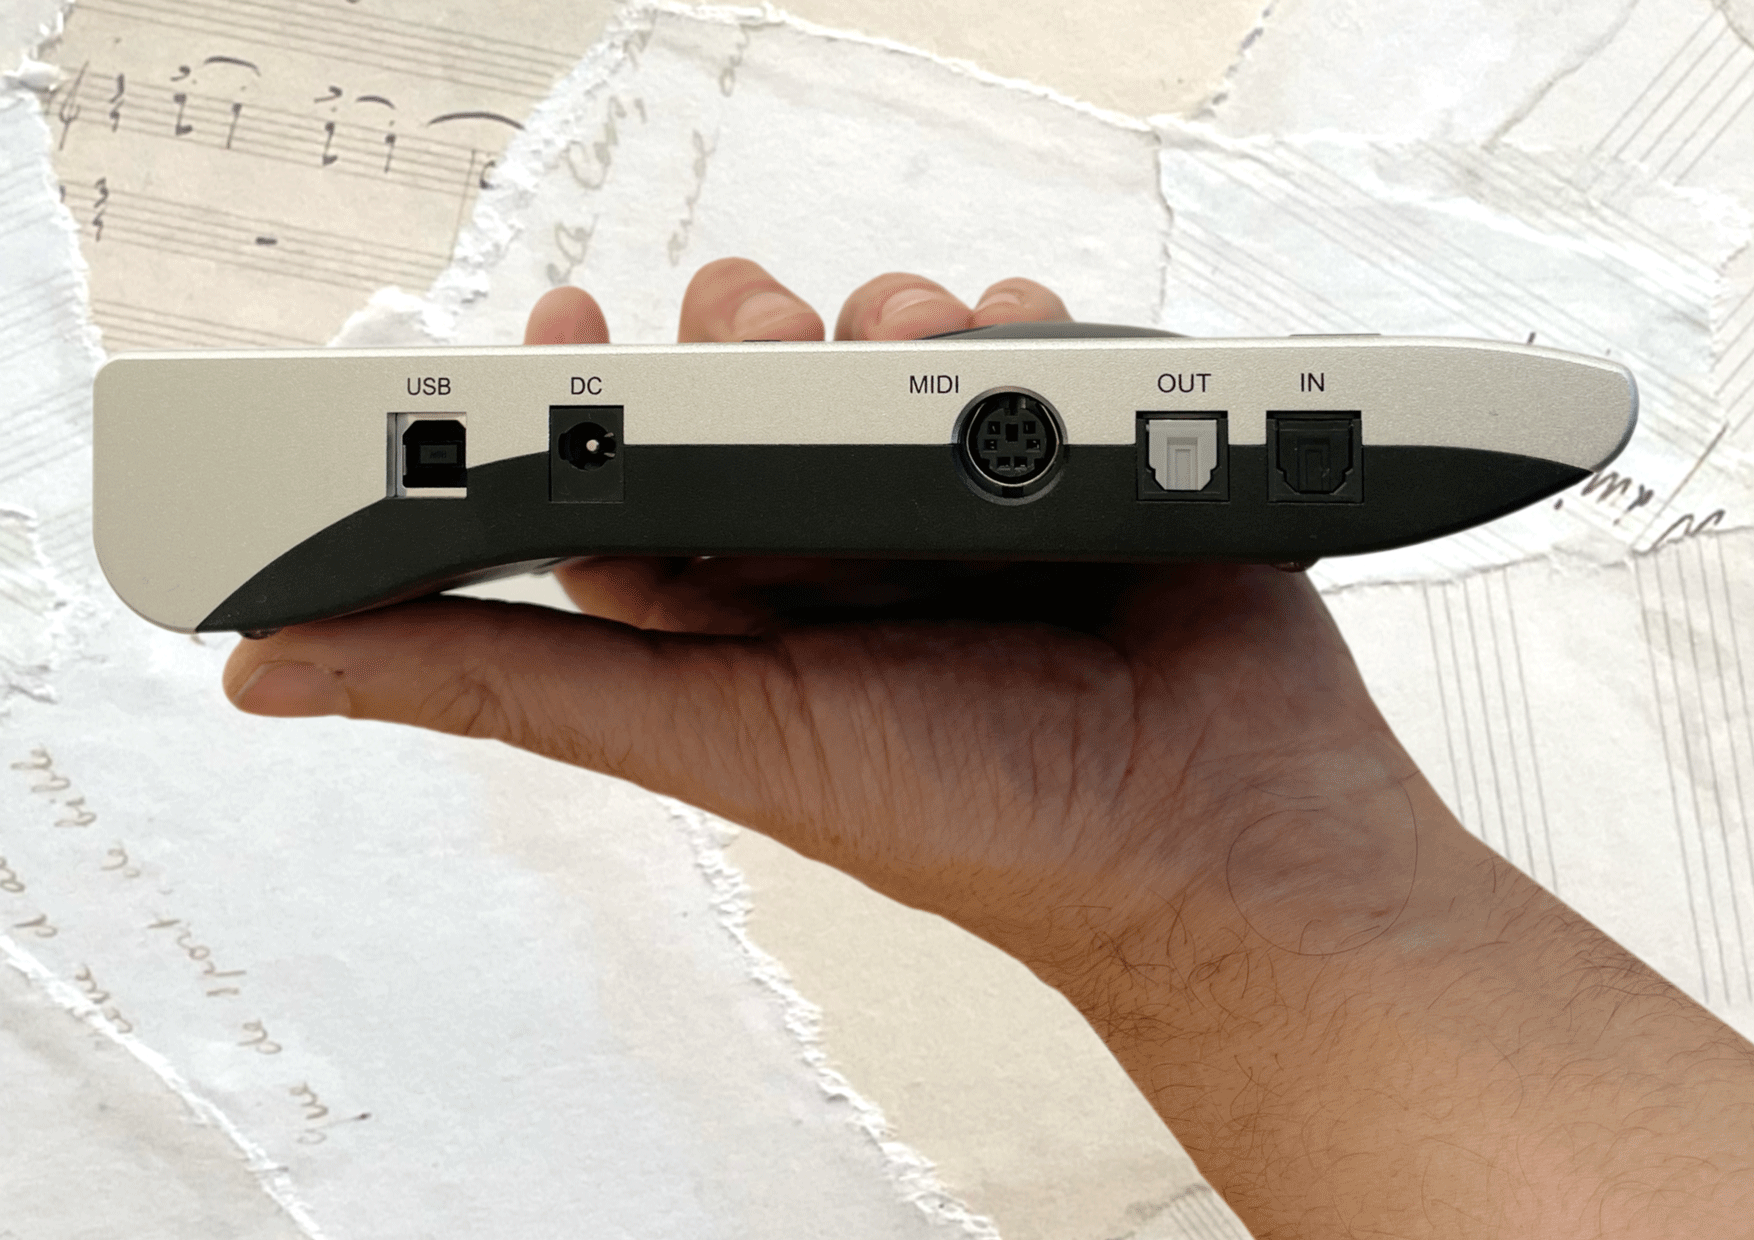
On the left side is a USB-B port for connecting the Babyface Pro FS to your computer, iPad or phone. I was pleased to see a USB-B port rather than the much more flimsy USB-C – the included cable also has a right angle plug which slots especially deep into the recessed housing for a solid click into place.
There’s also an optional 12V DC power socket (when the 700 mA of USB power isn’t available through the USB cable. There’s no external power supply cable included, but that’s because you’ll only really use one in rare cases. In line with RME’s rock solid stability, even the power sockets are lockable, by pushing them in and twisting them to the right.
Digital connections
Also on the left panel of the Babyface Pro FS are two digital TOSLINK sockets – an in and an out. Here you can connect to ADAT to add an extra 8 channels (inputs and outputs) at 48 kHz. If you double the frequency to 96 kHz, you’ll be limited to 4 channels, and if you double it again to 192 kHz, you’ll be limited to just two channels.
You can use the digital connections as SPDIF connectors, which is perfect for audio or hi fi equipment which might only have this connection. There’s nothing for you to do if you’re sending a signal in – the interface will automatically choose between SPDIF and ADAT. But if you’re sending a signal out, you can choose between ADAT or SPDIF in the Settings Dialogue in the Total Mix Software.
Midi connections
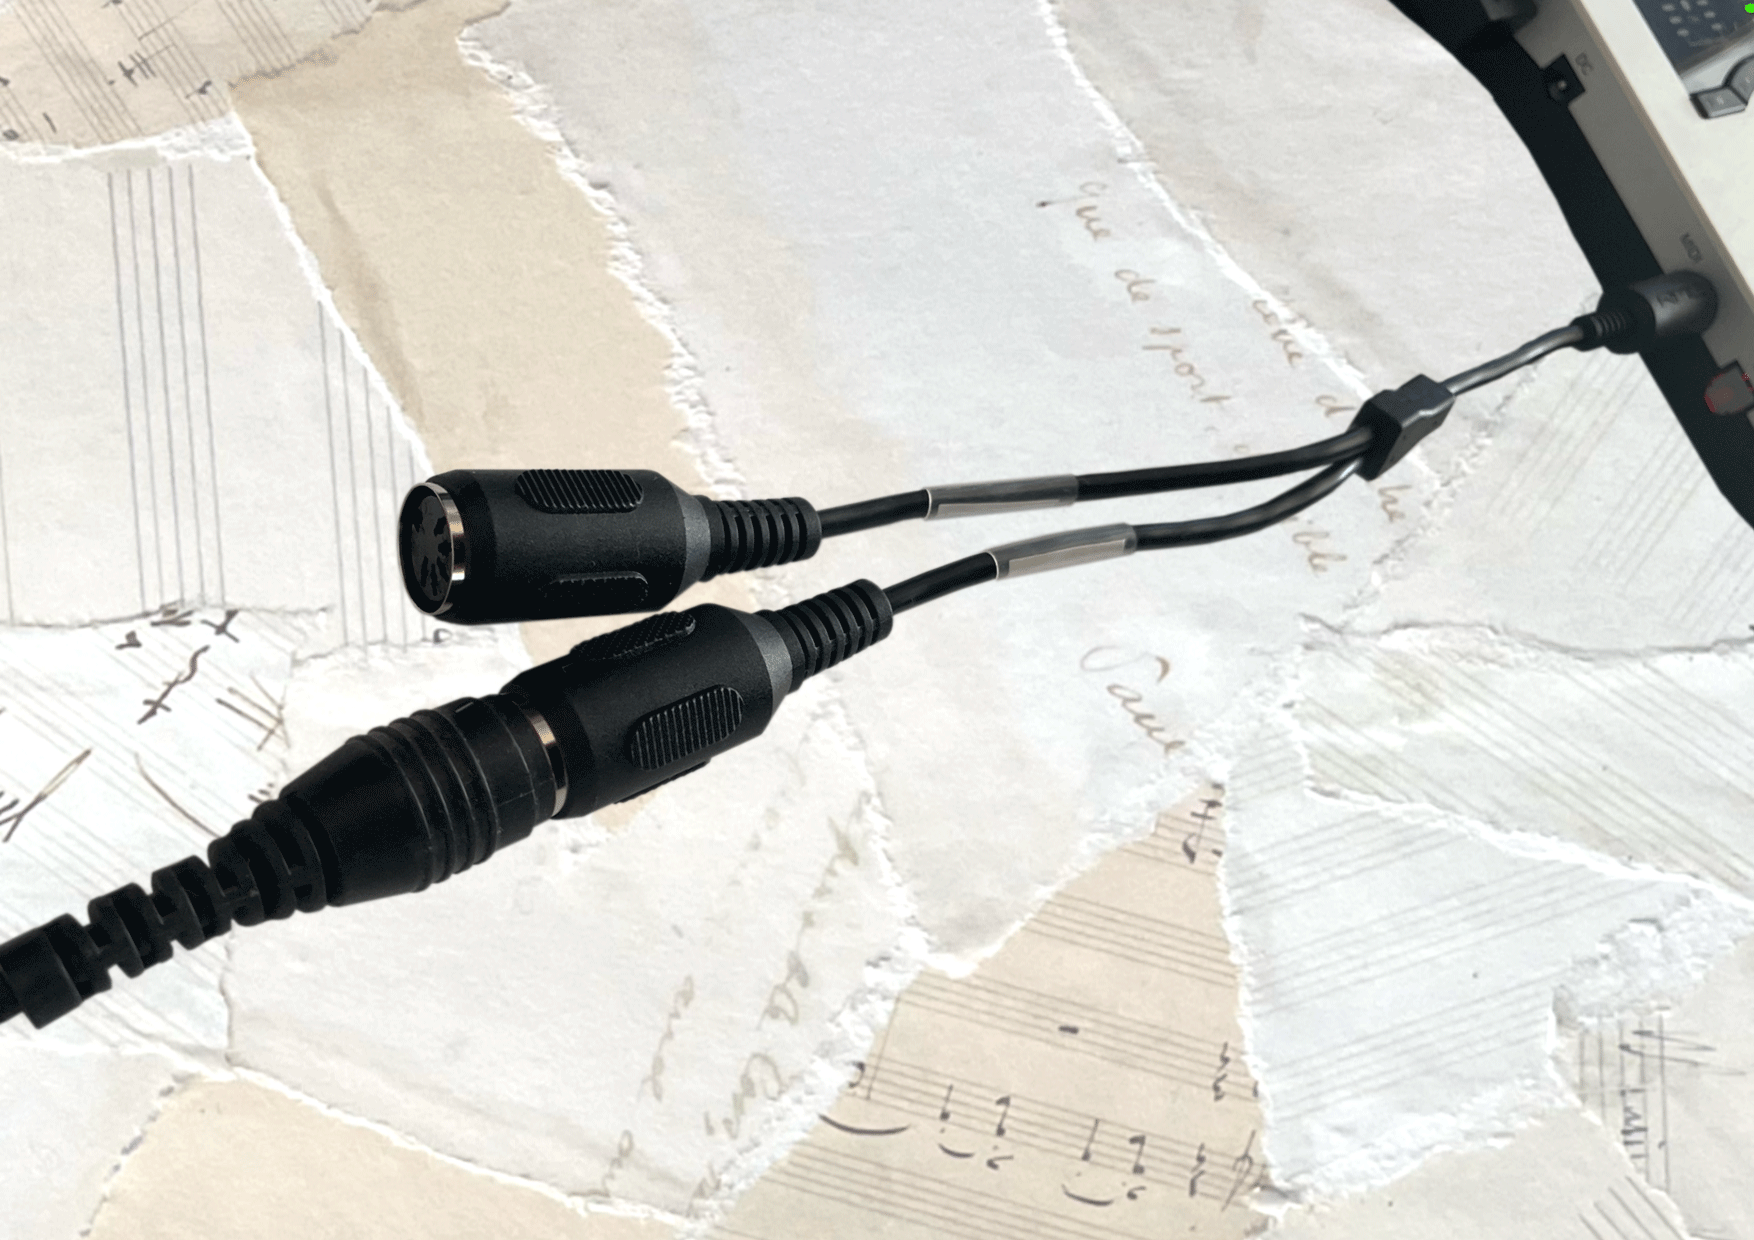
Also on the left side of the Babyface Pro FS is a socket which accepts the supplied MIDI In/Out breakout cable. I find breakout cables to look messy, and would prefer a couple of old school DIN5 MIDI ports, or perhaps the newer and smaller alternative TRS MIDI sockets.
The Underside of the Babyface Pro FS
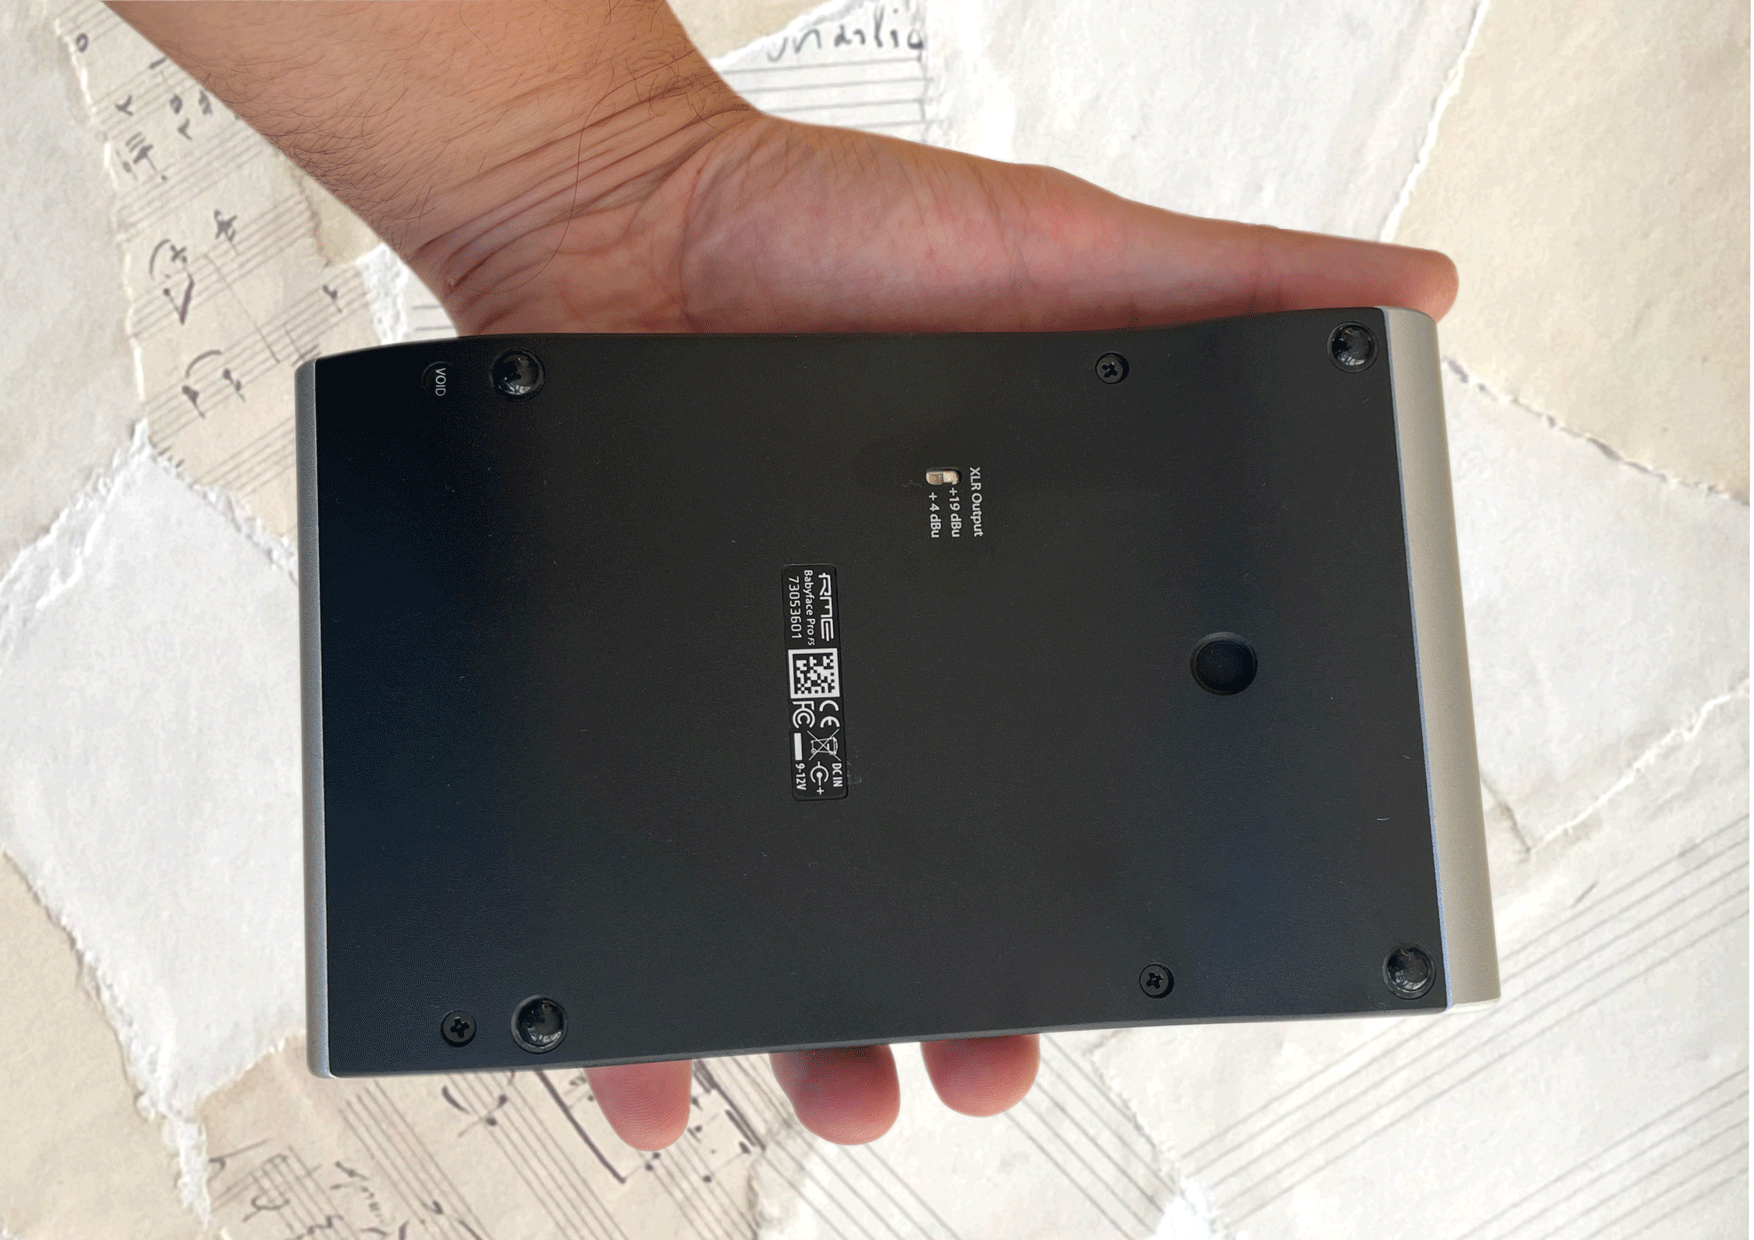
Hidden on the base of the Babyface is a tiny switch which toggles the output between +19 dBu or +4 dBu. With many small studio monitors designed to be very sensitive, it’s a handy feature to lower the signal, and make sure your audio quality is always optimal.
There’s also a little 3/8” thread for mounting the unit on a mic stand, tripod, or whatever arrangements works best for you.
It’s all about the digital clock!
When you’re using connecting digital devices together to expand your inputs and outputs, it’s necessary for them to all follow the same ‘clock’ to ensure that they’re perfectly synchronised.
One of the units will need to be set to ‘Master’ (meaning it provides the clock source), and the other(s) with be set to Slave (where they receive the clock). So if you set the Babyface’s clock mode to ‘Internal’, it will be the Master, and all other devices will have to be set to ‘Slave’.
Clock accuracy is extremely important, as inaccuracies can result in ‘jitter’ – random clicks, dropouts and sound quality degradation. Because this was a problem with the previous MADI technology, RME developed SteadyClock, and now ‘SteadyClock FS’ which works with minimum jitter when using the Babyface in combination with other makes and models. Its the same system used in RME’s ADI-2 Pro FS, and is extremely stable and reliable.

Babyface Pro FS Sound quality
The Babyface Pro FS is the type of audio interface you’ll choose if you’re looking for clear, accurate and pristine sound. There’s no added colour here – the sound is totally transparent. It sounds stunning on vocals, capturing every detail and nuance of your chosen mic. It’s also perfect for any instrument or sound source.
The Babyface Pro FS enables you to capture the sound at source exactly as it is. This means more flexibility and choice when it comes to editing and mixing – you can shape the sound to your needs, and change your mind at any time as the mix builds, or during a remix.
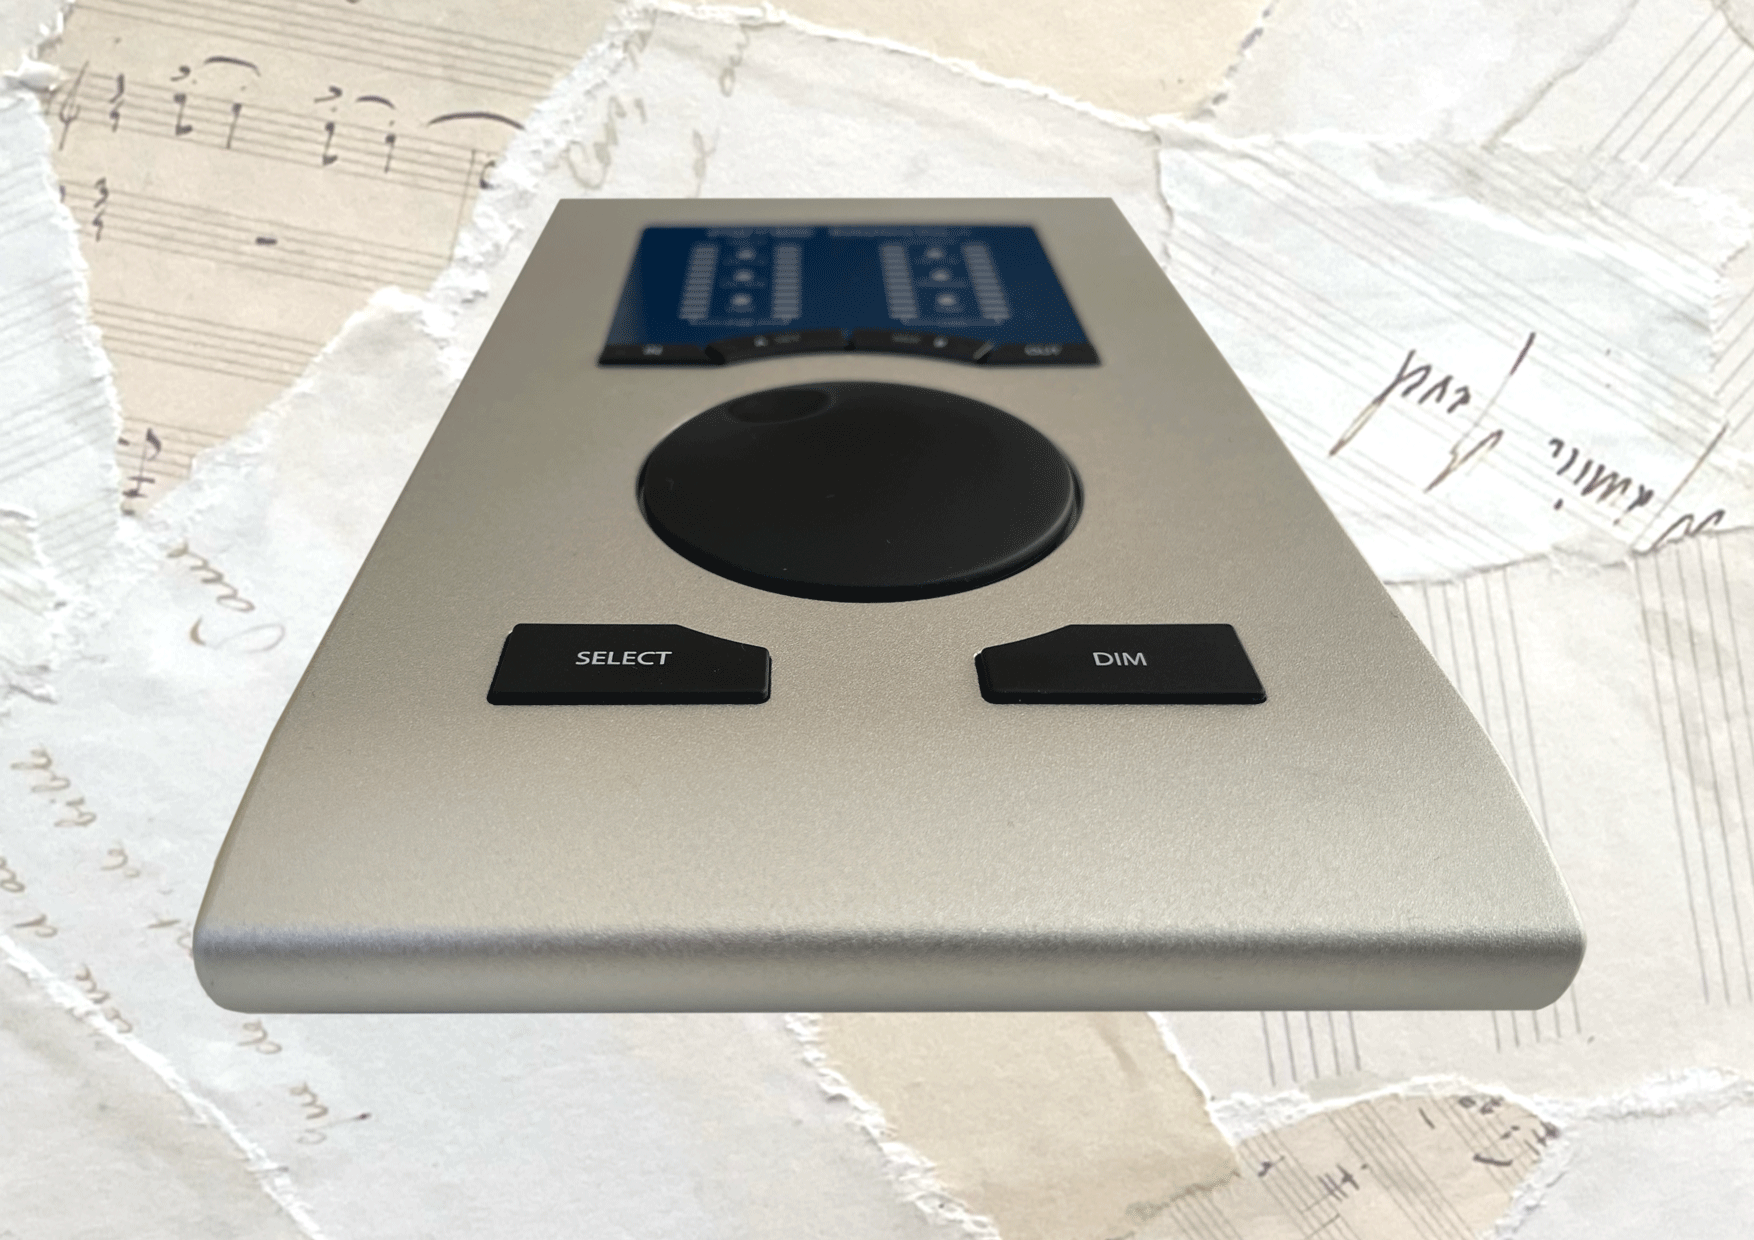
The Pro FS is also a suitable interface to use if you’re planning to use it with specialised valve or tube pre amps with their own particular colour. Their sound will be captured faithfully through the Babyface’s pristine analog inputs, without further colouring the sound.
Personally, a clean, honest sound, with a low noise floor is everything I look for, in terms of sound quality in an audio interface.
Babyface Pro FS Pre amps and Digital Analogue Convertors
One of the great features of the babyface Pro FS is the flat frequency response with negligible distortion. The high dynamic range of 116 dBa means extended headroom, with very low noise even when using dynamic mics.
Both the amps and the digital convertors have been designed to be very neutral, and introduce as little colour as possible.
The Babyface Pro FS in use
I set the Babyface Pro FS on my desktop, just to the left of my laptop. While it’s a fine looking machine, once you’ve plugged in a midi keyboard, some mics and the USB cable, it does start to look a little messy. I will be looking for a more elegant way to place the interface to keep some of the cables out of site.
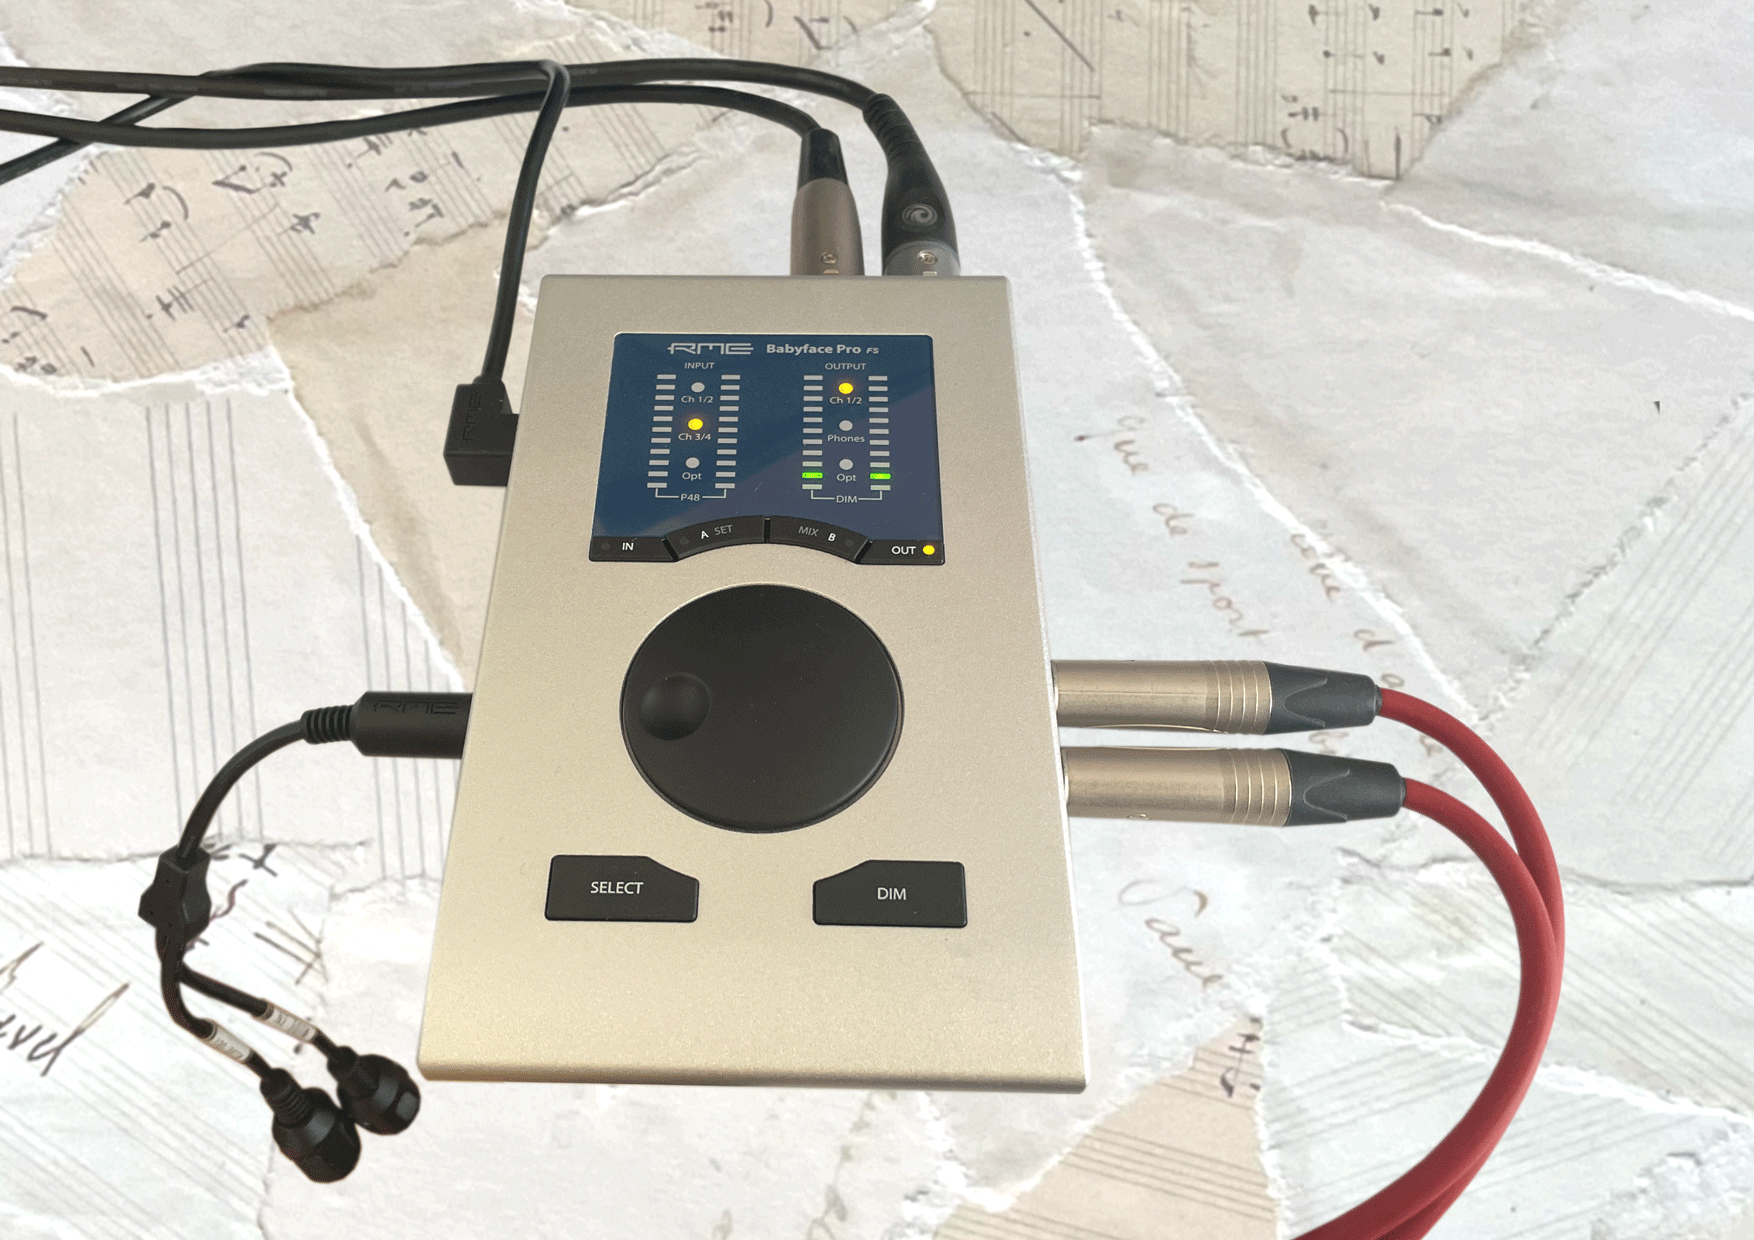
Testing theBabyface with Logic Pro was my first call, and it was intuitive and easy to set up. Pro Tools was also a doddle, and my colleague has assured me that he had an easy experience on both Digital Performer and Ableton Live on a Mac.
There’s limited controls on the interface surface, and I set up the the A and B buttons as phantom power switches. There’s a DIM button to which has yet to be assigned, but most of the fine adjustments are done with the Totalmix software and the large rotary knob.
I was quite blown away by the sound, testing on male and female vocals with an SM58, and an AKG C414. There was more than enough power for the SM58 despite it being a dynamic mic, and the 414 gave me sound comparable to something you’d hear in a top recording studio.
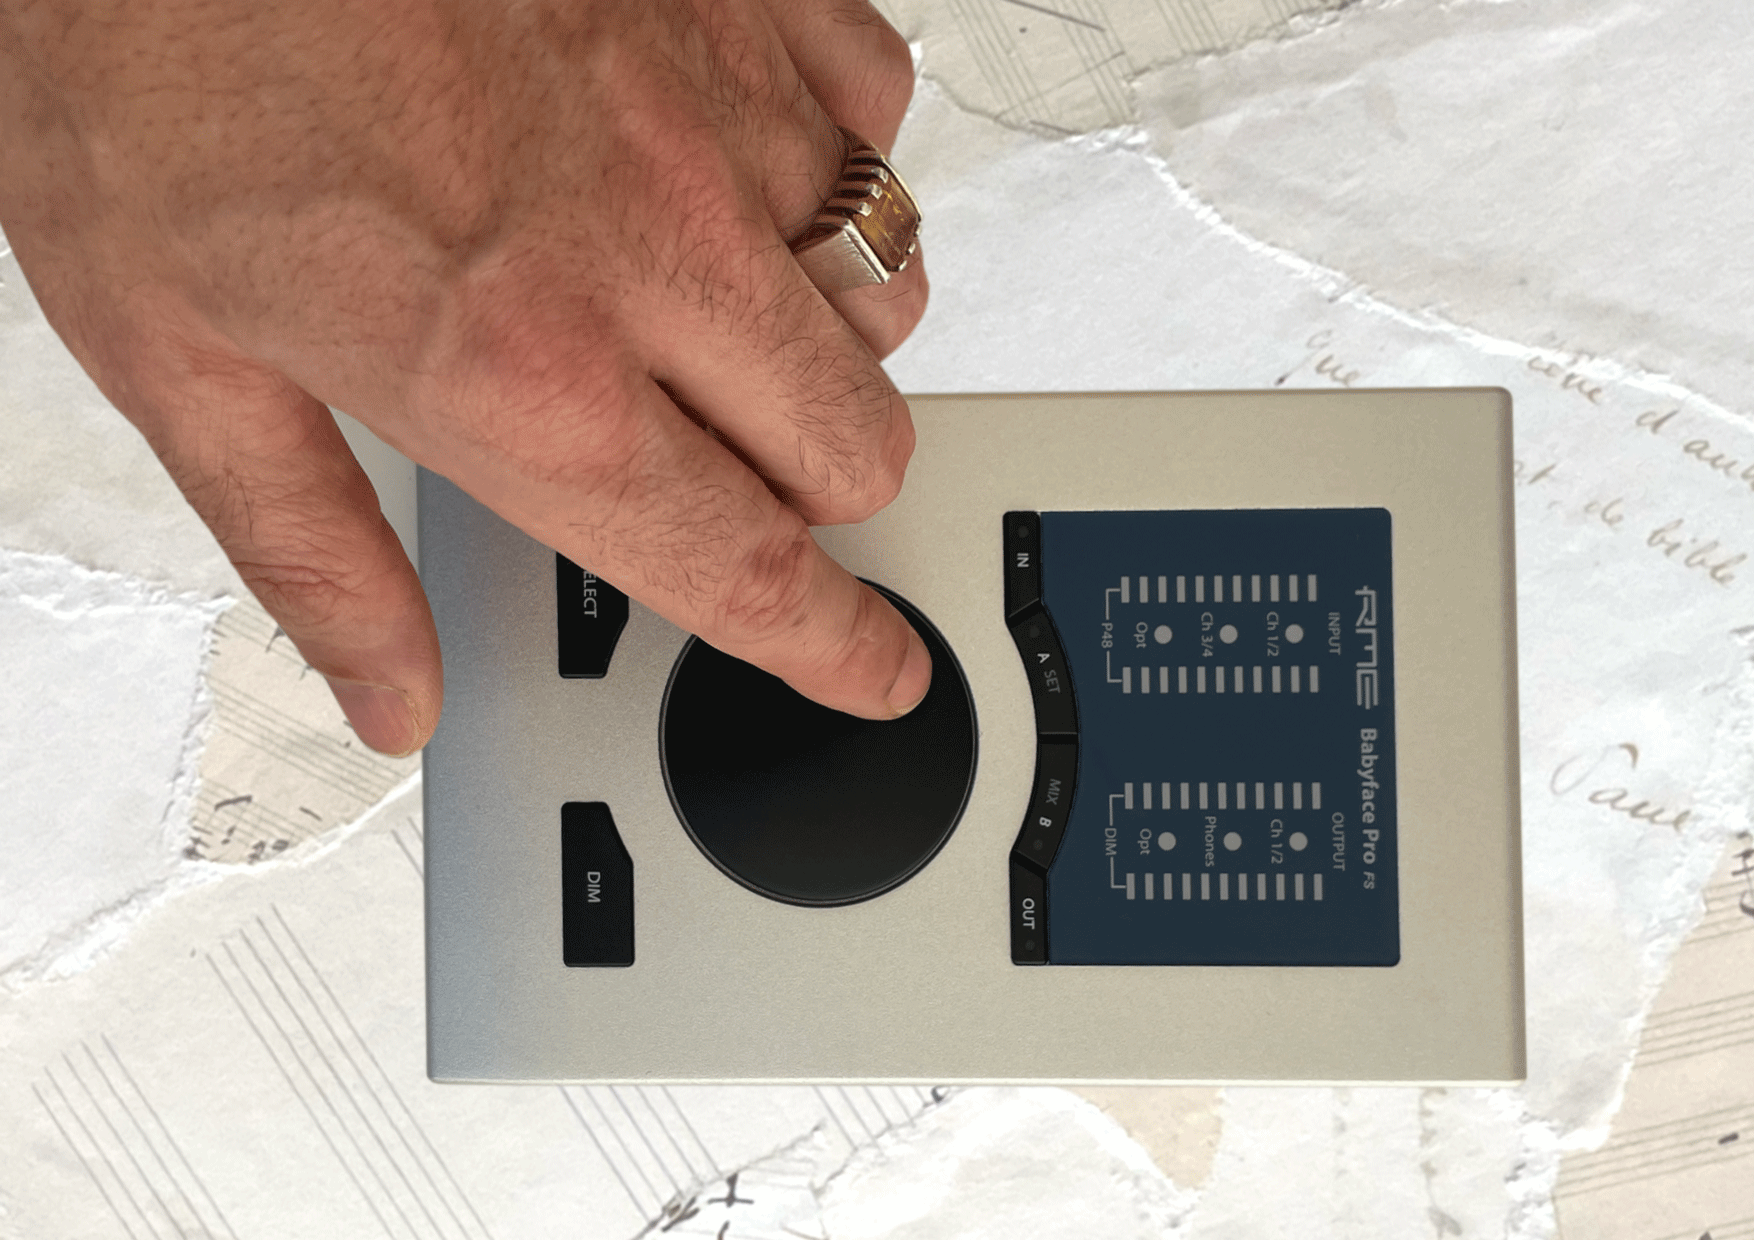
The mics were transparent and quiet, absolutely ideal for recording acoustic guitar, toy piano, and several melodicas I had on hand! I had a chance to record an Irish flute and fiddle duo, both using the player’s own DPA mic pickups, and achieved an excellent sound, with superb nuance and clarity. I didn’t have the need to expand through ADAT, but from RME’s reputation, I’m sure this would have posed no problem at all.
Latency
The Babyface Pro uses new digital analogue converters which according to RME, only cause a delay of a few samples. With 5 samples AD and 7 samples DA the delay works out at about a fifth of previous generations.
The latency figures quoted are realistic and work well at all buffer size options. I’ve been using large file orchestral samples, and haven’t noticed any sort of delay at all. Even using some of the built in software effects in Total Mix didn’t seem to introduce any extra latency.
RME Babyface Pro FS dimensions and weight
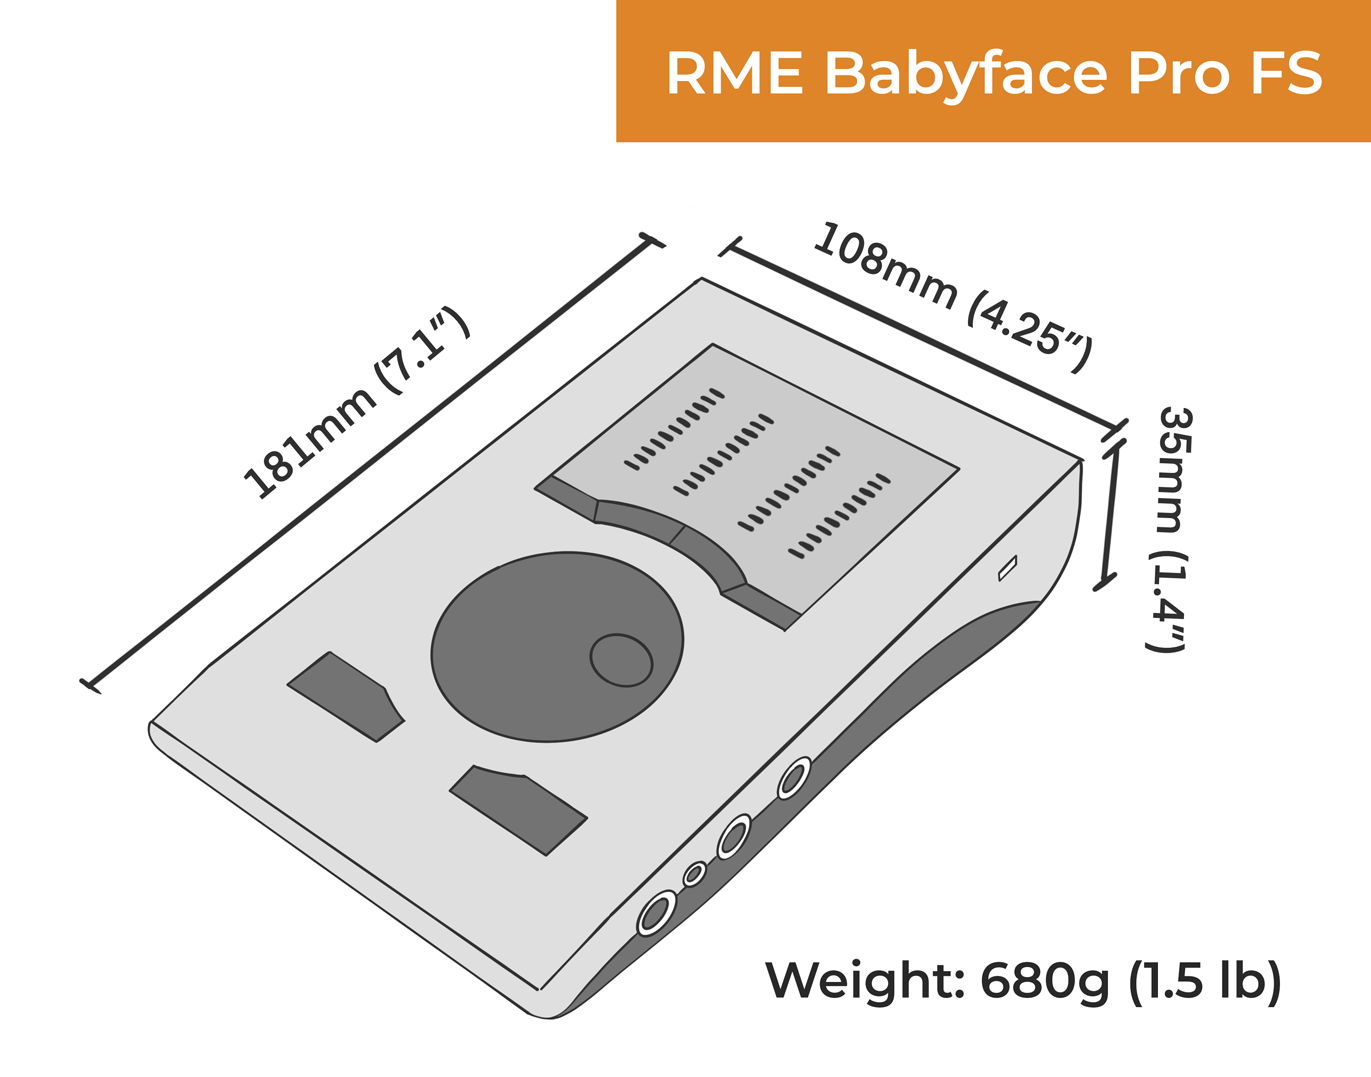
At 680 grams, the Babyface has a very solid weight and feel to it. It’s size and ruggedness make it a highly portable audio interface, easy to throw into your backpack for a remote recording section, but just heavy enough to not slide around your desk while you whisk that dial.
Babyface Pro FS Total Mix Software
The included DSP based, Total Mix software allows you to operate most of functions from your computer – you can fine tune effects like EQ, reverb and echo, and set up mixes, which you can easily save and recall at a later date.
There’s a huge flexibility for routing, and customisability, including a useful loopback functionality, handy for live streamers. Something else that might be worth considering for live streamers in the future could be a compressor or limiter, to ensure there’s no accidental clipping. If this feature is important to you, check out some of the more advanced RME interfaces.
Some of the other Totalmix features are talk back features, a-20 dB Pad to reduce a loud signal, and an adjustable dim button up to -65dB. Like previous models, there’s 3 bands of EQ available for the output.
I tried changing the window size to a more comfortable 135% so the faders looked more like a the size of a mixing desk on my Macbook M3. But that cut out the third row. Luckily, there’s a feature where you can have all the channels in 2 rows. An option between 100% and 135% would’ve been perfect for me, but there’s set resolutions of just 100%, 135%, 200% and 270%.
Although the Total Mix software can look a bit intimidating on first glance, you’ll probably only be using the first few channels for your 2 inputs and outputs. The rest of the channel strips are for the digital inputs, and can be hidden. My tip to get started is to choose ‘digital audio workstation mode’ (Options > Operational mode), to bypass Totalmix altogether, and work from inside your DAW.
There’s a thick paper manual included, but I find it easier to read online. There’s also tons of YouTUbe tutorials from RME and other YouTubers for when you’re ready to get into it.
RME Digicheck software
An indication of The Babyface Pro FS’s commitment to professional users is their free Digicheck software, that you can download here. It works with all of their audio interfaces, and offers in depth tools such as a precision level meter, spectrum analyser, signal to noise measurements and much more. It’s free to RME users, and is constantly being updated.
History of the Babyface audio interface
The original Babyface audio interface appeared in 2010, as a desk top addition to RME’s high end rack mounted audio gear, and PCI-based audio cards.
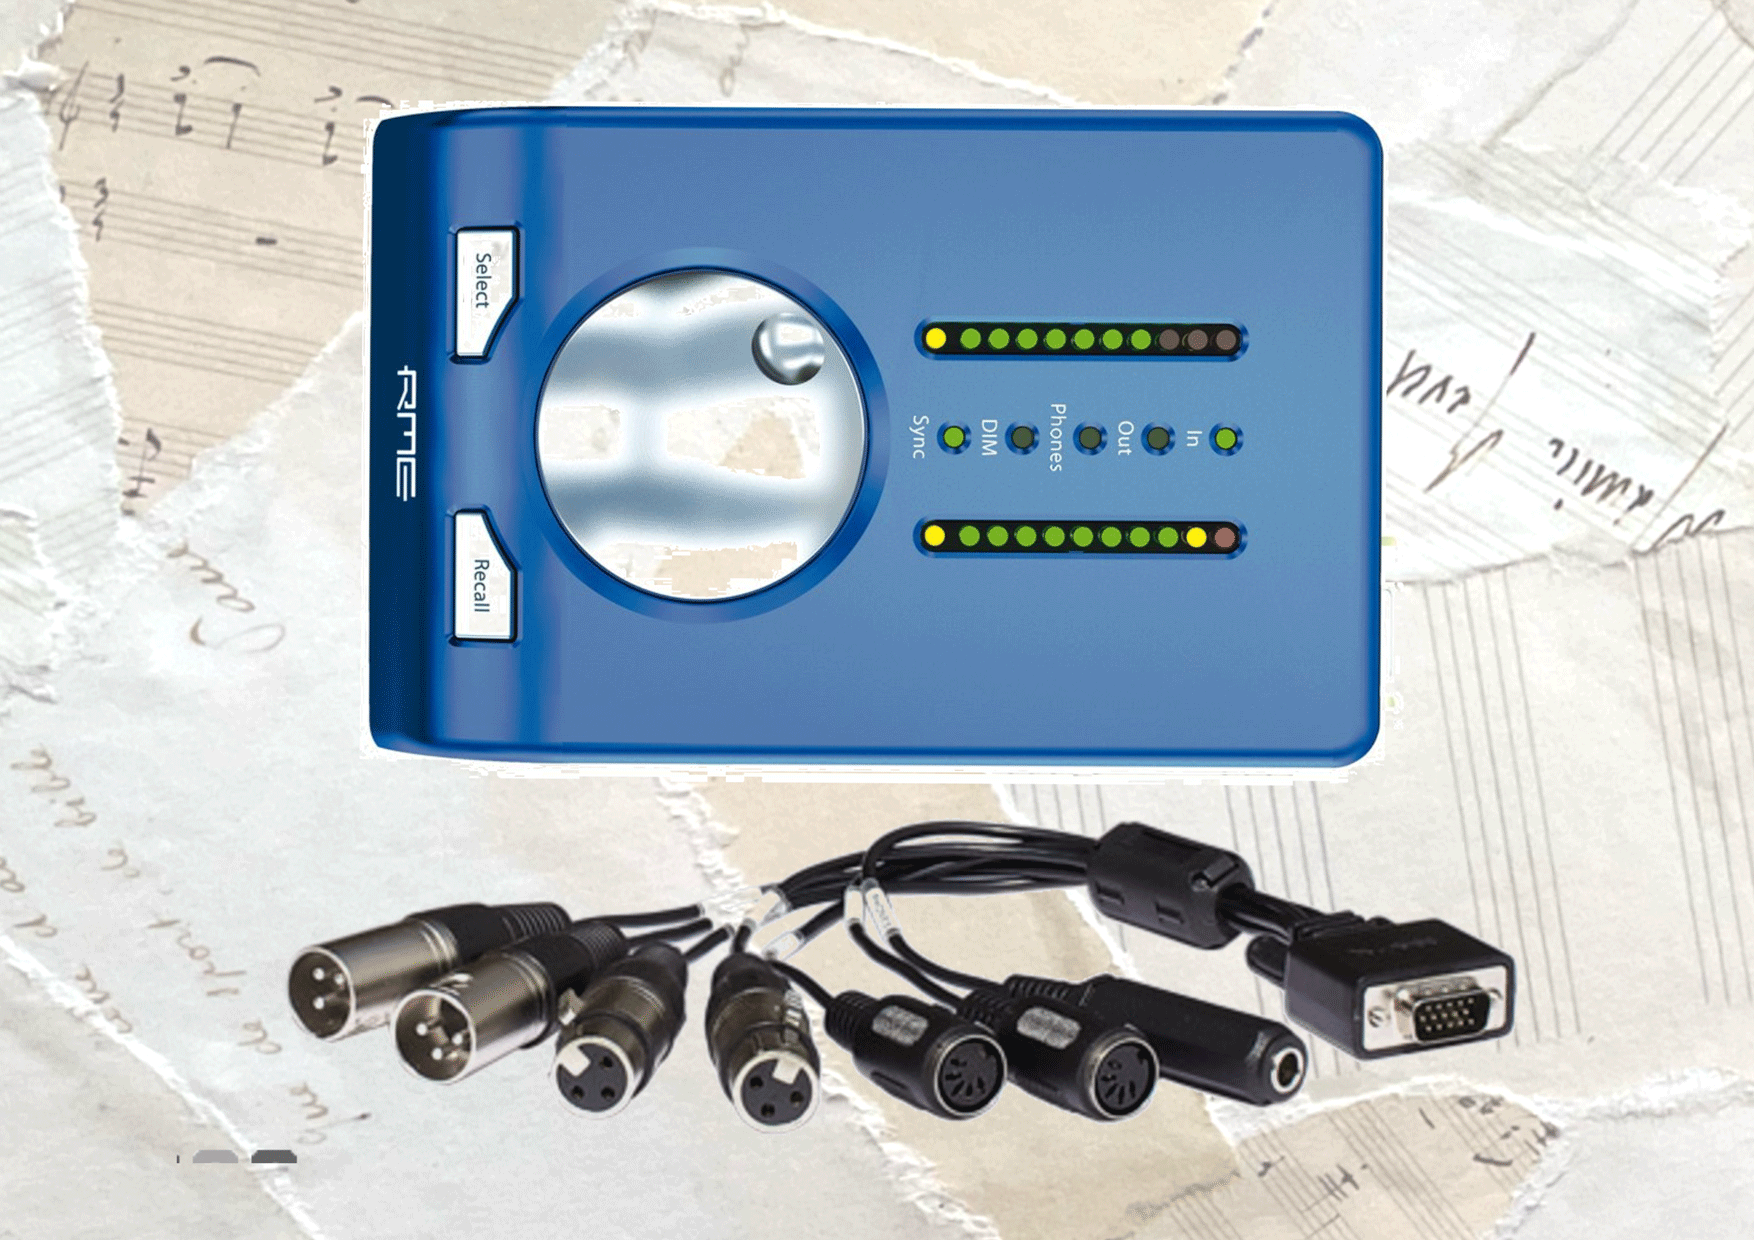
It was updated with the Babyface Pro in 2015, which addressed the underpowered headphone output, and brought in the rock solid aluminium casing that we’re familiar with now.
With more direct controls to the surface and the removable of the fiddly break out cables, the Babyface Pro became an instant success. While some audio companies colour their pre amps and convertors, RME have always stuck to their philosophy of clear, pristine and accurate sound.
The latest Babyface Pro FS reviewed here has newly designed analog and digital circuits, and uses slightly less energy than it’s predecessor. The Pro FS added a Kensington Lock to keep your interface relatively secure, and the aforementioned dip switch on the underside, where you can choose between +4 to +19 dBu, depending on the sensitivity of your studio monitors.
If you want to see how the original Babyface, the Babyface Pro, and the Babyface Pro FS have evolved over the years, I’ve made a Babyface comparison chart here, where you can see how the specs have evolved, and find links to the original manuals.
Other audio interfaces by RME
RME currently make a total of 12 audio interfaces, mostly for use in high end studio applications. As well as the Babyface Pro FS, there’s the similarly priced digital MADIface, and the high end rackmonted Digiface interfaces Fireface interfaces.
Babyface Pro FS Standalone mode
The Babyface Pro FS is a handy tool to have around, as it can be used as more than just an audio interface. You can bring it into action as a stand alone mixer, or use it just for it’s pre amps. You can use the extra power socket, when there’s no USB power available.
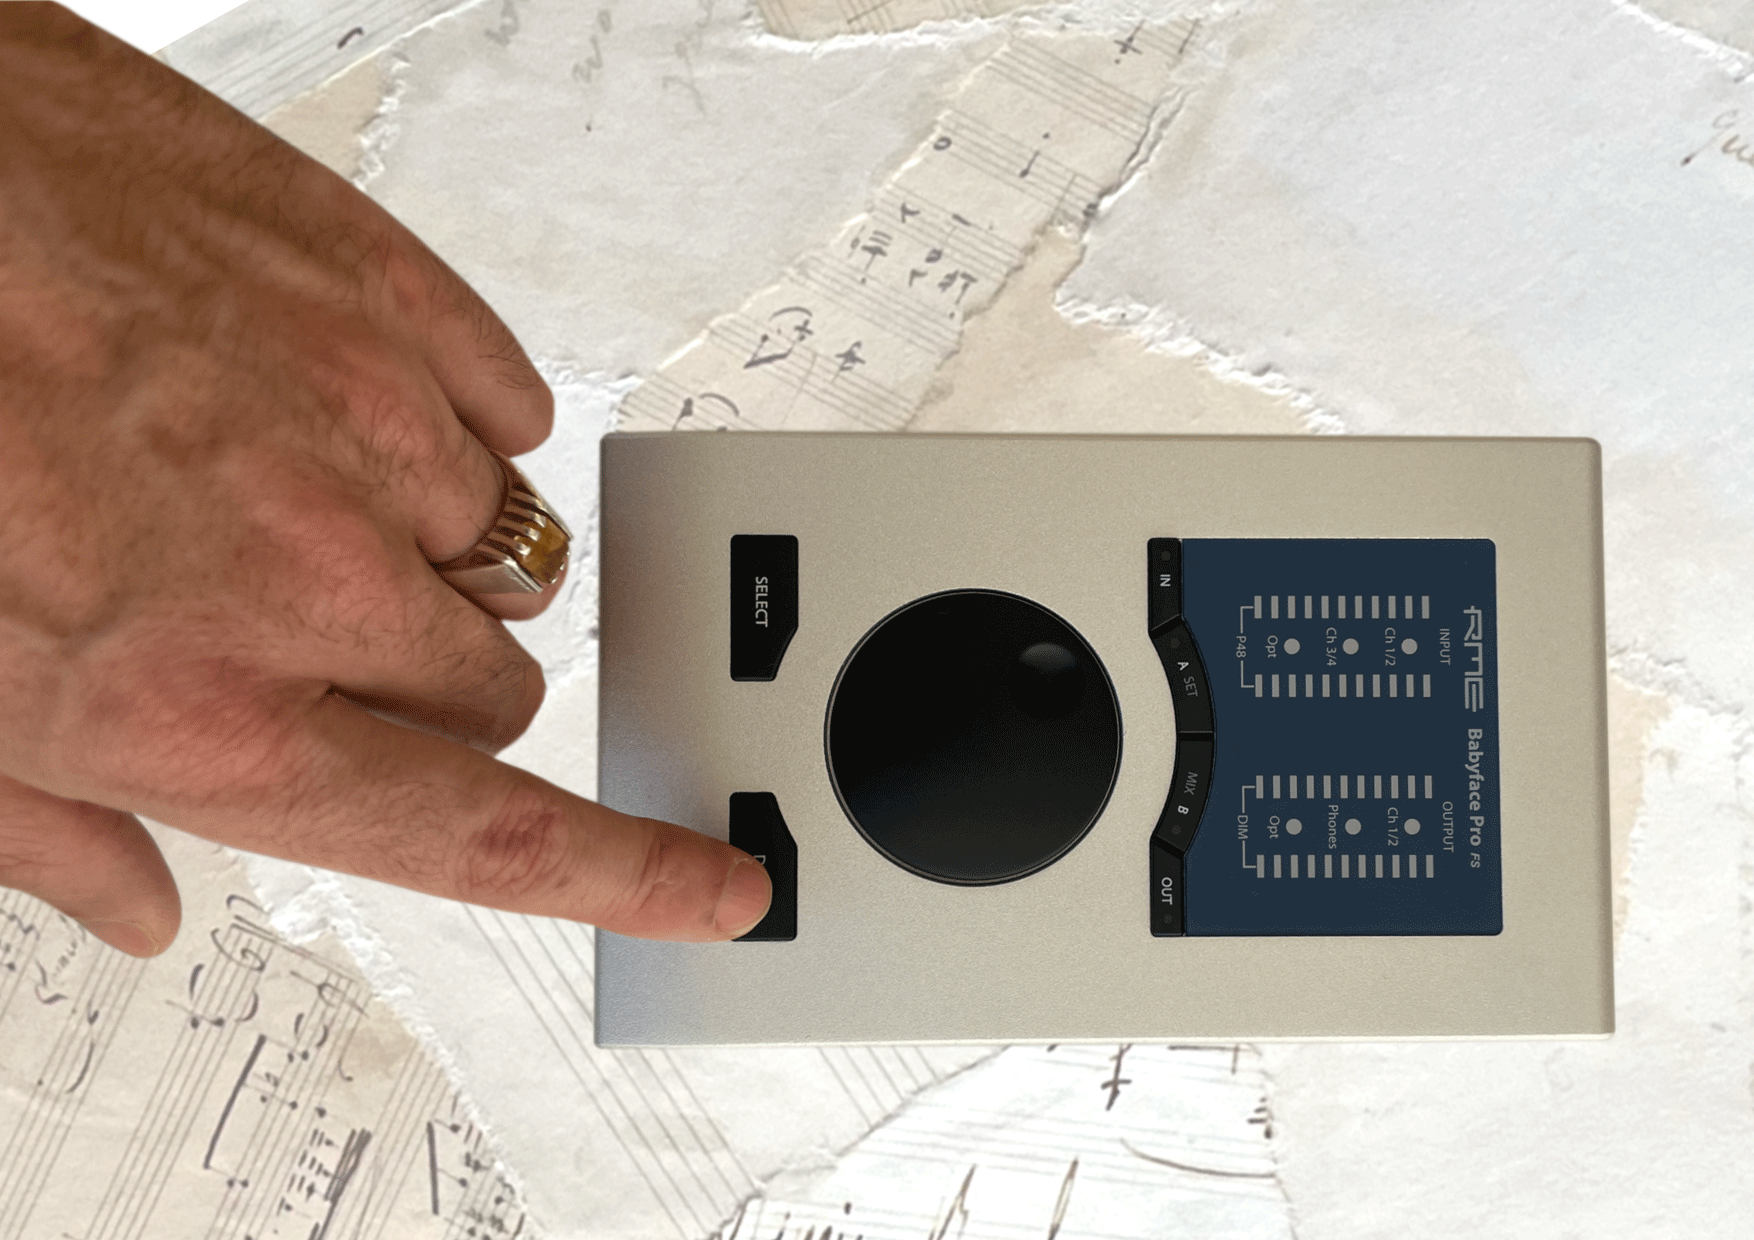
You can set the interface to ‘class compliant mode’ to use it with a device which doesn’t allow drivers to be installed, such as an iPhone or iPad. You can use a power supply, or battery pack for a mobile set up on the move. The Babyface will be controlled entirely by the buttons and dial, which will have different functions to when used as an interface.
Verdict
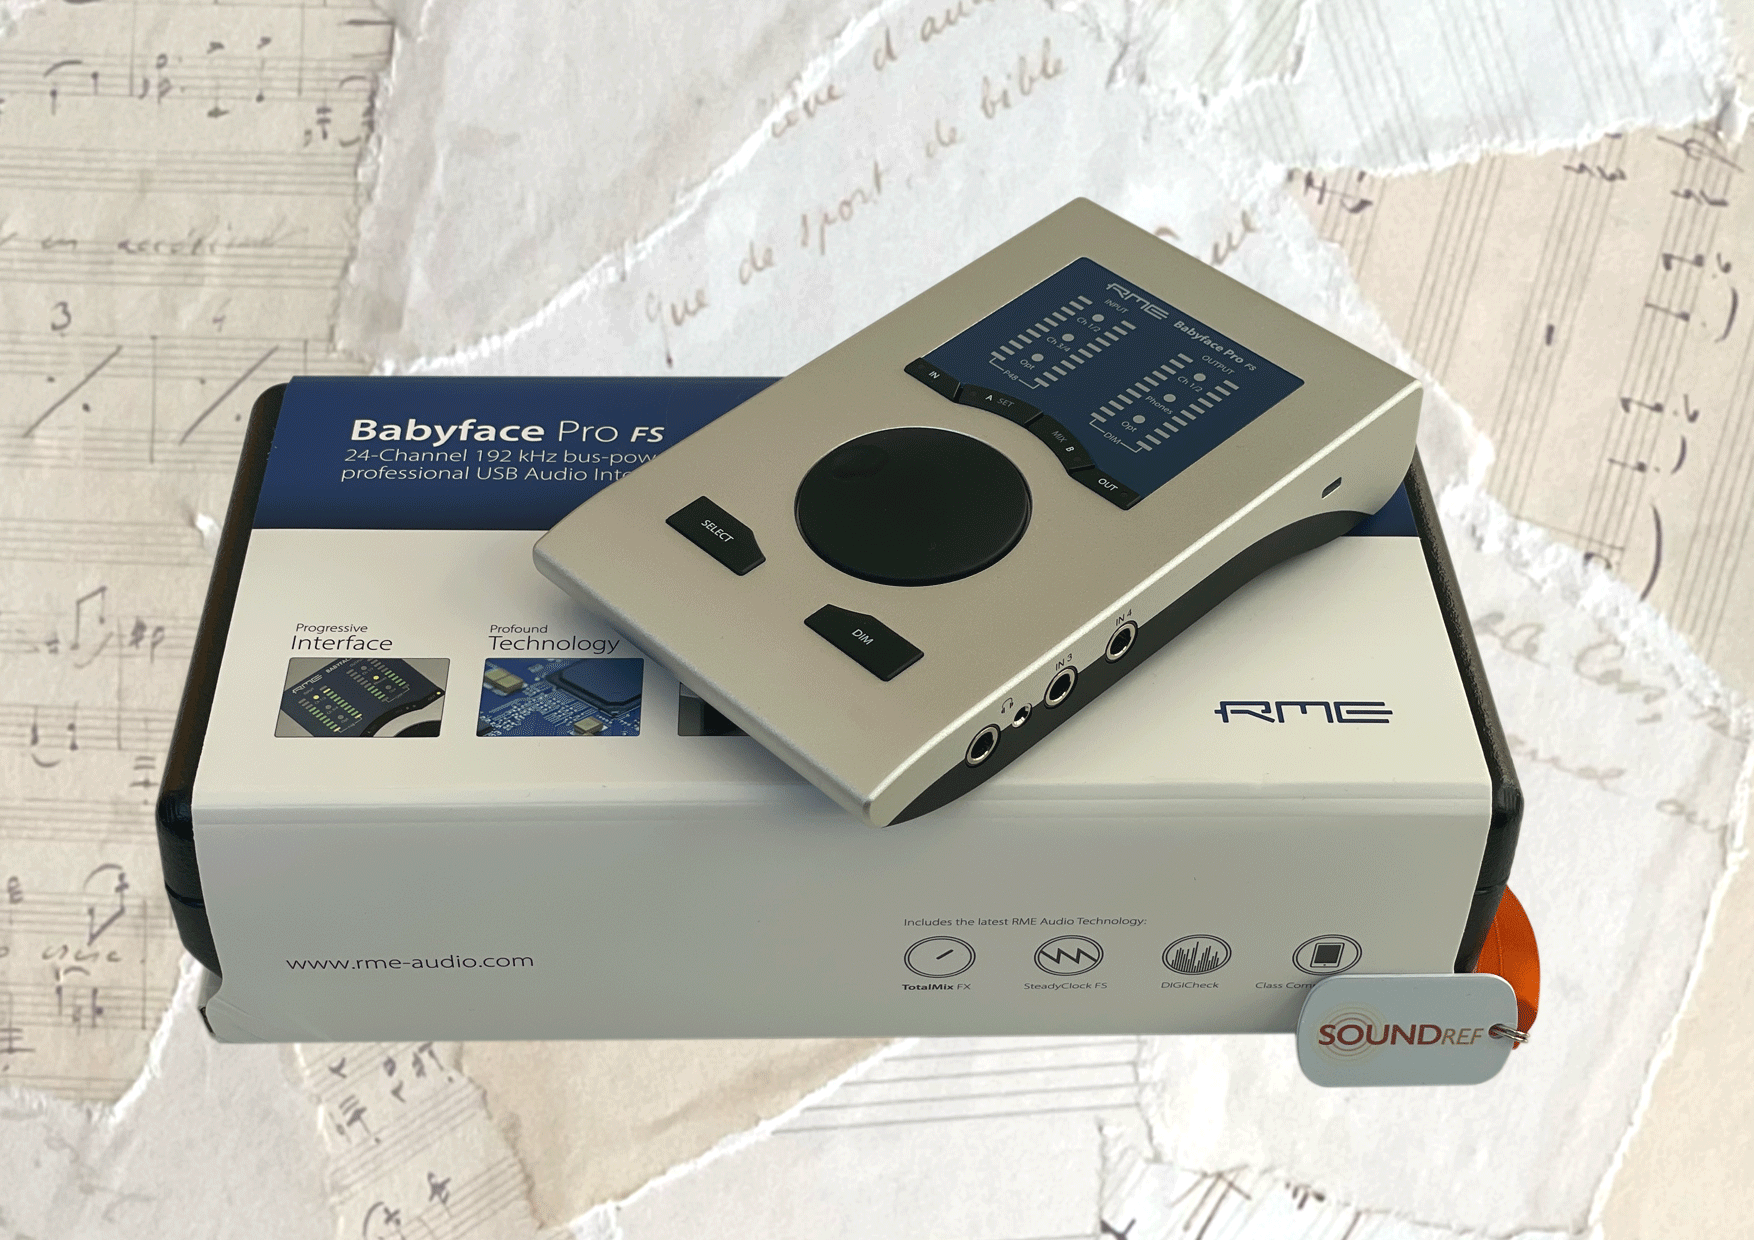
The Babyface Pro FS is a top quality, brilliant sounding audio interface with a rock solid performance and build quality. From the quiet pre amps, ample dynamic range, to the inaudible distortion and near zero latency, its an obvious choice for the professional musician who needs a combination of quality and reliability.
The sound is transparent and clear, and the mixing software allows for nearly endless customisation should you need it in the future. It comes at a premium price, but that’s what you have to expect at the level of quality. I know my Babyface Pro FS will be sitting on my desk for many years to come.
Frequently asked questions
Does the Babyface Pro FS have separate phantom power for individual pre amps?
Yes, you can turn phantom power on and off on individual channels
Should I upgrade from the Babyface Pro to the the Pro FS?
The main reasons for upgrading from the Babyface Pro to the Pro FS are for improved latency, higher headphone output levels and an improved clock
How many headphone outputs does the Babyface Pro FS have?
The Babyface Pro FS has 2 headphone outputs – one low impedance 3.5mm socket and one higher impedance 1/4″ jack socket
What are the other audio interfaces I should be considering for my home studio? Read the guide here
